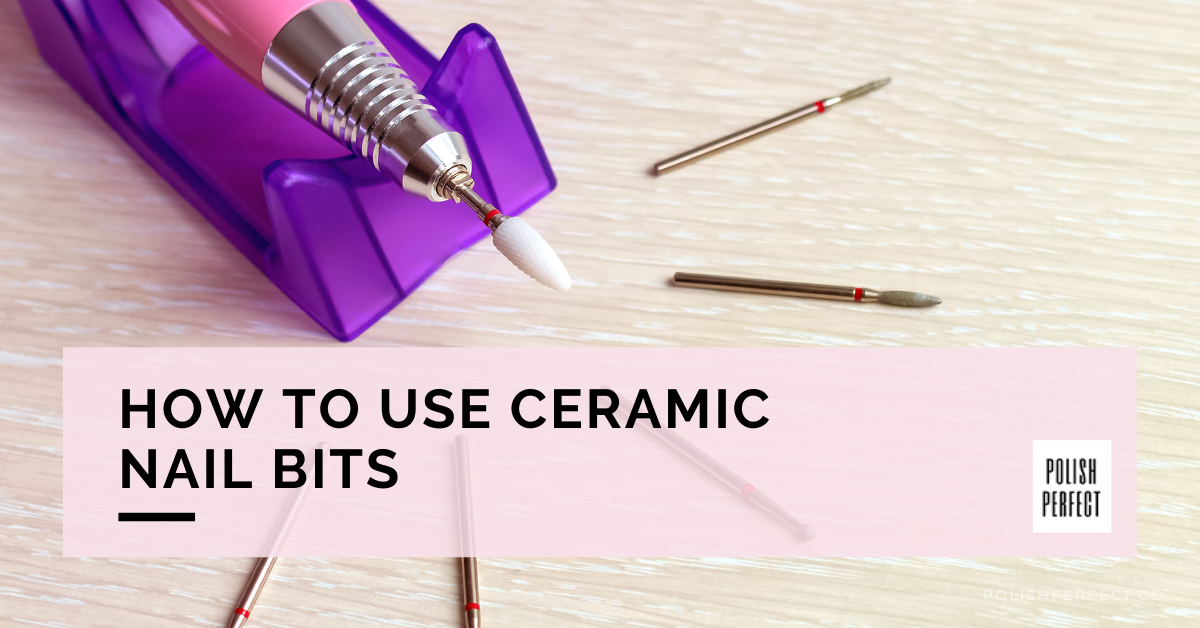
Navigating the world of nail drill bits can seem like a daunting task, with so many types to choose from.
However, this article narrows down the focus to ceramic nail bits, an essential tool in any nail technician’s kit.

We’ll walk you through how to use ceramic nail bits, discuss their pros and cons, and compare them with their carbide counterparts.
What are Ceramic Nail Drill Bits Used for?
Ceramic nail bits are crafted from robust ceramic materials, which make them not only resilient but also resistant to alkaline, acid, heat, and bacteria.
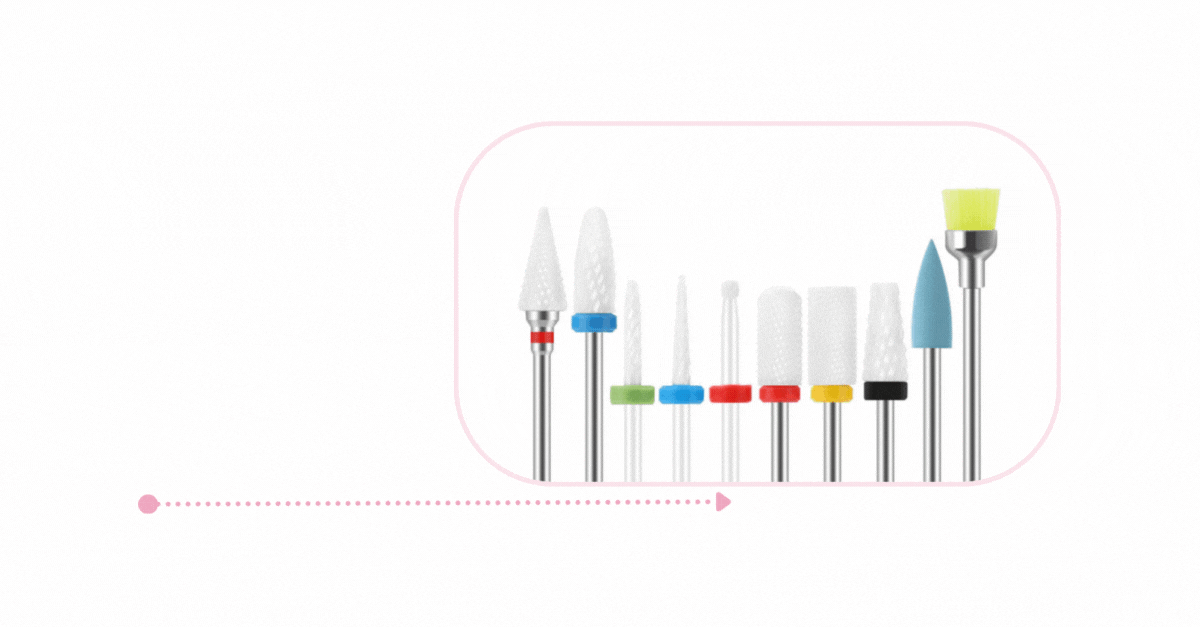
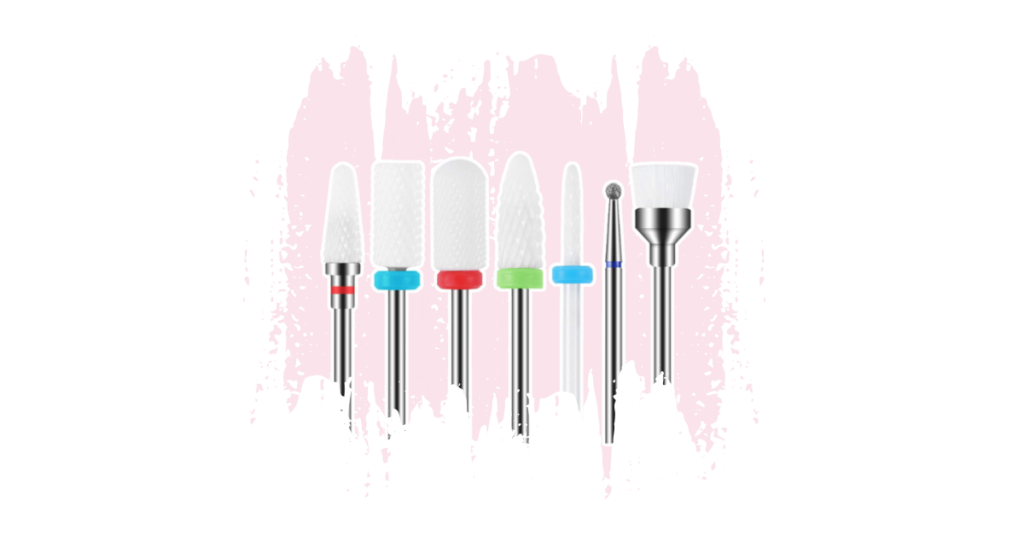
Depending on their design, ceramic nail drill bits can serve multiple purposes:
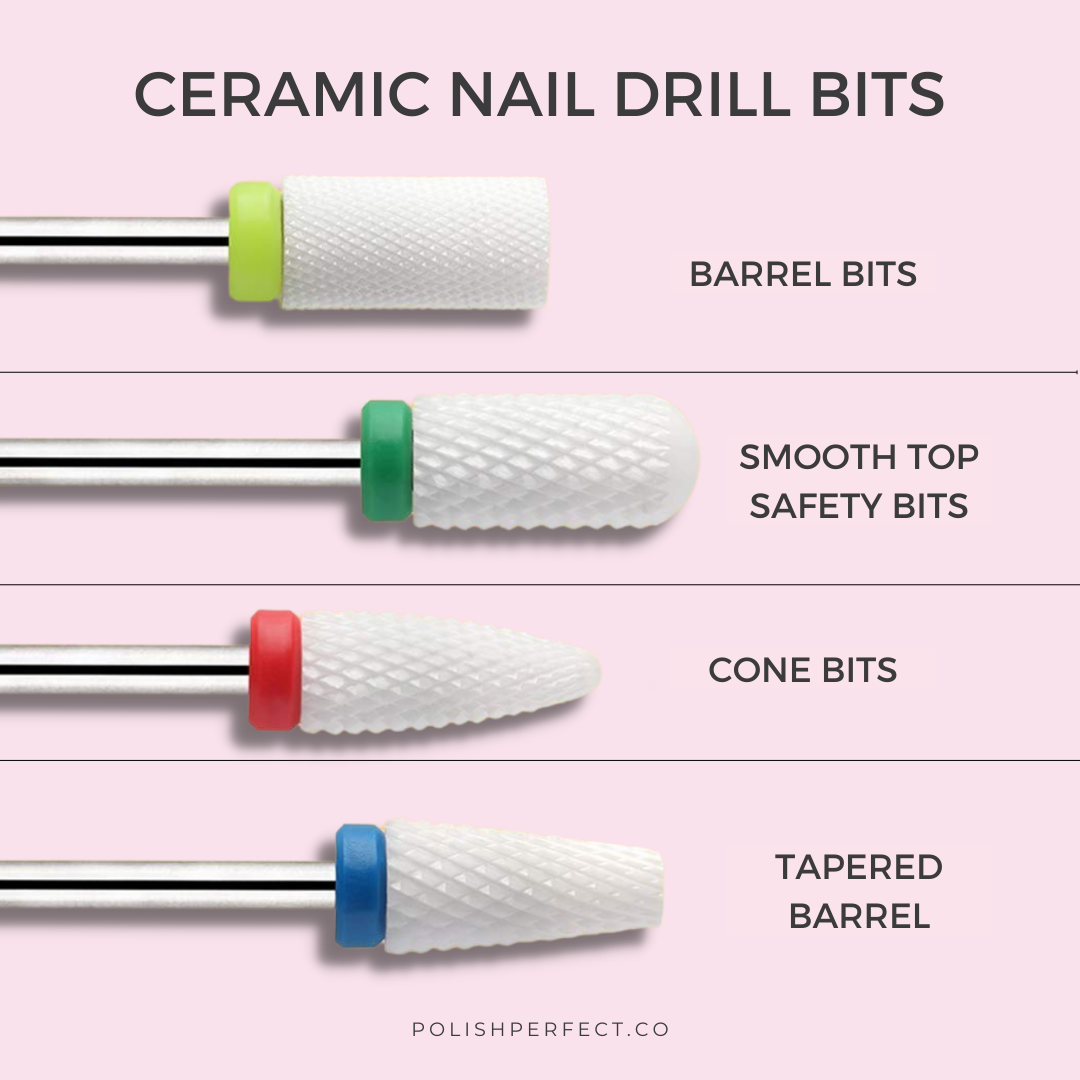
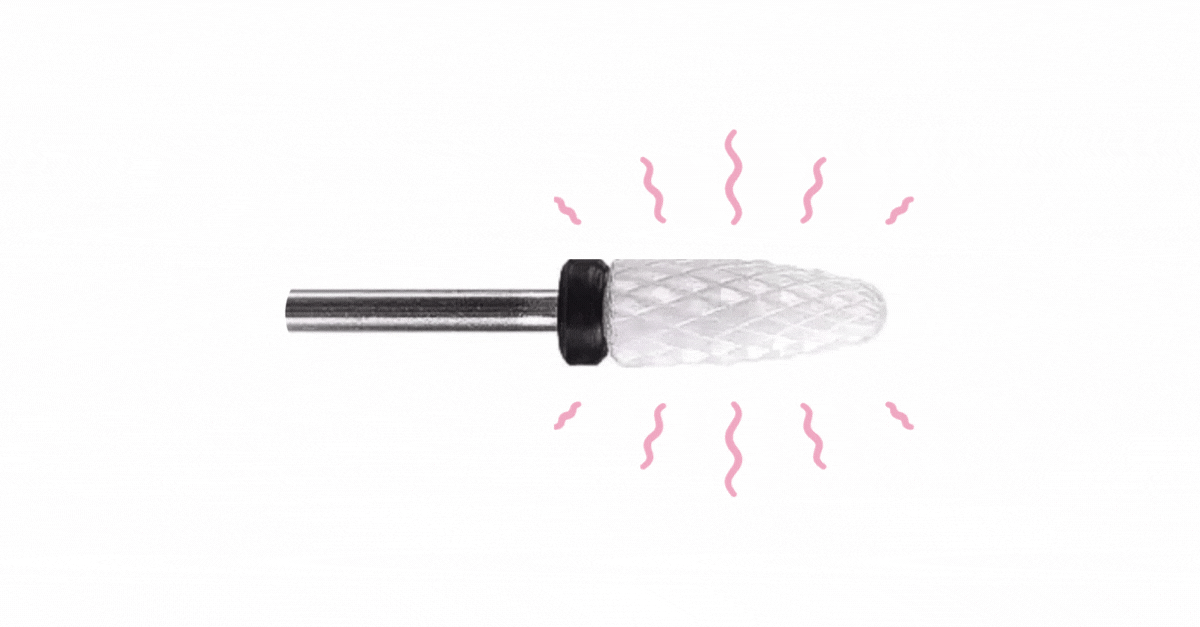
1. Barrel bits: Perfect for surface work, shortening, backfill cutting, and nail shaping.
2. Smooth top safety bits: Specifically designed to safely perform cuticle work, reaching the sidewalls and cuticle without damaging the nails.
3. Cone bits: With a slim, long, tapered shape, these are ideal for preparing the sidewalls and cuticle area, and cleaning under the nail.
They’re also perfect for toenail surface work.
4. Tapered barrel: This bit excels at surface work, cuticle and sidewall preparation, and in-fill preparation.
Overall, ceramic nail drill bits are excellent for polishing the nail surface and reaching tight spaces.
They don’t heat up like other bits and are built to last, making them a go-to choice for many nail technicians.
Are Ceramic Nail Drill Bits Better?

When it comes to nail drills, the type of drill bit you use can make a big difference in the quality of your work.
Ceramic nail drill bits have gained popularity in recent years, but are they really better than other types of drill bits?
Let’s know more about ceramic nail drill bits and explore their pros and cons.
Pros and Cons of Ceramic Nail Drill Bit
Like any tool, ceramic nail drill bits have their strengths and weaknesses.
Pros
Easy to clean
Best for natural nails
Corrosion-resistant
Sturdy and durable
Heat-resistant
Perfectly suits most electric nail drill bits
Cons
Like all other nail bits, ceramic-coated ones cannot be sharpened and
Need to be discarded once the blades are worn due to regular use
Ceramic vs. Carbide Nail Drill Bits
There are a lot of different nail drill bits out there, but it can be tough to decide which one is right for you.
The deciding factor may not always come down to what type of material the bit itself exists from, but instead understanding how fast and effective service each particular tool will provide with little to no frustration.
The choice of which drill bit to use can be difficult, but here’s what you need to know about ceramic and carbide bits.
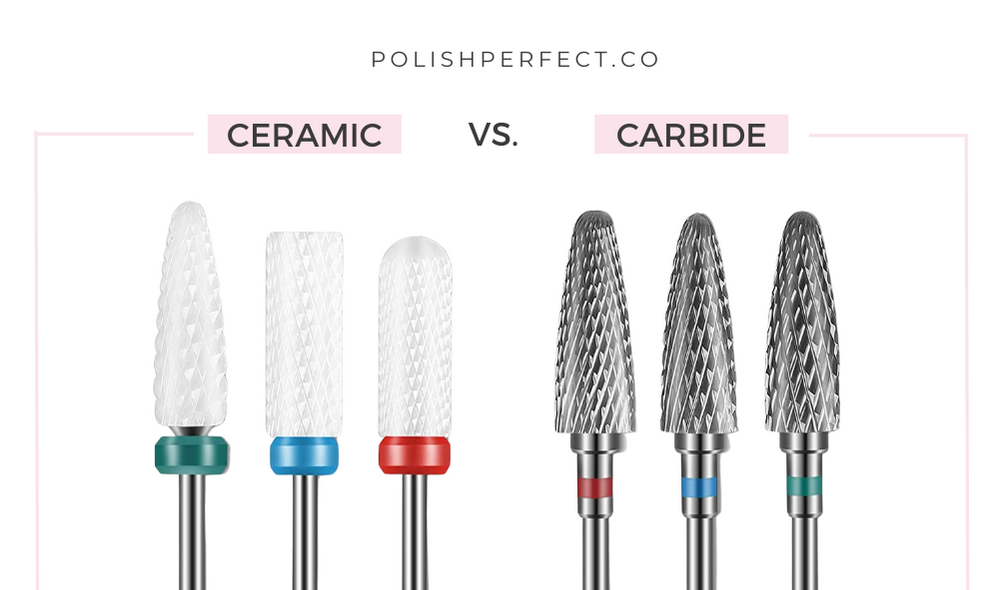
Carbide Nail Drill Bits
Carbide nail drill bits are made using a carbide metal and are designed to last long.
It has cuts enabling the bits to shave off the acrylic and not scratch the nails like diamond bits.
Carbide nail bits are great for advanced users and are ideal for shaving acrylics off. Yet, carbide bits cannot be used on natural nails.
Carbide nail drill bits can be disinfected and cleaned with no restrictions.
How To use Ceramic Nail Bits
The nature of ceramic is the reason why it doesn’t heat up the same way other drill bits do.
Ceramic drill bits are also long-lasting and are made of tough and durable materials. Ceramic-coated bits come in several grits and sizes.
Its main advantage is it doesn’t burn hot with long usage, unlike metal nail bits.
Ceramic bits are corrosion-resistant and easy to clean. It can be used on natural nails.
Watch this video about how to use ceramic nail drill bits to learn more.
How to Clean a Ceramic Nail Drill Bit
Aside from its efficiency, ceramic drill bits aren’t uncomplicated to clean.
You’ll just need to prepare soap, water, dry, towel and your bits, soak it in water, and brush off dirt and debris.
You can read this in our article on how to clean nail drill bits for more in-depth details.
Remember to always clean your nail bits every after use for the nail health of your clients.
Tips for Using Ceramic Nail Bit
1. Start with a Coarse Grit
When using ceramic nail drill bits for the first time, it’s best to start with coarse grits.
This will allow you to remove the product quickly and efficiently without putting too much pressure on the nail.
2. Use a Light Touch

Ceramic nail drill bits are known for their efficiency, so it’s essential to use a light touch when working with them.
Applying too much pressure can lead to heat buildup and potential damage to the nail.
3. Keep the Bit Clean
Regularly clean your ceramic nail drill bits to maintain their performance.
After each use, remove any debris or product buildup from the bit using a brush or a cleaning agent specifically designed for nail drill bits.
4. Practice on Practice Hands

If you’re new to using ceramic nail bits, it’s a good idea to practice on your hands or training nails before working on a client’s nails.
5. Prioritize Safety
Safety should always be a top priority when using nail drill bits.
Ensure that you have the necessary knowledge, practice, and experience to use ceramic nail drill bits safely.
If you’re unsure or need guidance, consider taking a course or seeking advice from experienced nail technicians.
How Often Should You Replace Your Ceramic Nail Drill Bits?

The lifespan of ceramic nail drill bits can vary depending on factors such as frequency of use and the type of nails you’re working on.
As a general rule, it’s a good idea to replace your ceramic nail drill bit every 3 to 6 months or sooner if you notice any signs of wear or dullness.
Using a dull or worn-out bit can lead to inefficient performance and potential damage to the nails.
Final Thoughts

Ceramic nail drill bits are the new choice for durable, affordable, and cost-effective tools in the nail industry.
Keep in mind: safety first! Make sure to have enough knowledge, practice, and experience when using a nail drill bit, especially for a client’s nails.
Let us know how this article helped you with your ceramic nail drill bits experience.
