Wondering how to clean nail bits effectively?
Look no further. We’ve got you covered with quick and easy tips.

Say goodbye to uncertainty and keep your nail drill bits sanitized for extended use.
Importance of Cleaning Nail Bits
Cleaning your nail bits isn’t just about making them look nice. It’s important for keeping your clients safe and your tools working well.
Dirty bits can harbor harmful bacteria and fungus, risking infections.
Nobody wants that!
Also, keeping your nail bits clean makes them last longer and work better.
What You Will Need
First things first!
Here are the different tools and disinfecting agents that you can use when you clean your nail drill bits:
- Metallic wire brush
- Soft brush
- Stiff brush
- Clean cloth
- Alcohol
- Acetone
- Barbicide
- Soapy Water
- Vinegar
- Ultrasonic cleaner
Easy Tips On How To Clean Nail Bits
1. Begin by brushing off residue from the bits. A stiff brush does wonders in getting into those hard-to-reach areas.
2. Next, prepare a bowl of acetone or alcohol. Be generous with the amount you pour, ensuring there’s enough to fully submerge your bits.
3. Immerse the bits in your chosen solution for about 8 to 10 minutes. This bath will help dissolve stubborn debris and grime.
4. Once the soaking is complete, remove the bits and let them air dry completely. Store them in a clean container to prevent contamination.
A few words of caution: steer clear of rough materials when cleaning.
Using soft brushes, microfiber cloths, and fine cloth will remove dust and debris delicately from tiny crevices in your tool, preserving their lifespan.
When cleaning your nail drill, safety first.
Always unplug the device before wiping it down with a damp cloth. To tackle rust on drill bits, vinegar or mineral oil can be your secret weapon.
For a visual guide on cleaning drill bits, consider checking out this video tutorial on how to clean drill bits.
How To Clean Carbide Vs. Ceramic
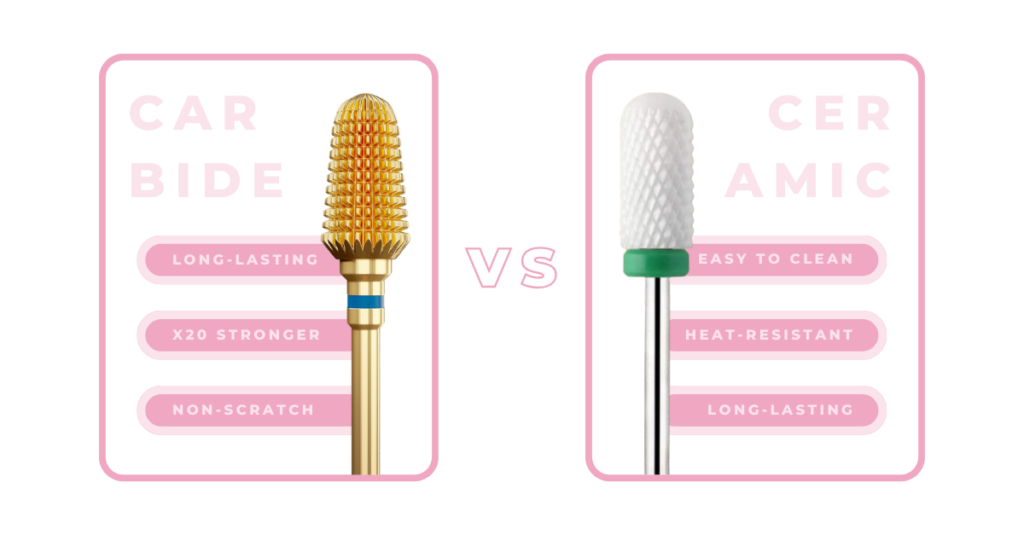
Carbide bits are made from a metal stronger than steel by 20 times.
These bits let you shave the acrylics without scratching them, unlike diamond bits.
Carbide bits are ideal for advanced users and work great in removing acrylics. Carbide bits are made to be long-lasting.
Ceramic bits on the other hand are made with materials that don’t heat up the same way other carbine bits do.
How To Clean Carbide Bits

Getting your carbide bits cleaned is straightforward.
- First, immerse the bits in a solution of water mixed with a generous squirt of dish soap.
Let them soak for a full hour to give the solution ample time to loosen up any stubborn grit and grime.
- Next, with a gentle hand, use a brush to scrub the bits thoroughly.
Remember, when cleaning, it’s essential to strike a balance – you want to be firm enough to remove the debris but gentle enough not to damage the bits.
Once you’ve given them a good scrub, rinse the bits under running water to remove any residual soap.
- Finally, leave them out to air dry, ensuring they’re completely dry before you use them again.
How to Clean Ceramic Bits
Ceramic bits need a slightly different approach.
- Begin by soaking the nail bits in a soapy water solution for about 5 minutes.
This initial soak helps soften any stuck-on debris, making the subsequent cleaning more effective.
- After the soak, use a brush to remove any dirt or residual skin on the bits. Rinse thoroughly with clean water.
- Next, dip the bit back into the soapy solution and repeat the scrubbing process on all sides until clean.
- Once cleaned, dry the bits by hand or place under a fan until completely dry.
This also helps get rid of any lingering odors.
If you find stubborn stains on your ceramic drill bits, don’t despair.
Try immersing them in vinegar overnight. The vinegar’s acidic nature will break down the stains, loosening them up and making them easier to remove during the next day’s wash.
For the actual demo of the process, check out this video on how to clean clogged nail drill bits.
How To Clean and Disinfect Nail Drill Bits At Home
Cleaning and disinfecting nail drill bits at home might seem daunting, but it’s simpler than you think.
Here are four easy and effective ways to keep your drill bits sanitized and in tip-top shape:
1. Acetone: The Powerhouse Sanitizer
Pure acetone is a fast and effective way to clean your drill bits.
Its concentrated power dissolves stubborn leftover products such as dip powder, gel powder, and acrylic that may be clinging to your drill bits.
Not only does acetone clean, but it also doubles as a potent sanitizer that eliminates bacteria and germs.
2. Alcohol: The Household Essential
Rubbing alcohol, a common household item, can be your go-to for sanitizing drill bits.
Start by brushing off any debris and washing the bits with a soap and water solution.
Then, immerse the drill bits in alcohol for about 10 to 15 minutes to sanitize them effectively.
Allow them to dry, and voila! Your drill bits are clean and ready for use.
3. Soap, Water, and Bleach: The Triple Threat
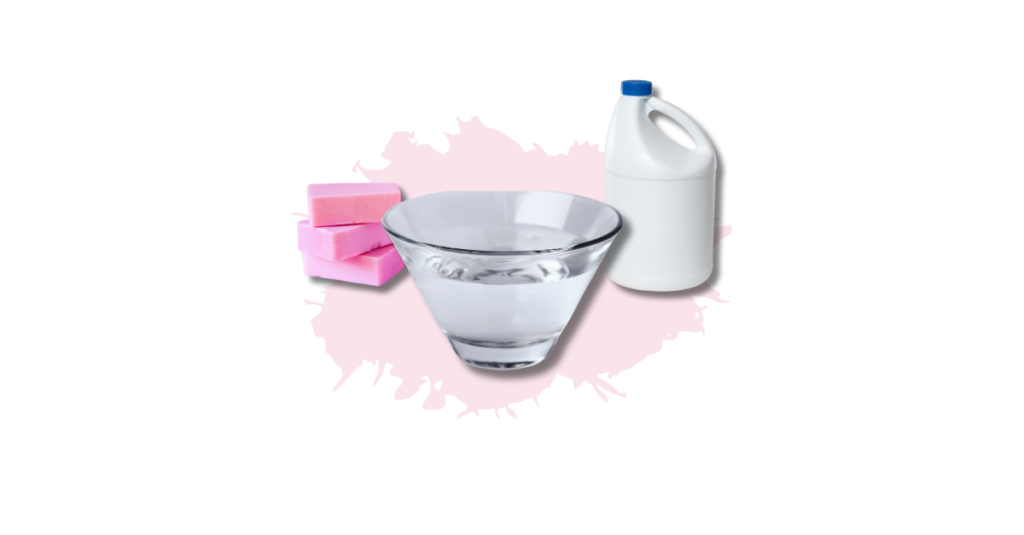
A combination of soap, water, and bleach can also serve as an effective disinfectant for cleaning nail drill bits.
The bleach acts as a disinfectant, while the soap solution cleanses any residue from the drill bits.
4. Barbicide: The Professional’s Choice
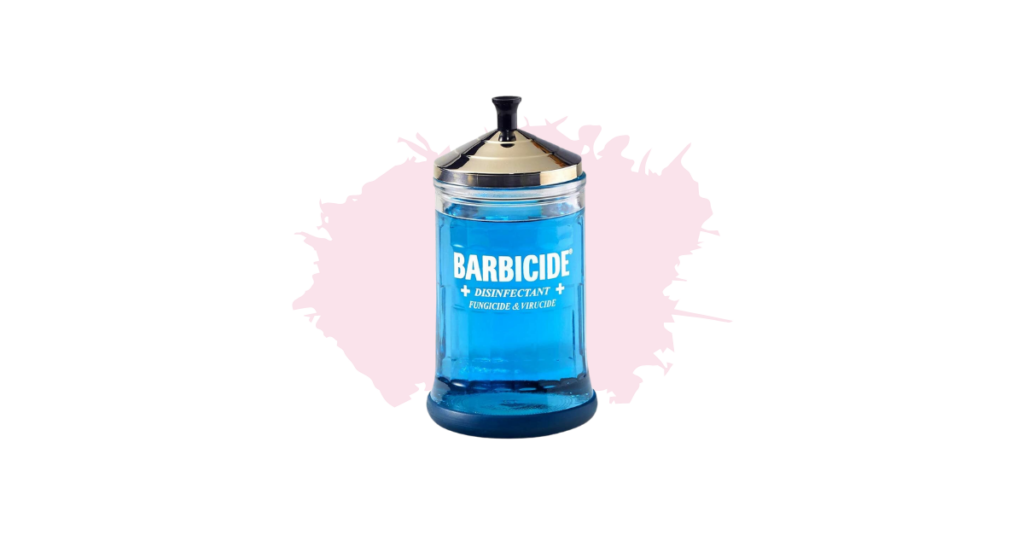
Barbicide is a popular choice among nail technicians.
First, brush off and wash any debris from the drill bits. Then, mix the Barbicide concentrate with water according to the instructions on the packaging.
Soak the drill bits in this solution for about 10 to 15 minutes, and then rinse with water.
Note that barbicide can’t dissolve any leftovers on the bits. So, make sure to clean your tools first before soaking them in the barbicide solution.
How to Clean A Sanding Band
When it comes to cleaning sanding bands, the metal attachment (or mandrel) can be cleaned just like regular bits.
However, the sanding bands themselves are single-use and should be disposed of after each use.
When Should You Clean Your Nail Drill Bits?

Regular cleaning and maintenance are essential for keeping your nail drill bits in top shape.
As a general rule, it’s a good idea to clean your bits after every use.
So always have a disinfectant solution around. This will help prevent build-up and keep them performing at their best.
Final Thoughts

As a nail tech, we cannot afford to put our client’s health at risk.
Good thing learning how to clean drill bits is simple—you just need a soap solution and disinfectant!
Did you find this article helpful?
Share your thoughts below or spread the knowledge on social media!
