Remove polygel by filing the surface, applying acetone-soaked pads, wrapping nails in foil for 15 minutes, and gently scraping off the softened product for quick and nail-friendly removal.
Removing polygel is not the most fun task when it comes to nails.
But why is it crucial to remove polygel nails properly?
Well, gentle and proper polygel removal preserves nail health and prevents unnecessary damage.
There are a few tried-and-tested methods to take off polygel nails effectively.
Read on to learn how to remove polygel for nails’ sake.
What Are Polygel Nails?
Mastering the art of polygel will not only up your nail game but provide a long-lasting solution that’s easy to shape and kind to your natural nails.
Benefits of Polygel Over Gel and Acrylic
- Stronger Than The Average: Polygel nails are sort of like the superheroes of the nail world – they’re mind-bogglingly strong, durable, and can take a beating better than traditional gel or acrylic.
They’re like the nails that gel and acrylic wish they could be when they grow up.
- Light as a Feather: Despite their strength, polygel nails won’t weigh you down. They feel light and natural, as if your nails have been hitting the gym but skipping the heavy lifting.
- Flexibility is Key: Polygel flexes more than acrylic, which means fewer cracks, chips, or breaks. It’s like that super bendy gymnast—you know, the one who can do backbends like it’s no big deal.
- Be Kinder to Your Nails: With polygel, you can say goodbye to the harshness of acrylics.
No more terrorizing your nail beds for the sake of beauty. It’s a game-changer that’s both long-lasting and less damaging.
Starting With Polygel: A Guide for Beginners
- Gather Your Tools: Just like a painter needs a brush, you’ll need a polygel nail kit.
These typically include the polygel formula, a slip solution to prevent stickiness during application, and a tool to apply and shape the product.
It’s your DIY ticket to fab nails.
- The Right Moves: Applying polygel nails involves squeezing the product onto the nail or dual form.
Using a brush with slip solution to shape it, and then curing it under a UV lamp.
Think of it as a little nail sculpting class—not only do you end up with gorgeous nails, but you also get to unleash your inner artist.
Practice makes perfect, especially when you’re starting.
But don’t worry, polygel is forgiving for beginners, giving you the space you need to learn and experiment.
Before you know it, you’ll be shaping those nails like a pro!
Steps for Removing Polygel Nails: How To Remove Polygel
So, you’ve rocked that polygel look and now it’s time to switch it up.
We’ve got your back with a no-fuss guide to bid farewell to your polygel nails.
Ready to strip back to basics?
Use a Nail File
Let’s keep it simple and get straight to the nitty-gritty, shall we?
First things first, grab that nail file (a medium grit one, between 100 to 180 will do wonders).
Begin by gently filing down the shiny top layer of those polygel nails.
This step? Non-negotiable! It’s the pre-party for your polygel nails before their grand acetone soak.
Acetone Removal
Gather your patience and some acetone because this method is effective but requires a bit of a sit-in.
Start by buffing the glossy top coat off your nails to allow the acetone to penetrate effectively.
Next, drench small cotton pads in acetone and secure them to your nails with foil or soak-off clips. Play your favorite playlist and chill for about 15 minutes.
Check if the polygel is ready to bid adieu — it should scrape off with a cuticle pusher with the grace of a ballerina. If it’s still sticking, give it another soak and try again.
Use an E-file
For those who like a bit of power behind their polish removal, the E-file is your go-to gadget.
Safety first, though — be sure you’re comfortable with the tool and have the right bit attached.
Keep the speed to a low hum and let the file do the work, whisking away the polygel like a magic wand.
Keep it moving to avoid heat build-up and don’t get too heavy-handed — we’re going for “removal”, not “excavation”.
Remember, every nail is a piece of art and removing polygel is part of the process. Take your time, and your nails will thank you for it!
Why It’s Important to Remove Polygel Nails Properly
When it comes to removing polygel, the proper process is the way to go.
Not only does it keep your nails looking fabulous, but it’s crucial for maintaining those ten little pals in top-notch condition.
Protecting Your Nails From Damage
Your natural nails are like delicate treasures at the base of your polygel glam. Removing polygel nails by force or without proper care can lead to nasty damage.
Imagine filing taxes with a broken pen—frustrating, right? It’s the same with your nails; the goal is to keep your nail bed looking clean and unscathed, ready for whatever comes next.
Preventing Infections and Inflammation
Let’s keep it real – infections are no joke. Rushing through the removal process can leave tiny openings for bacteria to party, leading to inflammation or worse.
Ensuring a clean removal minimizes this risk, kind of like using hand sanitizer—preventative and smart!
Maintaining a Smooth Nail Surface
Picture this: Silk sheets versus a bumpy road. Which would your nails prefer to sleep on?
That’s a no-brainer! Properly removing polygel preserves a smooth surface, avoiding the equivalent of nail potholes.
A flawless nail surface means your next polish or treatment will look professional, just like you stepped out of the salon.
Achieving More Effective Results With Proper Removal
We all love seeing effective results, especially when it comes to nailing the perfect look. Peeling or chipping off your polygel nails like a price tag on new sunglasses?
Uh-uh. The right way leads to more effective results, keeping your nails healthy and ready for their next style adventure.
Alternatives to Acetone Removal
Navigating the world of polygel removal without acetone can be a walk in the park with the right tricks up your sleeve.
Whether you’re avoiding acetone due to skin sensitivity or simply out of preference, these methods will keep your nails happy and healthy.
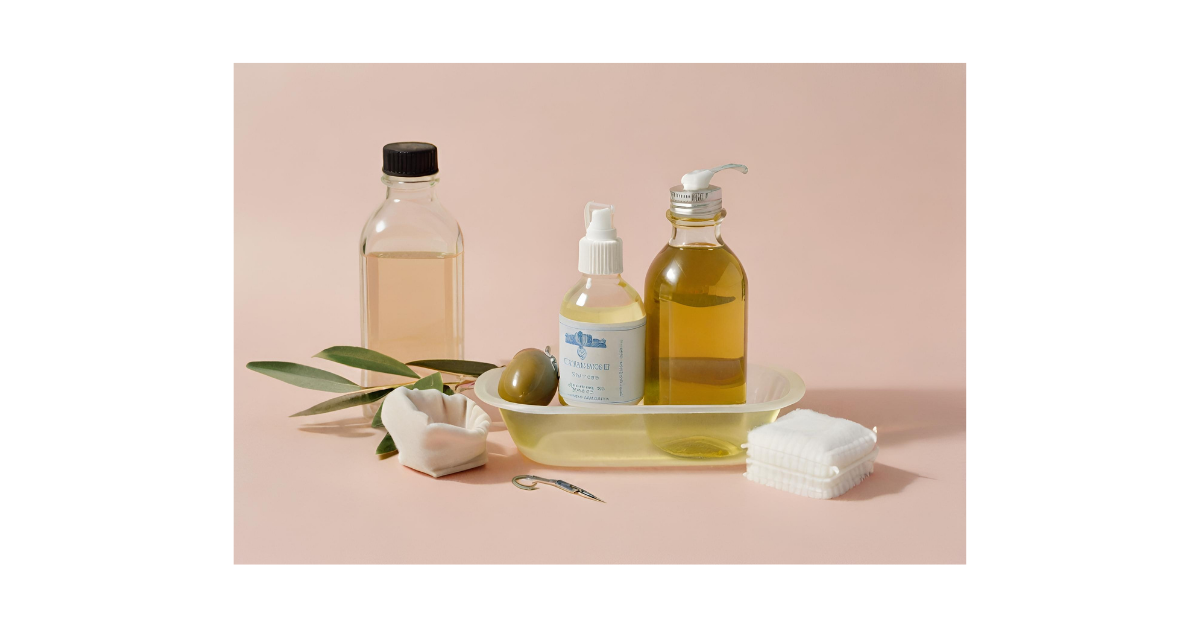
How to Remove Polygel Without Acetone Using Oil & Soap
Materials You’ll Need:
- Oil: Olive or coconut oil
- Soap: Mild dishwashing liquid
- Warm Water: Enough to soak your nails
- Bowl: For mixing your concoction
- Nail Pusher: To gently nudge the polygel off
Steps:
- Mix Up Magic: In a bowl, whip up a soak with a few drops of oil and a squeeze of soap in warm water.
- Dip & Chill: Soak your nails in this homemade spa for about 20 minutes.
- Nudge & Nurture: If the polygel’s playing hard to get, soak a bit longer and then take a nail pusher to show it the way out gently.
How to Quickly Take Off Polygel With a Nail Drill
Materials You’ll Need:
- Nail Drill: An electric nail drill
- Bit: Medium grit for safe grinding
- Steady Hand: And some patience
Steps:
- Get Your Gear: Grab your electric nail drill and fit it with a medium grit bit.
- Drill Down: Gently grind the polygel surface, making sure not to treat your nail like a woodworking project.
- Keep It Cool: Don’t overdo it! If the drill heats up, give your nails a breather.
How to Remove Polygel without a Nail Drill Using Acetone
Materials You’ll Need:
- Polygel Remover: A gentler choice
- Cotton Pads: Absorbent and soft
- Aluminum Foil or Nail Clips: To secure your cotton pads
- Cuticle Pusher: To bid farewell to leftover polygel
Steps:
- Prep & Wrap: Saturate your cotton pads with an acetone-free polygel remover and wrap them snugly around your nails with foil or nail clips.
- Count Sheep: Or sing a song, for about 15 to 20 minutes while your nails soak.
- Goodbye Gel: Use a cuticle pusher to coax the polygel off your nails, gently and kindly.
Aftercare Tips
After you’ve bid farewell to your polygel nails, it’s crucial to give your natural nails some much-deserved TLC.
A proper aftercare routine ensures your nails stay strong and healthy, eagerly awaiting their next manicure rendezvous.
Take Good Care of Your Nails in Between Manicures
Hydration Station: First stop, moisture central! Your nails and cuticles just had quite the workout, stripping away the polygel armor.
Give them a drink by lavishing them with liberal doses of lotion and cuticle oil at least twice a day. It’s like a spa retreat for your fingertips!
- Moisturize: Post-polygel, your nails might be a bit dry and brittle. A quick fix? Grab your favorite hand lotion and go to town.
Think of it as a conditioner after shampooing; you wouldn’t skip that step, would you? - Cuticle Love: Don’t forget about those cuticles! They’re the guardians of your nail growth, so keep them in top shape.
Dab a drop of cuticle oil on each one and gently massage it in.
Pro tip: Look for nail oils with vitamin E, jojoba, or almond oil for that extra nourishment boost.
Extending the Life of Your Polygel Nails
We all know that the durability and life of your polygel nails depends on many factors.This varies based on the application process, products, daily activities, and nail care routine.
But when your polygel nails look like a million bucks, you want to keep them that way, right?
Here are some tips into keeping those nails looking salon-fresh longer.
Best Practices for Long-Lasting Polygel Nails
Consistency is key when it comes to maintaining the allure of your polygel nails. Here’s the scoop:
- Regular Maintenance: Schedule touch-ups every 2-3 weeks, like clockwork. This keeps the growth manageable and the shape polished.
- Gentle Handling: Treat your nails like the precious jewels they are. Steer clear of heavy-duty activities that could chip or lift your polygel.
Final Thoughts

So there you have it!
Proper removal of polygel ensures the longevity and health of your natural nails.
This allows you to switch up your nail game without the worry of damage.
Got any more tips?
Tell us in the comments section below.
And if you find this article helpful, don’t forget to share in your socials!
