To ensure your acrylic nail brush performs at its best, follow these steps: remove residues, shape and soften the bristles, and eliminate unwanted chemicals.
Acrylic nail brushes are essential tools, but new ones often have residues.

To optimize their performance, you need to break them in.
This ensures a clean, efficient tool and perfect acrylic application.
Here’s a guide on how to break in a new acrylic nail brush.
Let’s get started with flawless nails!
Why You Need To Break In A New Acrylic Nail Brush?
Understand the significance of preparing a new acrylic nail brush, including its impact on your nail application.
A set of steps to ensure your new brush is ready for use will give you a better performance during the nail art process.
So why you need to learn how to break in a new acrylic nail brush?
Here’s why:
- Remove Residue
When you first buy an acrylic nail brush, it may have some residual manufacturing materials on it. These residues can affect the bristles’ performance and possibly contaminate your nail products.
To remove any residue, gently but firmly press the brush hairs against a clean surface like paper towels, dip it in a cleaning solution, and wipe it down.
- Shape The Bristles
A properly shaped brush bristle ensures that you have the flexibility and ease of application needed for a smooth nail design.
To create the ideal shape, soak your acrylic nail brush in a liquid monomer for a few minutes and then wipe both sides of the brush on a paper towel.
This will help flatten the bristles and form your brush shape, making it easier to apply the acrylic nail powder.
- Soften The Bristles
New brushes may have a stiff and unyielding feel, which can make the application process uncomfortable and challenging.
Softening the bristles is essential for a comfortable and more precise application experience.
To soften the bristles, remove the brush’s protective sleeve, gently break the Arabic gum on your brush hairs, and start teasing the hairs of your brush.
- Remove Chemicals
Lastly, removing any unwanted chemicals from your new brush before using it is crucial.
These chemicals may have been used during the manufacturing process and can lead to an unpleasant reaction if they come into contact with your nail products or skin.
To remove the chemicals, rinse your brush with a brush cleaner or gentle soap and warm water, ensuring no residue is left behind.
Knowing how to break in a new acrylic nail brush will go a long way.
Following these essential steps will ensure that your new acrylic nail brush is prepped and ready for use, making your nail application process smoother, more enjoyable, and more professional.
What Materials Will You Need
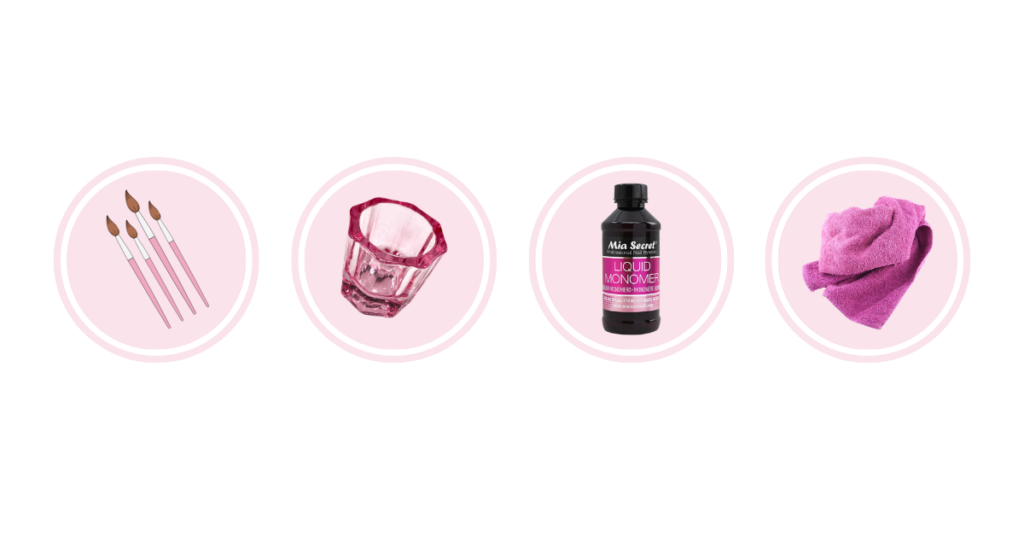
Before you begin the process on how to break in a new acrylic nail brush, it’s essential to gather the necessary tools and items. This will make the process smoother and more efficient.
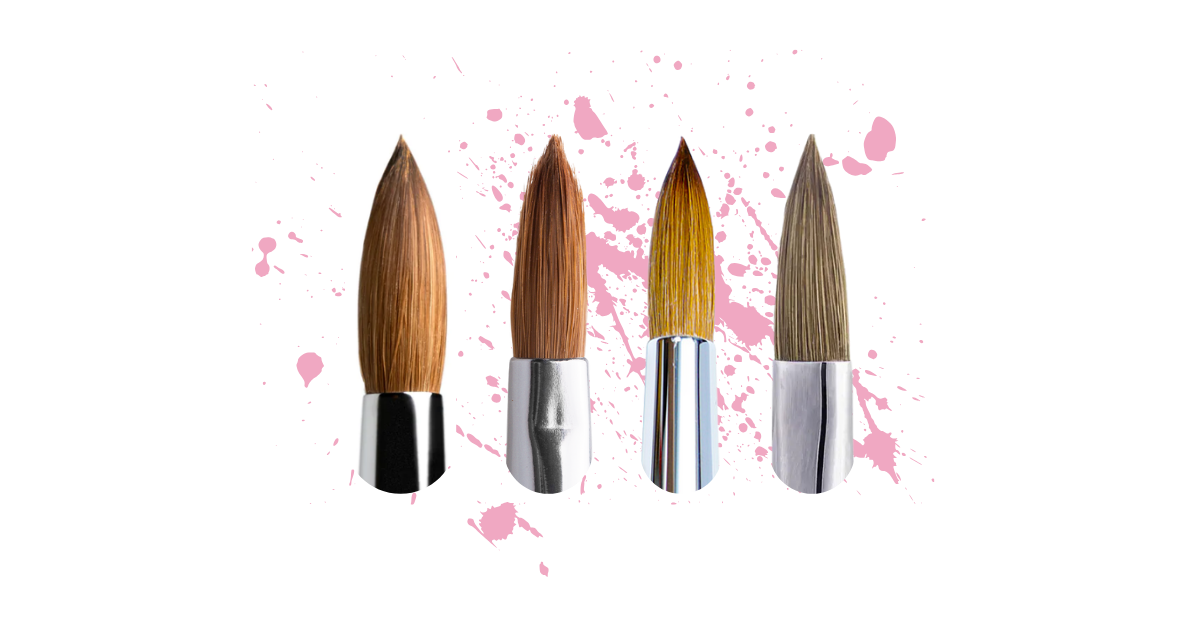
- New Acrylic Nail Brush
There are different acrylic nail brush sizes to choose from, so be sure to pick the perfect fit for your needs.
- Dappen Dish
Typically made from glass or ceramic, used to hold liquid monomer. It’s a staple in every nail technician’s kit, so ensure you have one on hand.
- Monomer Liquid
A vital ingredient when working with acrylic nails. It helps create the perfect consistency and offers better control over the acrylic products.
- Paper Towel Or Lint-Free Cloth
This may come in handy for drying and cleaning the brush bristles thoroughly.
With all these tools and materials, the next thing is to learn the process of how to break in a new acrylic nail brush.
How To Break In A New Acrylic Nail Brush: Step-By-Step Process
So, you’ve got your hands on a brand-new acrylic nail brush, and you’re ready to slay the nail art game.
Before you dive into creating fabulous nail designs, you need to break in your brush correctly.
Don’t worry, we’ve got your back!

Follow these simple steps on how to break in a new acrylic nail brush, and get the most out of it.
Step 1: Ditch The Protective Cap
First things first, remove the plastic protective cap covering the brush. It’s time to bid farewell to any barriers between you and your fabulous nails.
Just remember not to use any excessive force as you don’t want to damage those precious bristles.
Step 2: Eliminate Residue and Glue
Some brushes come with a protective glue seal to maintain their shape during shipping. If your brush has one, gently break it by using your fingers to work the bristles apart.
Start at the base of the bristles, close to the metal ferrule, and work your way toward the tip. Be gentle and patient – the last thing you want is to damage the bristles.
Step 3: A Deep Cleaning Season
Now, it’s time to introduce your brush to your trusty monomer. Fill a small dish with monomer and dip your brush into it.
Swirl the brush gently to help the bristles absorb the liquid and remove any leftover glue residue. Make sure to be gentle and avoid crushing the bristles against the dish.
Let the brush soak for a few seconds, then remove it and gently wipe it with a lint-free wipe.
Step 4: Dry And Shape It Up
Finally, you’ll want to mold your brush into the perfect shape for acrylic application. Using a lint-free wipe or a clean, dry paper towel, press the bristles together gently to form a neat, flat shape.
This will make it easier for you to pick up, control, and maneuver acrylic beads during application.
And that’s it! That’s how to break in a new acrylic nail brush!
Your new acrylic nail brush is now prepped and ready for action.
Alternative Way On how Break in Your New Acrylic Nail Brush
Here’s an alternative method on how to break in a new acrylic nail brush, ensuring its longevity and keeping your nails looking fabulous!
Swapping Fingers for a Comb
Now, if the thought of using your fingers doesn’t sit well with you, don’t fret. The solution is as simple as grabbing a small, thin-toothed comb from your beauty arsenal.
Yes, you read that right – a comb. Use it to gently comb the resin out of the bristles of your brush.
This simple technique on how to break in a new acrylic nail brush is not only easy but also efficient.
This method ensures the resin is thoroughly removed while preventing any potential damage to your brush.
Getting the Best Results with Larger-Bellied Brushes
It’s worth mentioning that this alternative method works exceptionally well with brushes that have a larger belly. Why?
The structure of these brushes allows for more effective combing, leading to a more thorough removal of the resin. But don’t just take my word for it.
To help you visualize this process, you can refer to this informative video that demonstrates how to break in a new acrylic brush without touching the bristles.
Now that you know how to break in a new acrylic brush, here are some tips to avoid the common mistakes when doing it.
Common Mistakes to Avoid When Breaking in an Acrylic Nail Brush
Experience is the best teacher.
Most nail techs learned it the hard way by making mistakes. But don’t fret, we’ll save you from any possible disaster when you break in a new brush.
Here are some of the things you shouldn’t do when you prep your brush.
Too Much Pressure? Ease Up!
The first mistake many make is applying too much pressure.
It’s easy to think that a new brush needs a firm hand to get it up to speed. However, heavy-handedness can damage those delicate bristles.
Remember, it’s not a battle – treat your brush with a gentle touch.
Cleaning: Don’t Skip This Step
Next up, is the mistake of not cleaning the brush after use.
This might seem trivial, but residual acrylic can harden and damage the bristles over time. So, after each use, take a moment to clean your brush properly.
Here’s our detailed article on how to clean your acrylic brush to learn more about it.
Keep It Focused: One Brush, One Job

Another pitfall to avoid is using the brush for anything other than applying acrylic nails.
It might be tempting to repurpose it for other tasks but remember, your acrylic nail brush has one job.
Let it do what it was designed to do.
Patience is a Virtue: Break It in Properly
Finally, the error of using the brush on a client before it’s properly broken in.
Yes, it’s exciting to test out a new tool, but patience is key.
Allow your brush the time it needs to reach its full potential.
Caring for Your Acrylic Nail Brush

Taking care of an acrylic nail brush is an art in itself, but with the right knowledge and practice, it’s not a difficult task.
Here’s a straightforward guide to help you keep your brush in top-notch condition:
1. Start by removing any residual acrylic from the bristles. You don’t want the remaining product to harden and damage your brush.
2. Next, immerse your brush in a high-quality brush cleaner or monomer. Don’t shy away from using a good amount of cleaner; it’s essential for removing the residual acrylic.
3. Here comes the fun part – apply a bit of pressure on the bristles and spread them out gently. This step ensures each hair gets a thorough cleaning.
4. Once your brush is soaked and spread, take a clean paper towel and wipe the brush gently. Remember, the keyword here is ‘gently’. You don’t want to damage those bristles.
5. After cleaning, mold your bristles back into their original shape. This step is key in maintaining the structure and integrity of your brush.
6. Lastly, store your brush horizontally. This prevents any potential damage to the bristles and keeps your brush in optimal condition for your next use.
Regular cleaning is crucial for maintaining the effectiveness and prolonging the lifespan of your brush.
Don’t underestimate the power of a well-maintained tool; it can make your job as a nail technician much easier and more efficient.
Frequently Asked Questions
Now you may want to know more about how to care for your new brush or existing ones.
Here are some frequently asked questions that we are happy to answer for you.
What Is The Proper Technique To Break In A New Acrylic Nail Brush?
To break in a new acrylic nail brush, start by dipping its bristles into the liquid monomer.
Gently press the brush against the bottom of the container, rocking it from side to side to coat each bristle and release any trapped air bubbles.
Shape and clean the brush with a clean towel, rolling it to a natural tapered point. Repeat this process several times until all air bubbles are eliminated and the brush is thoroughly clean.
Why Does My Acrylic Nail Brush Become Hard And How Can I Prevent It?
Acrylic nail brushes become hard due to the accumulation of dried acrylic on the bristles. To prevent this, clean your brush regularly and use proper techniques when applying acrylic.
Ensure that all excess acrylic is removed from the bristles after each use and avoid excessive pressure when working with the brush.
Regularly using a brush cleaner can also help maintain soft and flexible bristles.
How Long Should I Soak My Acrylic Brush In Acetone For Optimal Results?
Soaking your acrylic brush in acetone for too long can damage the bristles and ferrule. Instead, try using a brush cleaner specifically designed for acrylic brushes.
If you do need to use acetone, limit the soaking time to a few minutes, just enough to loosen the dried acrylic, and then gently clean the bristles with a brush cleaner or monomer to remove the softened residue.
Is it safe to leave my acrylic brush in the monomer during storage?
Leaving your acrylic brush in monomer while storing it may cause the bristles to lose their shape and the ferrule to corrode over time.
Instead, store your brush horizontally in a dry, cool place after cleaning it properly.
Final Thoughts

So, there you have it.
You are now armed with the knowledge of how to break in a new acrylic nail brush.
Breaking in your acrylic nail brush might seem like a small step, but it’s one that can make a significant difference in your nail art.
So, don’t skip it. Your nails will thank you for it!
If you found this guide helpful, why not spread the love?
Share this post on social media and let your fellow nail technicians in on the secrets to flawless nail art.
Remember, sharing is caring!
