The technique of flattening the bristles without causing damage to them requires a gentle approach and the right method.
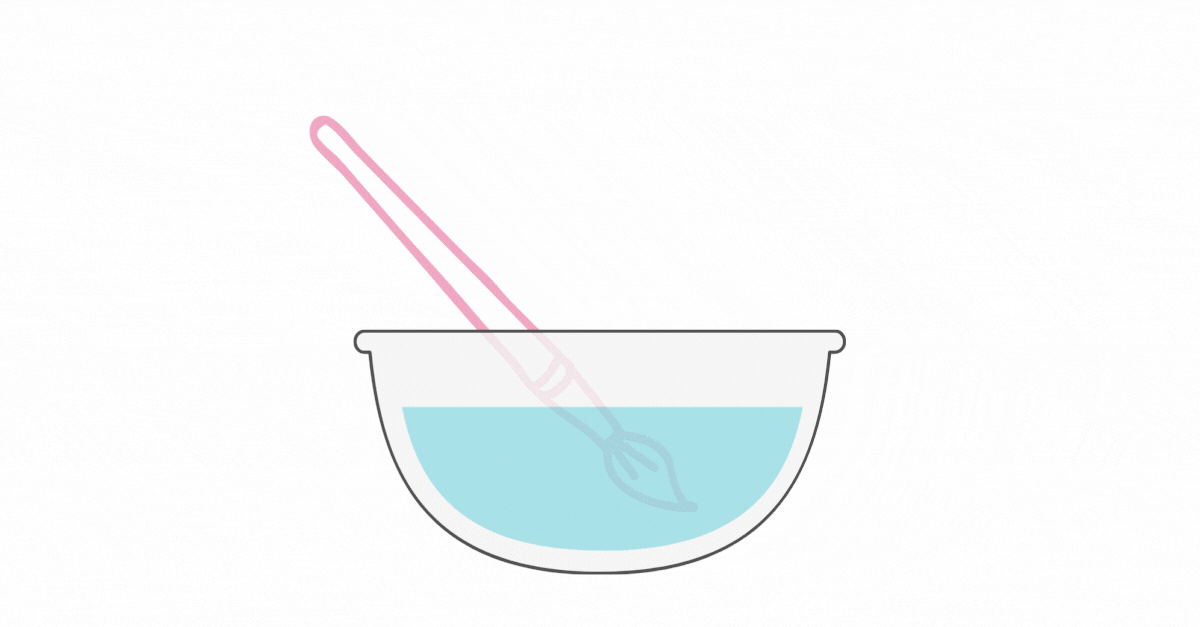
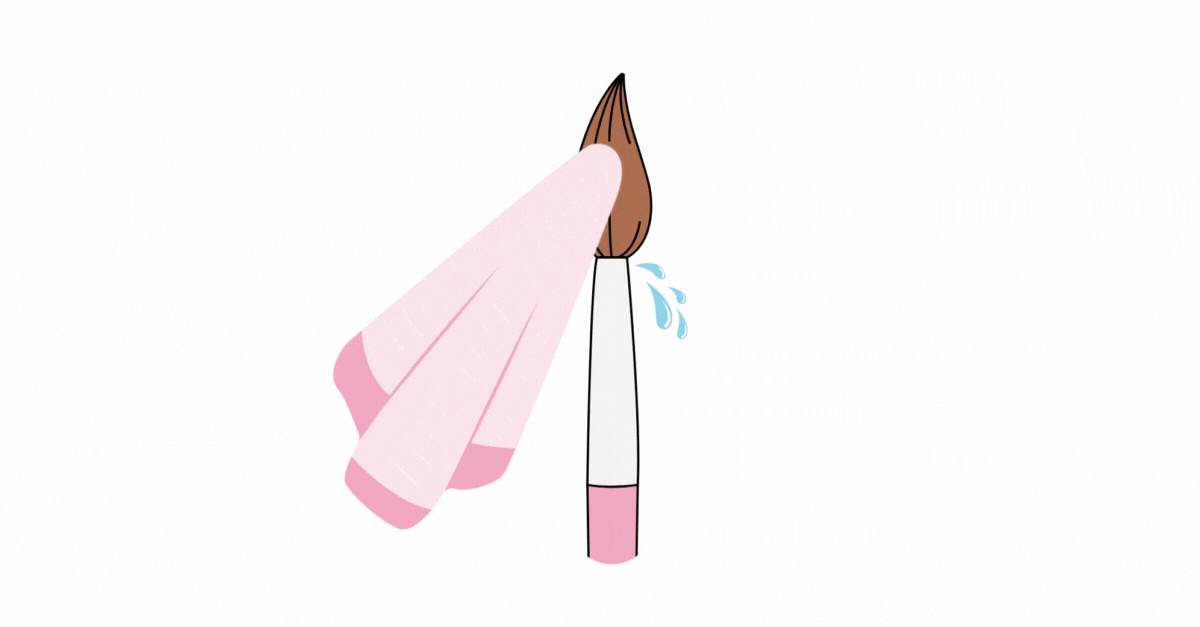
Start by immersing the bristles in acrylic liquid or warm soapy water for a couple of minutes. This step will ensure the bristles are soft and pliable.

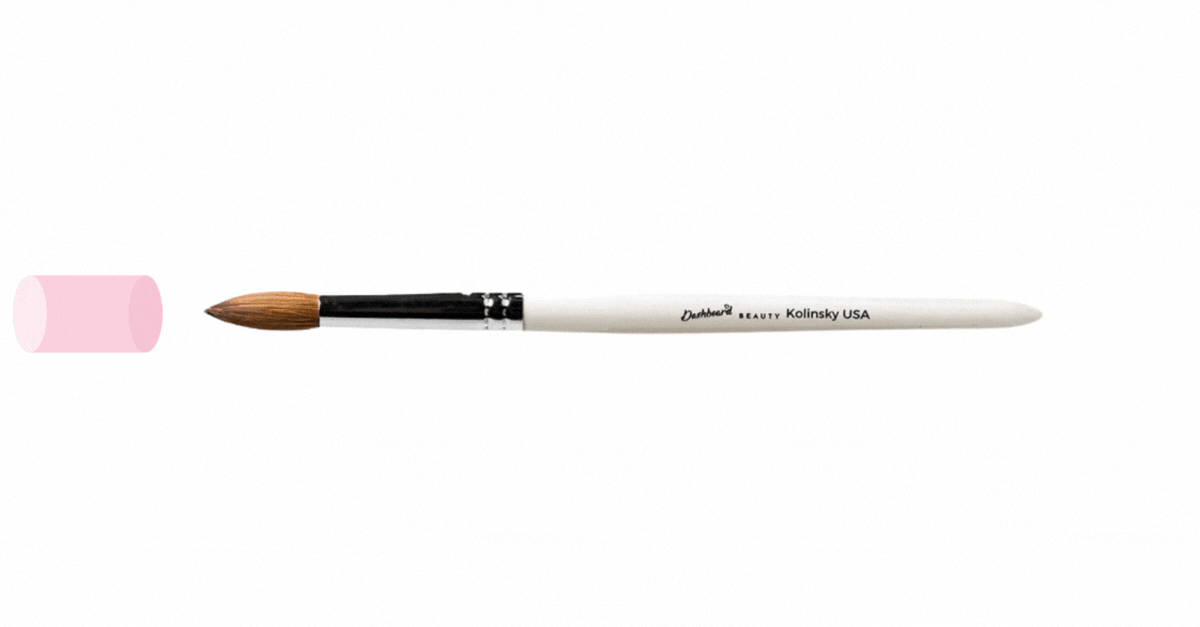
Flattening your acrylic nail brush is a game-changer for pros and enthusiasts.
It covers more in one stroke, saving time and boosting quality.
If you’re new to this, don’t fret!

Here’s a guide on how to flatten acrylic nail brush for top brush performance, and superior results in your nail game.
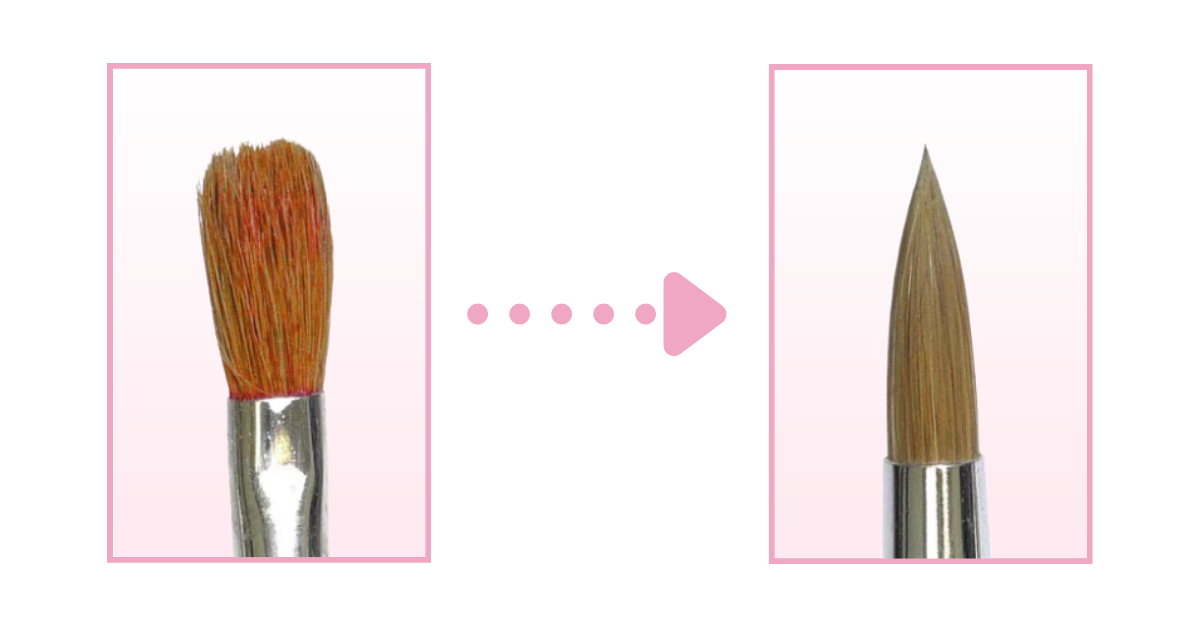
Why Flatten An Acrylic Nail Brush?
Flattening your acrylic nail brush is a necessity you might not be aware of.
Why?
Let’s delve into the reasons and benefits why you flatten acrylic nail brush.
- Next-Level Control and Precision

By flattening your acrylic brush, you gain better control and precision during the nail color application process.
A flatten acrylic nail brush is easier to maneuver and provides more accurate results, especially when working on detailed nail art designs.
- Maximized Product Retention
A significant advantage of a flatten acrylic nail brush is its ability to hold more product.
With improved product retention, you can efficiently apply acrylics and nail gels with fewer brush dips, making your work process smoother and more enjoyable.
- Less Lifting and Dragging
Using a flatten acrylic nail brush can help reduce the chances of lifting and dragging during application, leading to a smoother and more professional-looking finish.
As you work with different acrylic nail brush sizes, a flatter brush can improve the overall consistency and appearance of your work.
- Time Saver
The improved control and efficiency offered by a flatten acrylic nail brush can save time during the application process.
With fewer brush strokes and increased precision, you can create stunning nail art looks more quickly than with a round brush.
- Versatility Unleashed
A flatten acrylic nail brush also boasts increased versatility since it can be used for various nail art techniques.
From creating ombre effects to intricate patterns, a flat brush can help you explore different styles and enhance your creativity in the world of nail art.
How To Flatten Your Acrylic Nail Brush?
Now that we’ve covered the importance of flattening acrylic brush, let’s get to the meat of the matter.
Flattening your acrylic nail brush is a simple but crucial process.
Here’s what you need to prepare and do.
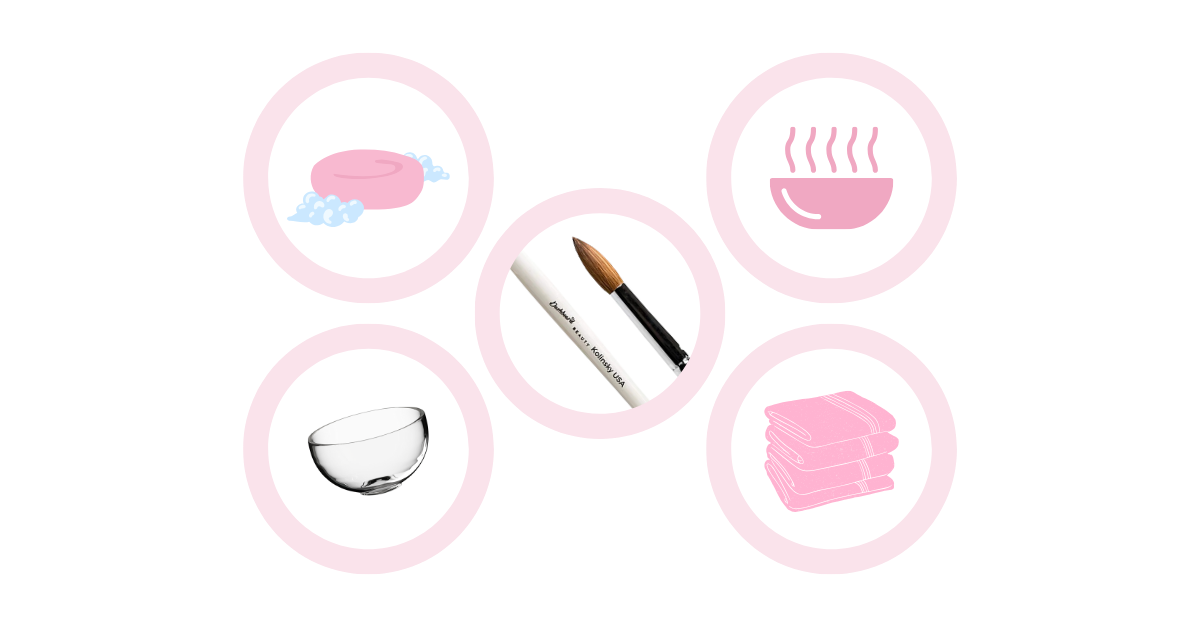
What You Will Need
To flatten acrylic nail brush, you will need the following items:
- Your acrylic nail brush
- A bowl of warm water
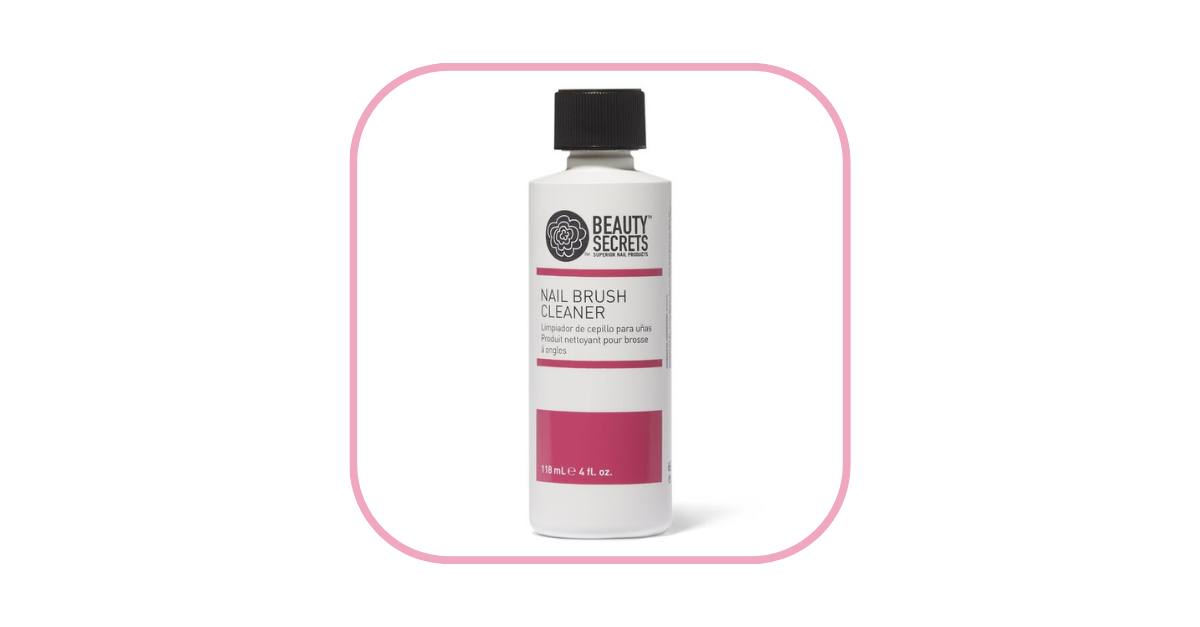
- Mild soap or gentle brush cleaner
- A clean towel or paper towel
- Monomer for storage
Step-by-Step Guide on How To Flatten Acrylic Nail Brush
Now that we know everything that we will need. Here’s the detailed process on how to flatten acrylic nail brush.
Step 1.
Start by dipping your acrylic nail brush into the bowl of warm water. Swirl it around gently to loosen any dried acrylic. This will help to make it more pliable for reshaping.
Step 2.
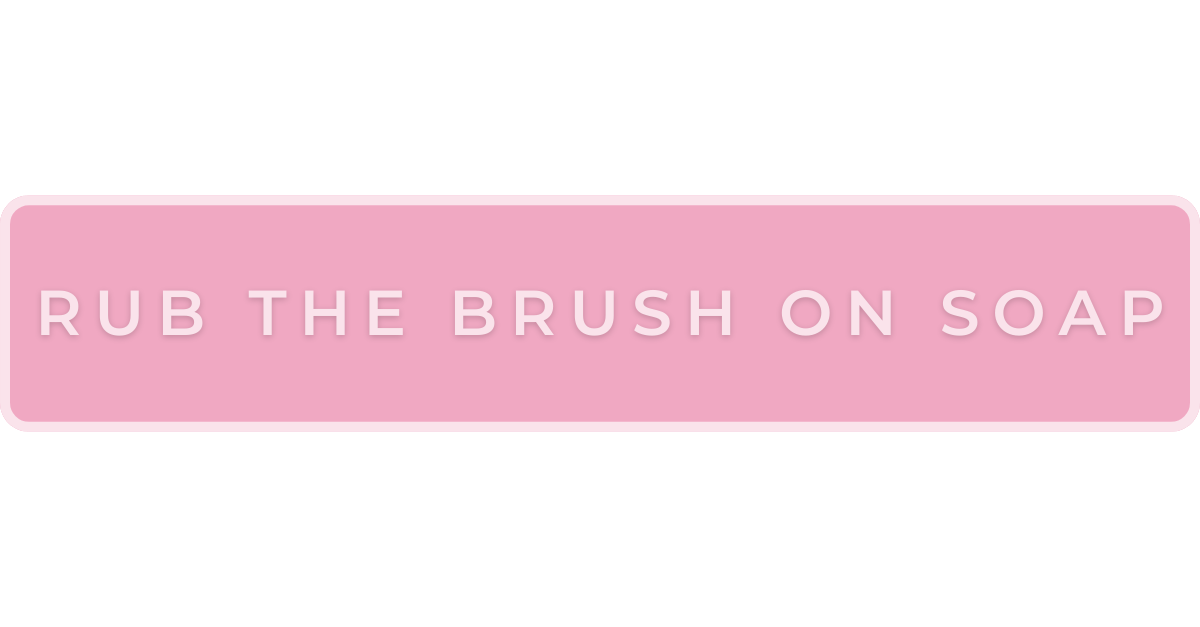
Next, gently rub your brush on some mild soap or brush cleaner. This will help to release any remaining acrylic and will also help in reshaping the brush bristles.
Step 3.
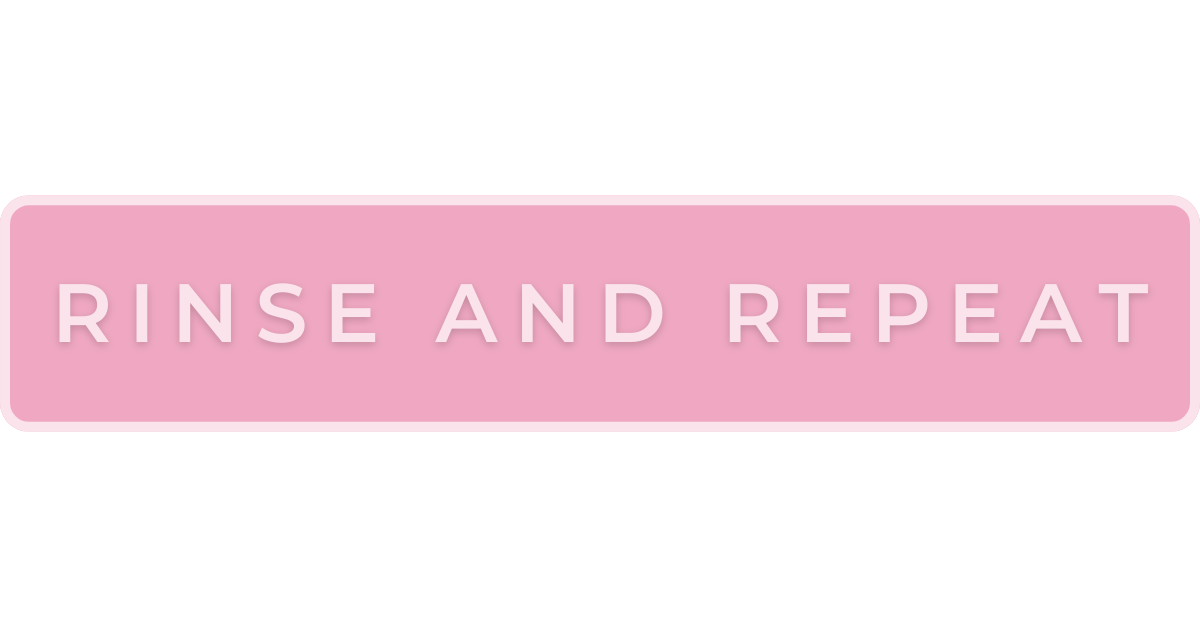
Rinse the brush thoroughly in the bowl of warm water, and then repeat the soap application and rinsing process until your brush appears clean and free of any debris.
Step 4.
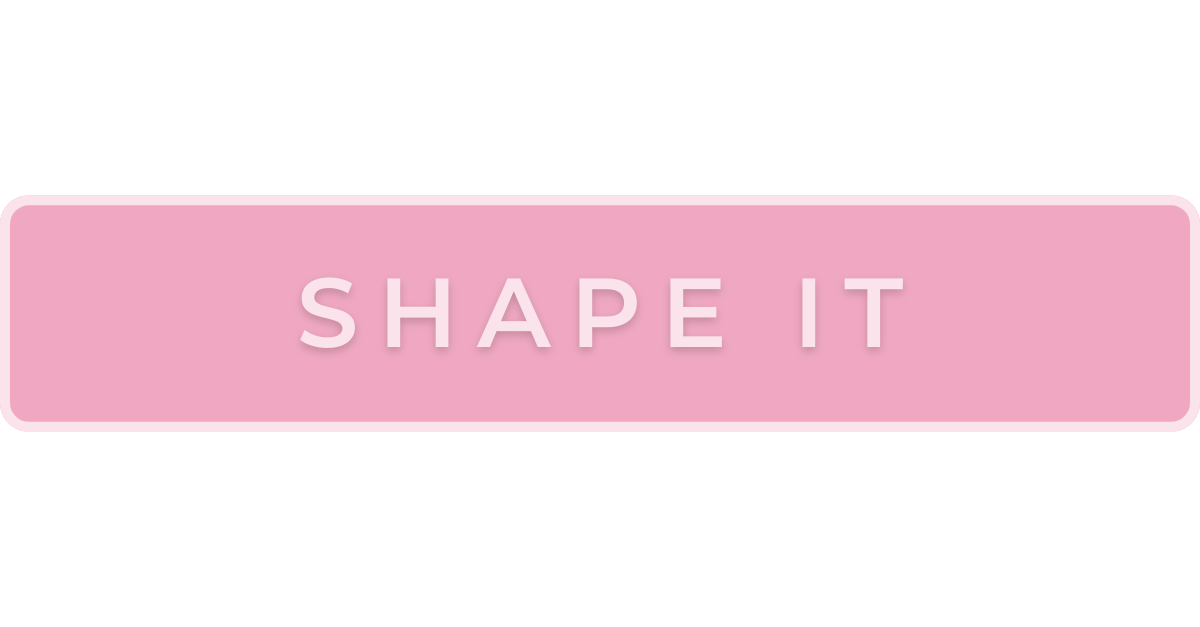
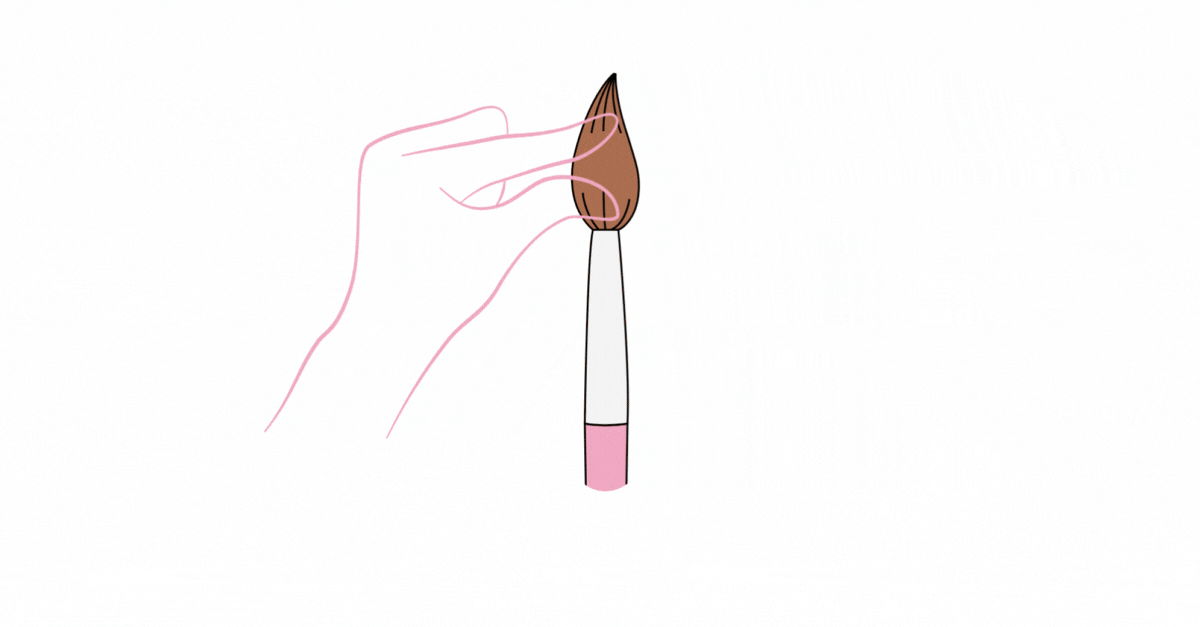
Gently squeeze the bristles together between your fingers to create the desired flattened shape. Be careful not to apply too much pressure, as you can damage the bristles.
Step 5.
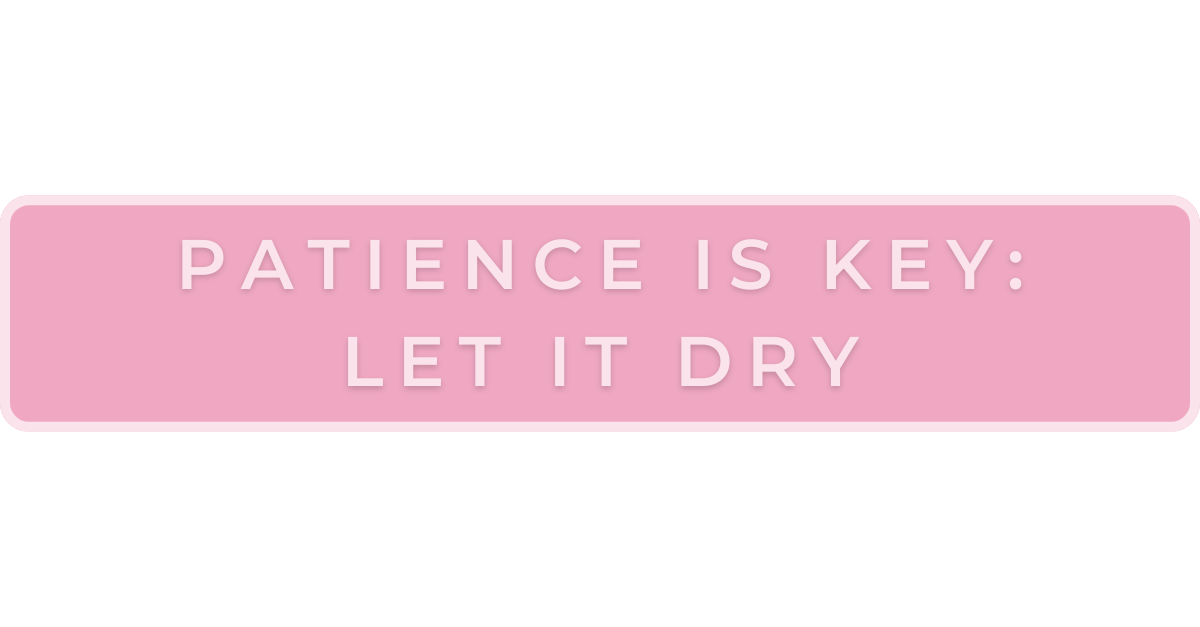
Place your brush on a clean towel or paper towel, and gently press it down to flatten it further. Do not rub or scrub the brush, as this can cause damage to the bristles. Allow the brush to dry for a few minutes.
Step 6.
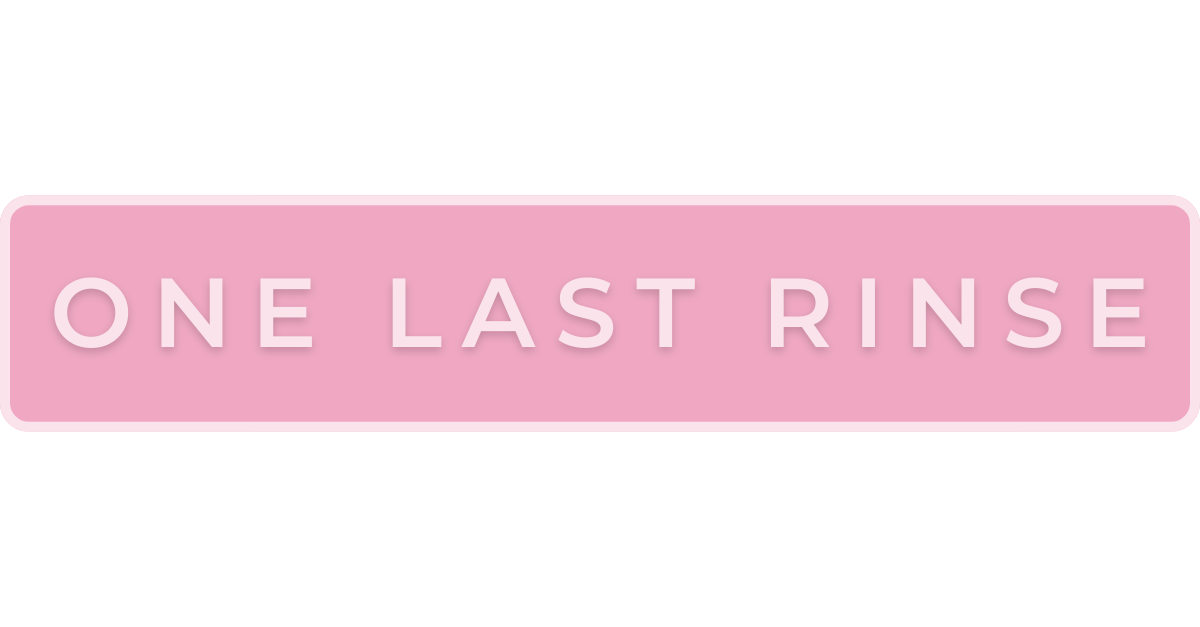
Once the brush is dry, give it one final rinse in clean water to remove any soap residue. This will also help to maintain the flattened shape of your brush.
Step 7.
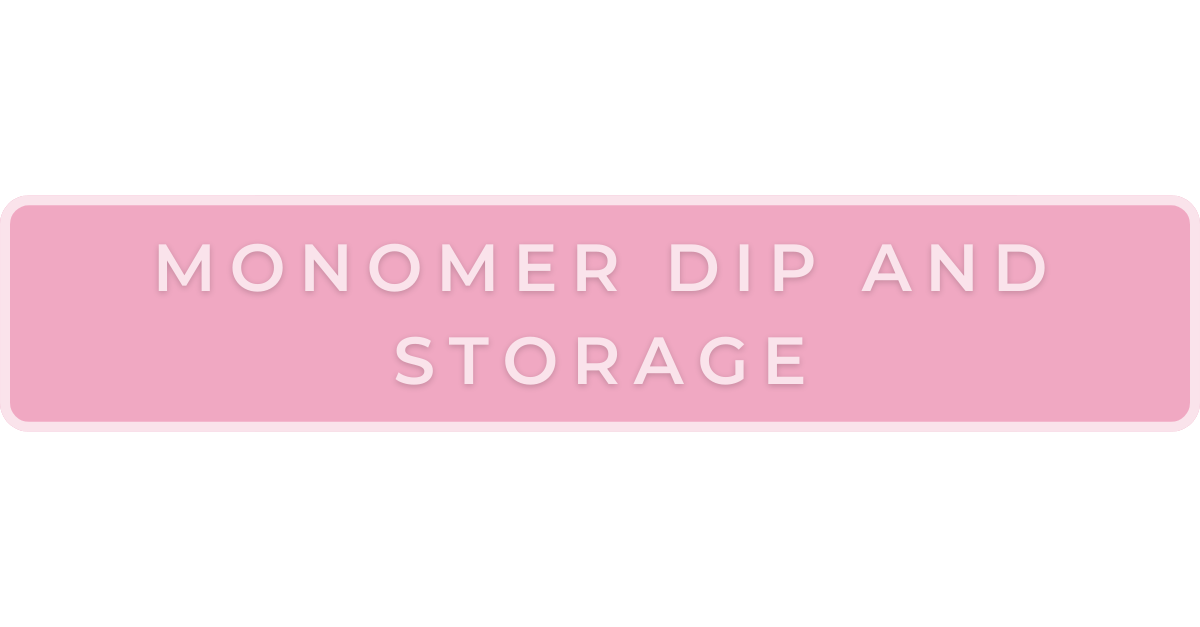
Lastly, dip your flattened acrylic nail brush into a small container of monomer. This will help to maintain its shape and make it easier to use the next time you need it.
Store your brush flat, in a safe and clean location, until you’re ready to use it again.
Now, your acrylic nail brush is perfectly flattened and ready for your next nail art masterpiece!
If you want to see a demo on how to flatten acrylic nail brush, checkout the video below.
Alternative Method: How To Flatten Acrylic Nail Brush With Hot Water
Here’s an easy method using hot water to get your brush perfectly flat!
- Gather your materials: To start, you’ll need the following: a cup or bowl of hot water (not boiling), a clean towel, and your acrylic nail brush.
- Dip the brush: Hold your acrylic nail brush’s bristles in the hot water for approximately 10-15 seconds. This will help soften the bristles, making it easier to reshape them.
- Pat dry: After dipping, gently remove the brush from the hot water and pat it dry using a clean towel. Be careful not to rub the bristles too hard, as this may cause damage.
- Reshape the brush: Now that your brush is soft and pliable, use your fingers to flatten the bristles and reshape them into the desired flat shape.
Press the bristles onto a clean surface (like a clean towel or countertop), maintaining a slight pressure so they remain flat.
- Allow the brush to cool: Once you have achieved the desired flat shape, let your brush cool down and dry completely before using it. This will allow the bristles to set in their new flattened shape.
And there you have it! With just a few simple steps and a little hot water, you’ve successfully flattened your acrylic nail brush.
Now you know a couple of ways on how to flatten acrylic nail brush, here are some tips to maintain its flatness.
How to Keep Your Nail Brush Flat
Keeping your acrylic nail brush flat is essential for a smooth and flawless application.
Let me share a few tips and tricks to help you maintain the perfect flat shape of your brush for longer periods.
- First things first, proper cleaning is the key. After using your brush, make sure to clean it thoroughly with warm water and gentle soap or brush cleaner.
Gently rinse and squeeze out any excess water. This prevents any acrylic residue from hardening and ruining your brush’s shape.
- Another fantastic trick to keeping your brushes flat is to press them gently into a flat shape while they are still damp.
Use a clean, dry paper towel or cloth to press the bristles, giving your brush that desired flat shape.
Don’t forget to store your brush with the bristles facing down, away from direct sunlight, and air circulation.
- Investing in a durable and high-quality nail brush is also crucial. Trustworthy brands offer nail brushes that maintain their shape longer.
- If you find your brushes losing their flat shape, don’t panic! Just give them a little TLC with an occasional brush soak in a specialized brush cleaner.
Soaking them for 5-10 minutes should do the trick, but you can let them soak for up to an hour if needed. Then, gently remove excess residue, and press the bristles back into shape.
Voilà! Follow these tips, and your brush will continue to maintain its flawlessly flat shape.
How To Avoid Damaging The Bristles When Flattening?
To avoid damaging the bristles when flattening your acrylic nail brush, it’s essential to be gentle and use the right technique.
Start by soaking the bristles in acrylic liquid or warm soapy water for a few minutes. Gently press on the bristles to fan them out, rotate the brush, and press again.
Remember to be gentle and avoid pulling or tugging on the bristles, as this can cause damage.

Here are some more common mistakes to avoid when flattening an acrylic brush.
Common Mistakes to Avoid
When trying to flatten acrylic nail brush, there are a few common mistakes to watch out for.
- Avoid cleaning your brushes with regular nail polish remover, as it can damage the bristles. Instead, use a designated brush cleaner or acrylic liquid to gently clean away any clumps and residues.
- Another mistake is not allowing your brushes to dry properly after cleaning. Wet bristles can stick together and lose their shape.
Always allow your brush to air-dry on a flat surface, with the bristles facing downward, to prevent them from becoming misshapen.
- Make sure you’re not using a damaged or frayed brush. A damaged brush will not give you a smooth and even application.
To extend the life of your acrylic brush, store it in a brush cap or protective sleeve when not in use.
- When working with acrylic products, overworking the product on the nail can result in air bubbles and an uneven finish.
To avoid this, practice your technique and only work the acrylic until it’s smooth – any additional manipulation can introduce air bubbles.
- Lastly, many nail technicians make the mistake of not giving their nails enough time to breathe between acrylic sets.
While it’s tempting to keep your nails looking fresh with constant acrylic applications, acetone can dehydrate your nails, leaving them brittle and parched.
By keeping these common mistakes in mind, you’ll be on the right track to flattening your acrylic nail brush and creating beautiful nail enhancements with ease.
Remember, taking care of your tools is essential for achieving professional results.
Final Thoughts
It may take a few attempts to master the art of flattening your acrylic brush, but we believe in you!
Remember, practice makes perfect!
We hope this guide assists you in your journey to a perfectly flattened acrylic nail brush.
Now, give it a try, and let your nail art flourish!
Share your results on social media or leave your thoughts in the comments below.
