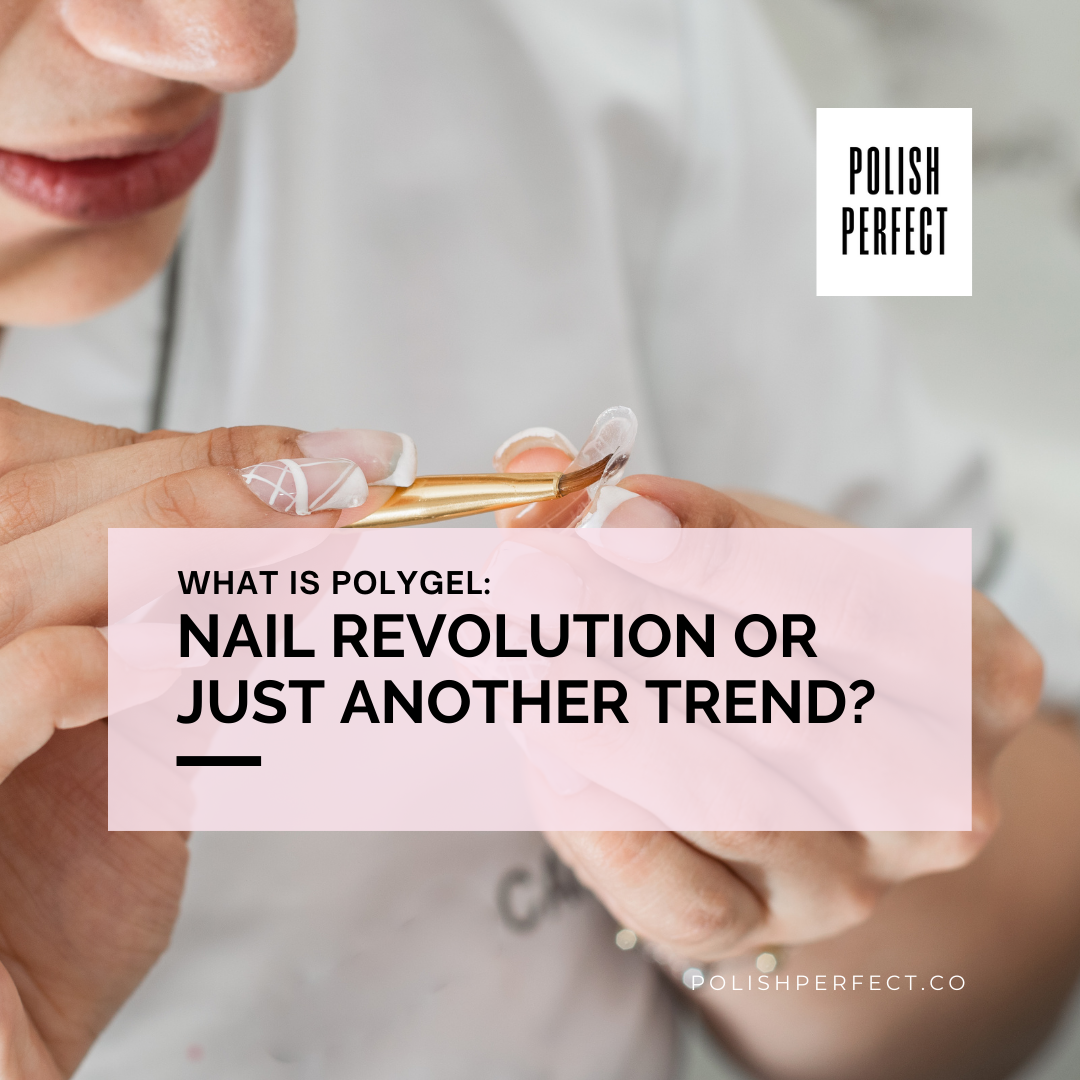
Polygel is a hybrid product combining acrylic and gel. This unique blend offers the best of both worlds in one handy product. Whether you’re looking to extend your nails or add a protective layer to your natural ones, Polygel is your go-to solution.
Polygel nails fuse acrylic strength with gel flexibility for manicures that last.
Loved by salon pros and DIY fans alike, they offer versatility and durability.
Mastering the process takes skill and patience.
But don’t worry, here’s an article to get you ready to rock flawless nails with Polygel perfection.
What Is Polygel?

In this article, we mainly use the term “polygel nails,” but you might also hear them referred to as “acrygel nails,” in a salon setting, as Polygel is a brand.
Now, that we established that fact, let’s learn more about what is polygel.
Composition & Consistency
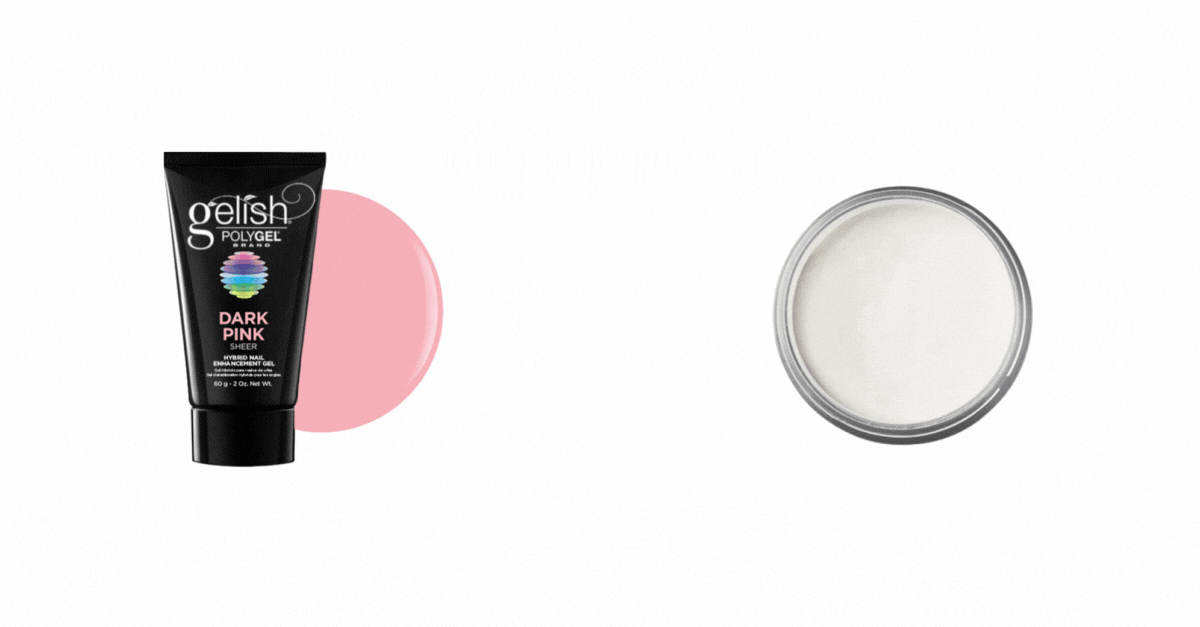
We’re talking about a hybrid that takes the acrylic powder you’re familiar with, throws in some clear gel for good cheer, and combines them into a putty-like powerhouse in a tube.
Now, you won’t be squeezing out toothpaste here, but a robust formula that’s set to revolutionize your nails.
Why the buzz?
Polygel’s strength lies not only in its durability—which rivals that of acrylics—but also in its flexibility, akin to gel nails.
This means less chipping, breaking, or cracking. Your nails get to bend and flex without the drama of a nail catastrophe!
Application Know-how
Applying Polygel isn’t rocket science, but it sure feels like an art form.
The malleable dough is expertly sculpted on your nail or a dual form and cured under a UV lamp or LED lamp, leaving you with a solid, yet elastic base that says, “Bring it on, life!”
So next time you’re eyeing those bottle cap challenges or planning to type your next novel, remember your nails can keep up, all thanks to the impressive resilience and pliability of Polygel nails.
Whether sculpting extensions or laying the groundwork for some serious nail art, Polygel is a trusty sidekick for a manicure that lasts.
And hey, if you’re feeling the itch to become a DIY manicurist, a Polygel kit might just be your best bet.
Get creative, have fun, and remember, your nails are your best accessory—they deserve the best, and Polygel is nothing short of it.
Polygel Vs. Gel Vs. Acrylics
In the vibrant world of nail enhancements, Polygel, gel, and acrylics reign supreme.
Whether you’re all about that full-set chic, dreaming of sculpted extensions, in need of a savvy fill-in, or fancying a timeless pink-and-white look, we’ve got the lowdown on what sets each method apart.
Full Set
For those of you starting fresh and wanting a complete nail makeover, a full set is where the magic happens.
With Polygel, you’re in for an easy-to-manage rendezvous as you mold and shape your nails without the rush – it won’t cure until you say so (under a UV light, that is).
Now, if you’re after that super sleek finish, gel might just tickle your fancy since it’s the thinnest and chicest of the bunch.
But let’s not forget acrylics, the oldie but goodie, perfect for those of you who are looking to add some serious length and endurance to your nails.
Sculpted Extension
Longing for nails that scream elegance from fingertip to tip?
Sculpted extensions are your go-to for added length that blends seamlessly with your natural nails.
Polygel steps up as the star for sculpting your nails into whatever fantastical shape you desire, be it almond, stiletto, or a sassy squoval.
It’s kind of like being a nail-sculpting wizard, without the need for a wand!
Fill-In
Who loves the dreaded gap that shows the world your nail regrowth?
No one! A fill-in is your knight in shining armor here. Polygel fill-ins are a breeze, bridging the gap between your cuticle and the enhancement like a smooth operator.
It’s all about keeping your nails looking as fresh as the day you walked out of the salon. So go ahead, give your nails that much-needed TLC and keep rocking your style without missing a beat!
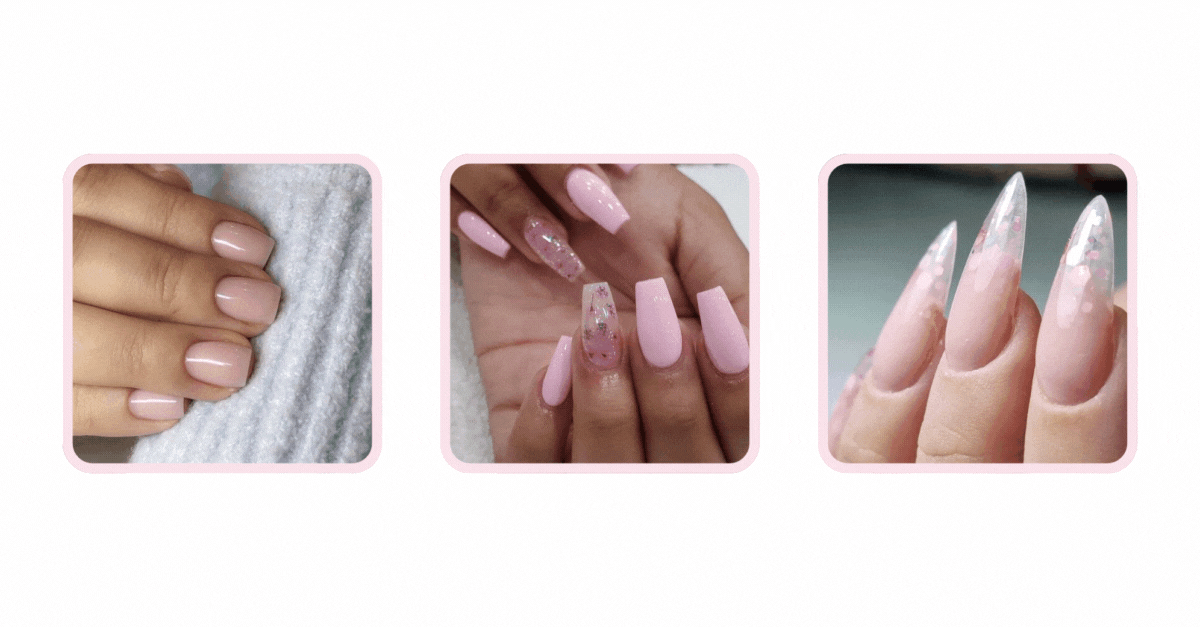
Pink And White Nails
Capture the essence of evergreen elegance with Pink and White nails, also lovingly dubbed as the French mani.
Polygel makes creating that perfect smile line as easy as pie, and the results? Utterly flawless. Paint the town pink (and white) as you flaunt a classic look that’s always on point.
Whether it’s a wedding, a chic brunch, or just another day at the office, Pink and White nails are your besties for a refined and polished statement.
So there you have it, you smart, savvy nail connoisseur, the ins and outs of Polygel, gel, and acrylics.
Each has its own charm and purpose, ready to adorn your nails according to your heart’s desire. Go forth and be fabulous!
Pros And Cons of Polygel Nails
Alright, let’s talk about the advantages and disadvantages of polygel nails.
Pros
Durability: If you’ve ever wished for nails that last longer, polygel is your answer. They can outlast traditional gel, making chipped nails a distant memory
Flexibility: These nails got moves! Polygel offers more flexibility than acrylics, meaning they’re less likely to crack easily in everyday activities
Workability: Having a good nail day just got easier. Polygel spreads on your nails like butter on toast – easy to shape and perfect for unleashing your inner nail artist
Natural Feels: They’re the chameleons of the nail world – looking and feeling more natural while giving your natural nails a break from the drama
Nose-Friendly: Adore your polish without the pungent salon smell that usually tags along. Polygel has minimal odor, especially when stacked up against their acrylic cousins
Cons
Professional SOS: Unless your at-home salon game is strong, you’ll need a pro to apply these bad boys. DIY might just be a mess if you’re not careful
Price Tag: Quality comes with a price. You may find your wallet a bit lighter after getting polygel, as they can wear a heftier price tag than a regular polish job
Remember, your nails are jewels, not tools. Treat ’em right with polygel, and they’ll be thanking you with every fabulous flip of your hair.
How Are Polygel Nails Applied?
Imagine transforming your nails into stunning, long-lasting beauties with polygel – the hybrid of acrylic and gel that’s taken the nail world by storm.
Here’s a cheat sheet on how to apply polygel.
Nail Prep
First things first, prep your nails like a pro. Clean them up nice and tidy.
Give your natural nails a good shaping session, and nudge those cuticles back. You’re not just tidying up; you’re setting the perfect stage for the polygel.
Apply The Polygel
Now grab your polygel tube and squeeze out a perfectly sized bead right onto that nail. If you’re not besties with the polygel yet, don’t worry – a little goes a long way.
Then, with a brush slightly tipsy on alcohol, pat and shape that polygel into place. It’s like playing with modeling clay, only way cooler because it’s on your nails.
Smooth The Formula
Got sticky polygel? Enter the magical slip solution. It’s like a little fairy dust to keep your brush from turning into a sticky mess.
Take this time to sculpt your polygel into the most enviable shape that even Greek sculptors would be in awe of.
Cure The Nails
Once you’ve created that masterpiece, it’s time to set it in stone, or, well, cure it under a UV or LED lamp. Think of it as giving your nails a little sunbath.
File And Shape
Pull out your nail files, folks, it’s about to get dusty! This is where you turn those roughly sculpted edges into the smooth curves of your dream nails.
A little elbow grease here will take you from ‘meh’ to ‘marvelous’!
Apply Your Finish
It’s the grand finale, where you get to dress up your nails in their best outfit. Whether it’s a snazzy polish, some intricate design, or a sleek and shiny top coat, this is your nail fashion show.
Cure The Nails Again
One last trip under the lamp to seal the deal. Consider this final cure the security guard making sure your nail’s gorgeous ‘outfit’ stays put, no matter what.
How To Care For Polygel Nails

Now, let’s talk about how to keep those polygel nails looking fabulous for longer.
Here’s the scoop on caring for your polygel tips – from one nail lover to another!
Be Gentle with Your Gems
Think of your nails as delicate treasures. They’re not meant to open soda cans or scrape off price stickers. Use the right tools for those jobs and keep those nails looking pristine.
Moisturize Those Cuticles
Those tiny rims around your nails are like the frames for your nail art. Keep ’em hydrated with a dab of cuticle oil. Regular love and moisture will keep the cuticles – and your nails – happy and healthy.
- Use cuticle oil daily
- Massage gently around each nail
Chemicals? Not on My Nails!
Household chores might not be glam, but they’re a part of life.
Slip into some gloves to shield your nails when you’re dealing with cleaning products. This isn’t just practical; it’s a necessity to keep your polygels from having an unintended chemical peel.
- Wear gloves when cleaning
- Choose mild soaps for handwashing
By following these simple steps, you’re not just maintaining your nails; you’re investing in a long-lasting relationship with your polygel set.
Can They Be Done At Home? What Are The Risks?

So you’re eyeballing those shiny Polygel nails and thinking, Can I pull this off at home? You betcha! But it’s no walk in the park.
Protip: Polygel is a fab nail enhancer that blends the strength of acrylics with the flexibility of gels.
Getting it right, though, is a bit like making a soufflé—it takes patience and practice.
Achieving that even spread and nailing the sculpted shape requires a steady hand and an eye for detail. But hey, you’ve got this!
Home Application Risks
- Oops, I did it again! Goof-ups can lead to less-than-stellar results and might damage your natural nails. So, take it slow, friend.
- Allergic Reactions: Read the labels, dear. If Polygel was a cookie, you’d wanna know if you’re allergic to nuts, right?
- Curing Conundrums: Psst…that lamp is your friend, but only if used correctly. Incorrect curing might have you waving goodbye to your new nails sooner than you’d like.
- Infection Alert: Keep it clean, capisce? Bacteria love a messy workstation.
Here’s the deal: you can absolutely do Polygel nails in the comfort of your snuggly slippers and favorite robe.
Just prep like a pro, follow the steps like you’re following a map to treasure, and practice makes perfect.
Keep it neat, keep it tidy, and if your nails could talk, they’d thank you for treating them like the queens they are!
How Much Do Polygel Nails Cost?
So, you’re eyeing those chic Polygel nails?
Let’s talk about what it’s going to cost you to get those nails on point.
Location, Location, Location!
Just like real estate, where you get your nails done matters big time. Salon prestige and where it’s nestled in the city can make the price tag nudge up or down.
On average, you’ll find yourself trading between $50 and $150 for that full set of gorgeous Polygel nails.
These babies are worth it for the blend of durability and flexibility they provide.
- Need Simplicity? – A basic application could sit pretty at the lower end of our price range.
- Feeling Fancy? – For those of you craving a bit more flair or opting for nail extensions, the cost can creep up towards that hundred-dollar mark, sometimes even more.
Gelish Polygel boasts a formula that’s become the darling of the nail world.
However, fancier brands or more intricate designs will have you digging deeper into those pockets.
But, hey, for nails looking sleek and professional, isn’t it worth it?
How Long Do Polygel Nails Last?

When done right, Polygel nails are like that trusty friend who sticks around; they’re known to grace your fingertips with their presence for a good 3 to 4 weeks.
So what’s the secret to their staying power? Well, it all boils down to a few key things:
- How good is the application (Precision is key, folks!)
- Your nail care routine (Gloves are your BFFs for chores)
- The hustle and bustle of your day-to-day life (Less rough, more fluff!)
Now, I know you’re all about maintenance, because who isn’t?
With proper care, you won’t just get longevity; you’ll keep your nails looking fresh-from-the-salon fabulous.
Yep, that means you’re showing up to all your meetups with salon-level swagger weeks after your appointment.
Here’s a quick checklist to keep your Polygel nails in tip-top shape:
- Home Care: Moisturize those cuticles and avoid nail-biting (Yes, that’s you I’m talking to).
- Protect ‘Em: Wear gloves when you’re cleaning or gardening. Think of them as your nail’s personal bodyguards.
- Touch-Ups: Schedule in fill-ins with your manicurist—avoid the DIY urge unless you’re a pro!
How Are Polygel Nails Removed?
We know thatPolygel nails are adored for their durability, but just like a good party, they need to end at some point.
Don’t worry, the removal process is straightforward and with some care, you can ensure nail health stays top-notch!
Step 1: Buff It Out
First things first, grab a nail file. You’ll want to buff the shiny top layer off your Polygel to allow the acetone to do its magic.
Just be careful not to go all hulk-mode on your nails – we’re not trying to file down to your real nail here!
Step 2: Acetone Away
Then, soak those nails in acetone. Yes, the same stuff that can take off regular nail polish can help here, but it needs a little more time to work through the Polygel.
You might want to cue up your favorite playlist or podcast because this part requires some patience!
Step 3: Gentle Does It
After a soak, gently nudge the Polygel off your nails with a cuticle pusher. If it’s playing hard to get, give it a few more minutes in the acetone.
And voilà! Your nails are free to breathe and ready for their next adventure.
Does Polygel Ruin Your Nails?

You’ve probably had a little heart-to-heart with yourself, wondering, “Will Polygel be the villain that wrecks my natural nails?”
Fear not, my friend! With the right kind of love and care, Polygel can be kinder to your nail beds than a Sunday spa sesh.
First off, the basics: Polygel is like the hybrid child of acrylic and gel—tougher than gel but more flexible than acrylics.
When applied correctly (and let’s be real, that means leaving it to the pros at your fav salon or following the DIY steps like a pro), Polygel won’t do your nails dirty.
It’s formulated to be a team player, playing nice with your natural nails.
However, and this is a big one, if you decide to skip the rules and remove your Polygel mani like you’re peeling an orange, you might as well wave goodbye to your nail health.
Improper removal, such as forcefully peeling or prying, can lead to weak, screaming-for-help nails. And nobody wants that.
Final Thoughts

Polygel offers strength and flexibility in nail enhancements, perfect for both salon-goers and DIY enthusiasts.
Versatile and durable, Polygel nails suit various styles with ease.
Share your thoughts or experiences below, or spread the word on social media!
