To achieve a round-shape acrylic nails, begin by trimming them to your desired length with a nail clipper. Then, grab a nail file and gently round the edges, following your nail’s natural curve. Aim for a balanced curve, leaving the corners slightly squared for added strength.
Ready to nail your manicure game?

Let’s make nails fab with the ultimate guide on how to shape nails!
From chic squares to daring stilettos, we’ve got the scoop on shaping techniques that’ll leave you feeling like a pro.
Plus, find out how to match your nail shape to your hand type for the perfect fit every time!
Importance of Acrylic Nail Shape

So, you’re asking, why does nail acrylic shape matter anyway?
Well, your nail shape can make or break your manicure.
Understanding nail shapes is crucial as it reflects your unique style and personality. With various acrylic nail shapes available, there’s something for everyone’s taste.
Your choice of nail shape evolves as you become more adventurous with your nail designs. Not only do different shapes enhance the appearance of your nails, but they also provide strength and durability.
When opting for acrylic nails, selecting the right shape is pivotal.
Let’s explore the diverse options to match your preferences and style!
Tools In Shaping Your Nails

But before anything else, you wouldn’t head into battle without your armor, right?
Well, shaping your nails is no different. Here are the essential tools you need to craft the perfect nail shape.
- The Humble Nail Clipper
First up: the nail clipper. This little gadget might not seem like much, but it’s the workhorse of your nail shaping toolkit.
Why is it so essential? Well, nail clippers are perfect for trimming large sections of your nails quickly. They’re the first step to adjusting your nail length and creating a basic outline of your nail shape.
Think of it as your first draft – it doesn’t have to be perfect, but it gives you a starting point. And, as any experienced nail tech will tell you, starting is often the hardest part.
- The Mighty Nail File
Once you’ve trimmed your nails down to size, it’s time to finesse them with a nail file. This tool, my friends, is where the magic really happens.
After you’ve clipped your nails, gently sand them with the nail file to shorten and shape them.
Protip: Always file in one direction. This isn’t just a neat trick for precision – it’s crucial for sealing the nail edge.
Why does sealing the edge matter? Well, it creates a smooth canvas for your nail polish application.
And trust me, a smooth canvas is the secret to a stunning, chip-free manicure.
How to Shape Nails: Different Shaping Techniques
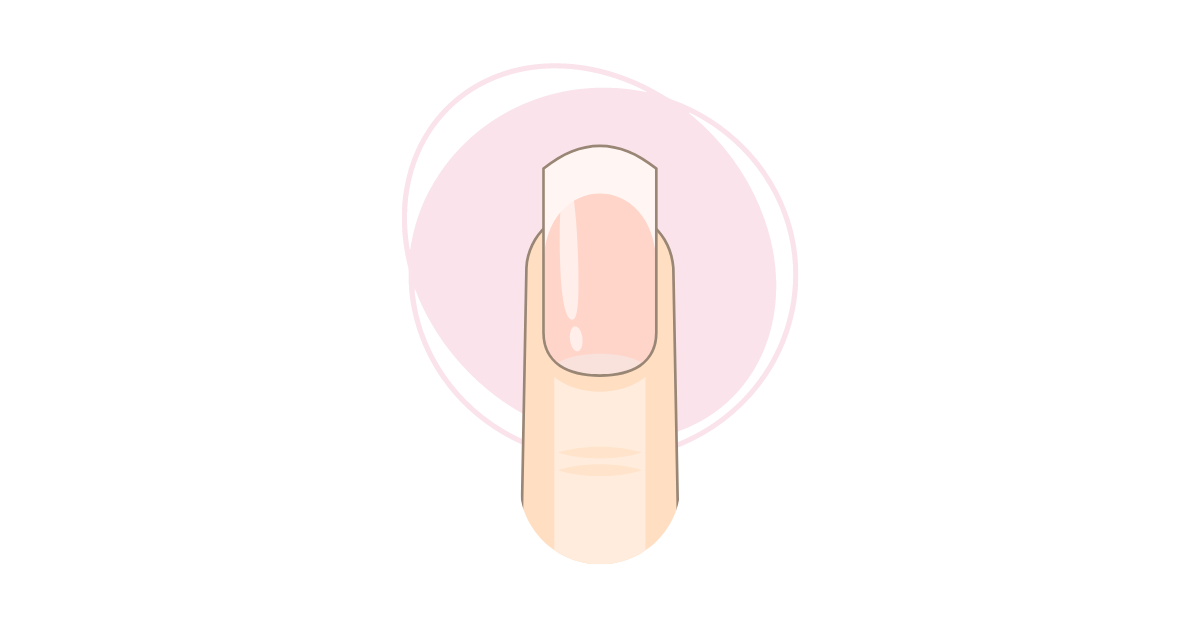
Achieving the Perfect Round Nail Shape
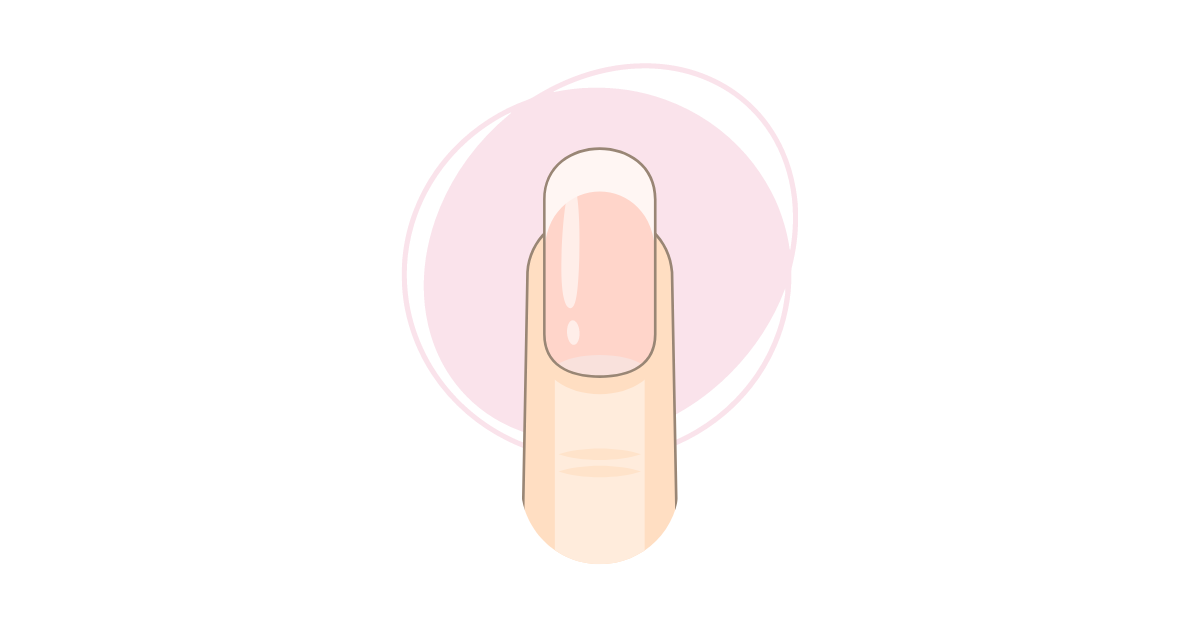
Mastering the round nail shape is as easy as pie.
Start by trimming your nails to your desired length with a nail clipper.
Next, pick up your trusty nail file and let’s get to work. Gently round off the edges, following the natural curve of your nails.
Filing should always be done in one direction to maintain healthy nails and prevent damage.
Aim for a balanced curve, leaving the corners slightly squared for added strength.
The beauty of round nails?
Maintenance is a breeze. Just regularly file and shape your nails, smoothing out any rough edges or snags. But be careful not to overdo it on the sides, as it could weaken your nails.
Simple, right?
Crafting Gorgeous Oval Nails
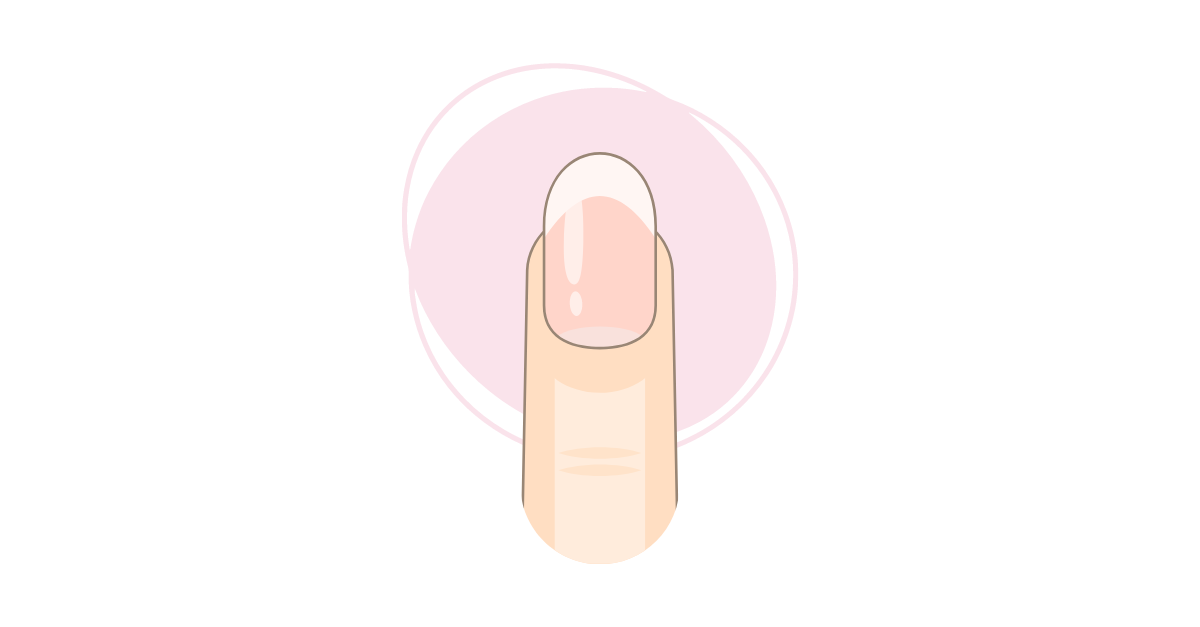
Ready to turn heads with some stunning oval nails?
No problem! All you need is your reliable nail file. Begin shaping the edges into a smooth curve, following the contours of your nail bed.
Start from one side, file towards the center, then repeat on the other side for that perfect symmetry. Your goal is a rounded tip, with a hint of flatness at the top center for extra durability.
Now, to keep those ovals looking fab, regular upkeep is crucial. Use a fine-grit file to smoothen any rough edges.
Shaping Square Nails Like a Pro
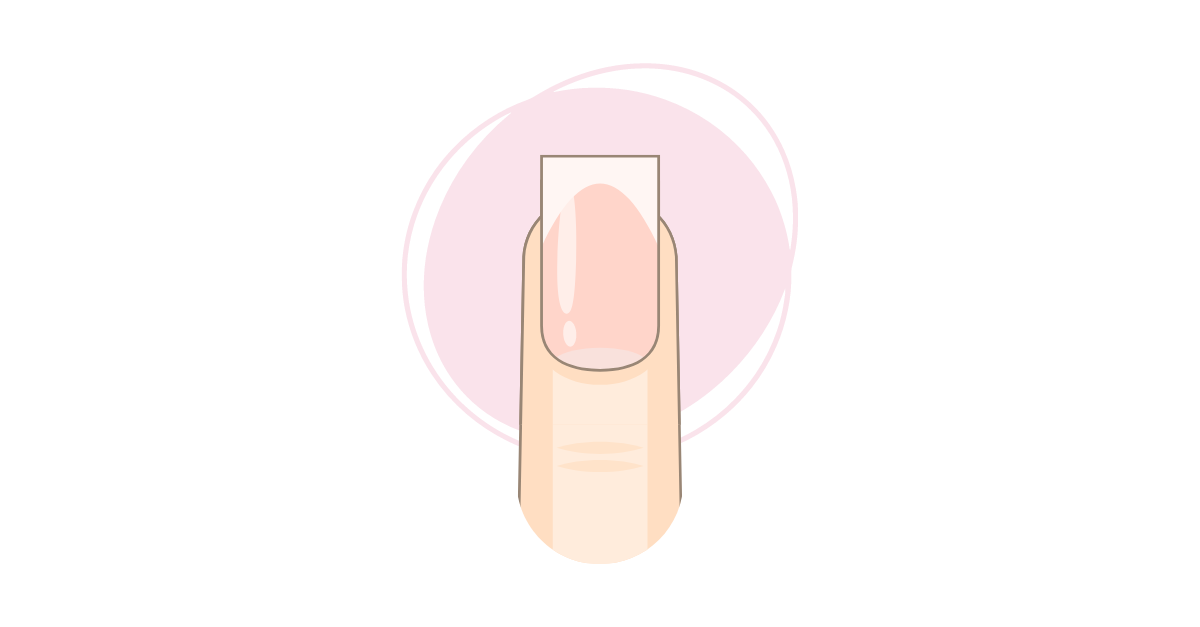
Whether you’re working with short or long nails, shaping them into a neat square is a walk in the park.
Here’s how: grab your nail file and carefully shape the edges into straight lines. Your aim is a flat top surface, with all sides evenly squared off.
Keep those corners sharp and the shape clean for a sleek, uniform look.
Voila! You’ve got yourself some killer square nails.
Creating Chic Squoval Nails
Alright, so you’re looking for something a tad more subtle?
Enter the squoval nails.
Start by gently rounding the corners of your square nails, introducing a subtle oval curve, while maintaining the square structure.
The trick here is to maintain the sharp look while adding a touch of graceful curvature to the edges.
Mastering the Art of Almond Nails
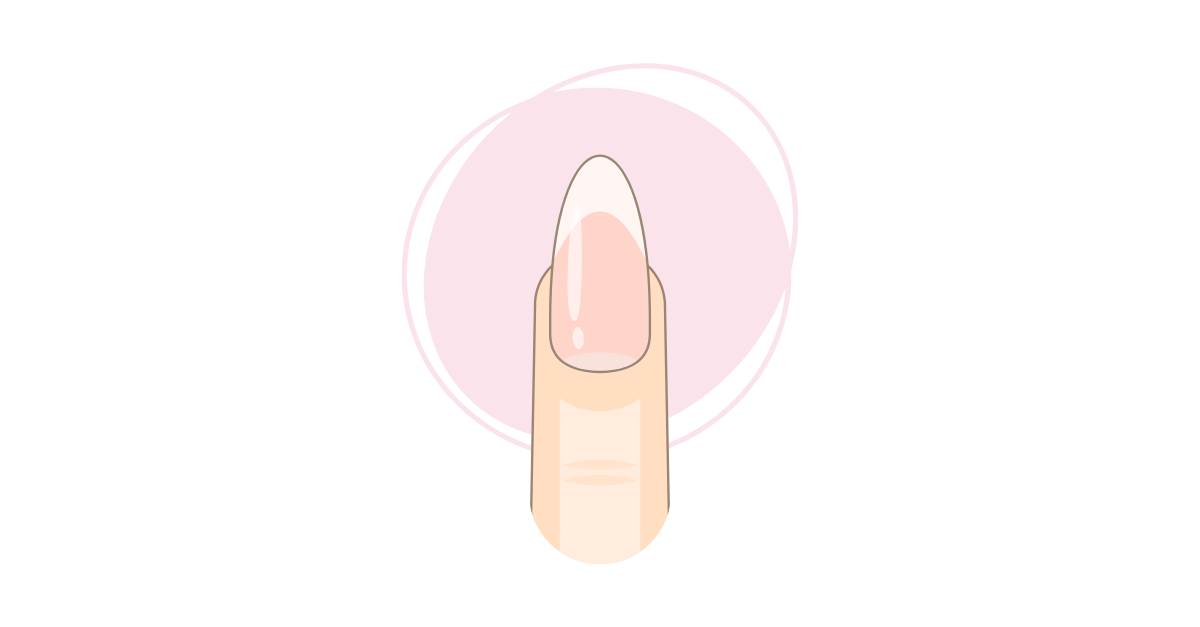
Craving that coveted almond nail shape?
Well, you’re in luck. Grab your nail file and start shaping the sides into a tapered, pointy form.
Gradually file away those corners, ensuring both sides are perfectly symmetrical.
The result? A smooth curve that gracefully tapers to a rounded point, just like an almond.
Just remember, almond nails might need a little extra TLC to prevent breakage.
So, keep them moisturized and nourished.
Sculpting Stunning Stiletto Nails
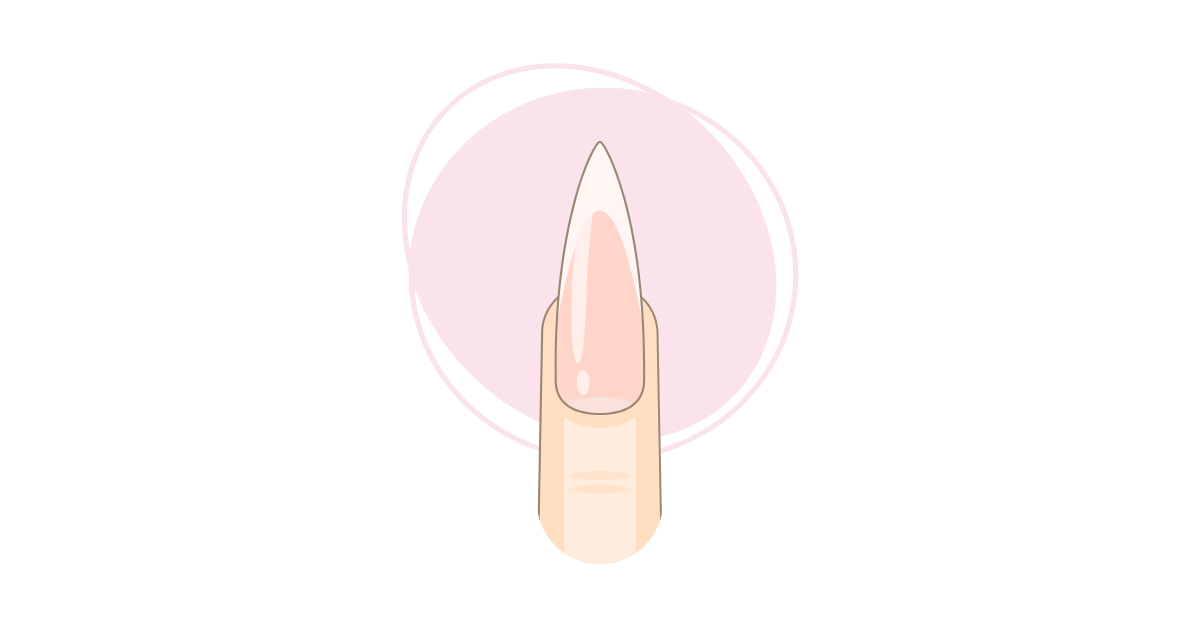
Stiletto nails are meant for the bold and the beautiful, and guess what?
They’re not as hard to master as you might think. You’ll need some length to play with though, so allow your natural nails to grow out or opt for nail extensions.
Next, grab a nail file and carefully shape the sides into a sleek, tapered form, narrowing down to a sharp point.
Precision is the name of the game here, as we don’t want any weakening or damage to your nails.
Nailing the Coffin/Ballerina Shape
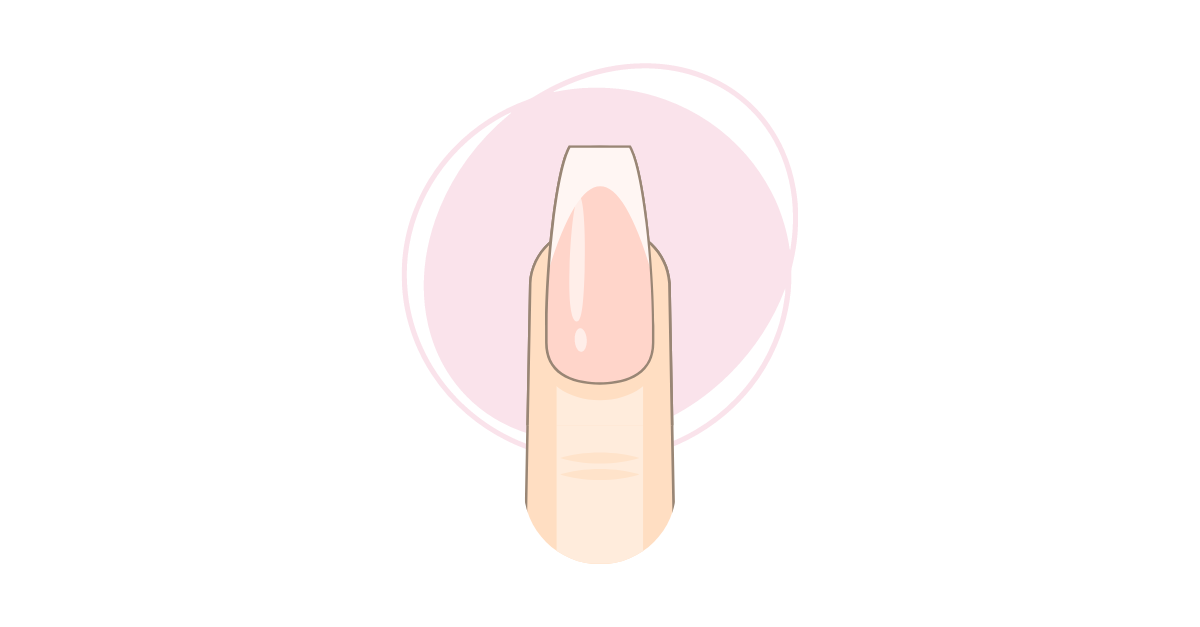
Looking to recreate that stunning coffin or ballerina shape?
Start by shaping the edges into straight lines, forming a squared-off tip. Then, slowly taper the sides inward for a sleek, elongated effect.
Aim to create a sharp and precise shape, mirroring the silhouette of a coffin or a ballerina’s shoe.
Shaping Lipstick Nails
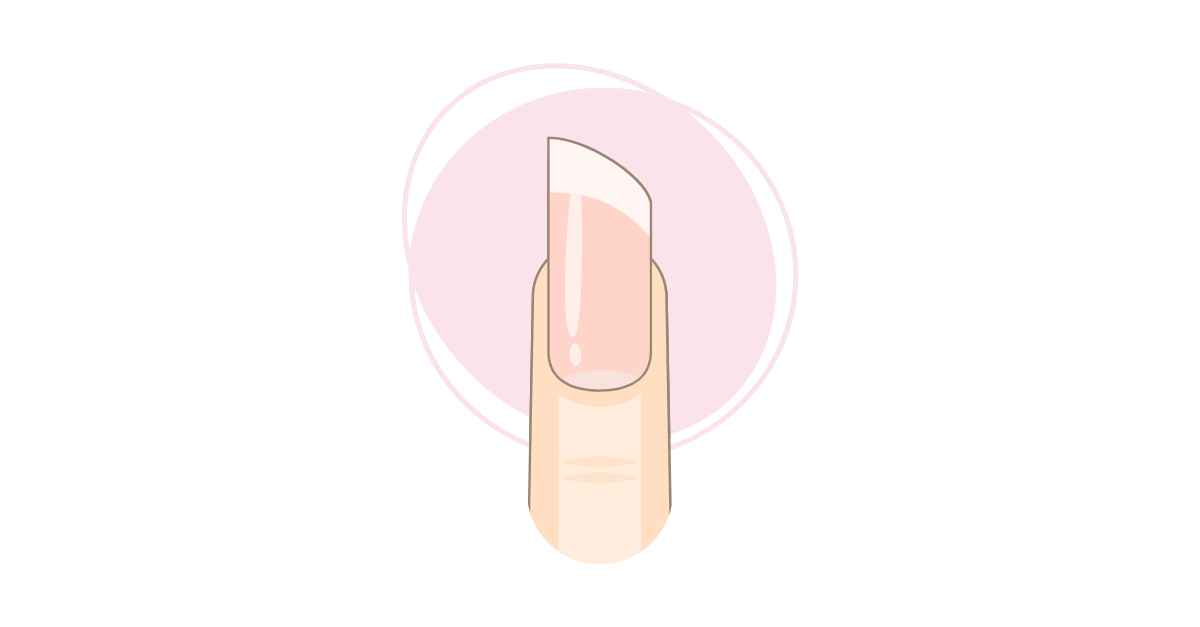
Let’s wind up with something a bit more unique – the lipstick nail shape.
Start by cleaning your nails and making sure they’re free of oils. Apply a nail form for uniform shaping, then proceed to apply and flatten acrylic paste onto the nails, shaping them into a one-sided slant.
Shape the opposite side of the nail to complement the slant, then smooth out any bumps and transition lines.
File the edges to your desired shape, buff the nails for a smooth finish, and seal it all off with a clear top coat for a polished look.
Choosing Your Nails Based On Different Hand Types

Realizing that there are different hand types is no not rocket science.
Before choosing your go-to acrylic shape, you may want to consider checking out what kind of hands you have to achieve the most flattering nail shape.
Check out the types below:
Understanding Grounded Hands
Grounded hand types typically have a broad palm and shorter fingers. The key to enhancing grounded hands is all about elongation.
For grounded hand types, the shapes that are most suitable are almond and oval shapes. These shapes not only add length to the fingers but also harmonize with the overall hand structure.
Playing it Right with Piano Hands
Piano hands are characterized by short, broad palms and long fingers. If you’re blessed with these, you have a wide range of options when it comes to nail shapes.
However, one shape that truly compliments piano hands is the coffin-shaped nail. It’s sleek, it’s modern, and it works with your hand’s natural structure to create an appealing look.
Hi-Five for Hi-Five Hands
If you have long palms and short fingers, then you have Hi-Five Hands. An oval-shaped nail set works best for this hand shape. The oval shape elongates your short fingers while also balancing out your long palm.
Generosity of Generous Hands
Finally, we have the generous hands. This hand shape is marked by long fingers and long, narrow palms. To flatter generous hands, you might want to consider square or squoval-shaped nails.
These shapes add a beautiful balance and symmetry to your hands. They neither overpower nor undersell your hand’s natural beauty, but rather, they enhance it.
Maintaining the Shape of Your Acrylic Nails
As a nail technician, you know the importance of maintaining the shape of your client’s acrylic nails.
But how do you ensure that they stay in top shape?
The Role of Regular Filing
The secret lies in regular filing. This is not just to keep the nails looking nice and neat, but also to maintain their shape.
By filing the nails every two weeks, you can keep them from losing their shape. As a friendly reminder, always be careful not to file too deep to avoid damaging the acrylic layer.
Selecting the Right Nail File
Choosing the right nail file is also crucial.
A 180 grit file is perfect for acrylic nails as it’s gentle and won’t cause any damage. Avoid lower grit files as they can be too harsh and could damage the nails.
The Magic of Cuticle Oil
Another tip for maintaining the shape of your acrylic nails is to use cuticle oil regularly. Not only does it keep the cuticles soft and healthy, it also helps keep the nails flexible which can help maintain their shape.
Frequent Touch-ups
Does your client want to keep that perfect almond or coffin shape? Then frequent touch-ups are a must. It’s advised to have touch-ups every two to three weeks to keep the nails in their best shape.
Avoid Nail Breakage
Nail breakage is a common issue with acrylic nails. To avoid this, advise your clients not to use their nails as tools. Using nails to open cans or remove staples can cause them to break or lose their shape.
Handling Nail Emergencies
Lastly, ensure your clients know what to do in case of nail emergencies. If a nail breaks or loses its shape, they should come in for a repair as soon as possible.
This prevents further damage and helps maintain the overall shape of the nail.
Final Thoughts
Nail shape isn’t just about aesthetics – it’s a form of self-expression.
Experiment with different shapes, embrace your unique style, and remember to maintain the health and integrity of your nails for a flawless manicure every time.
Share your favorite nail shaping tips in the comments below and spread the love by sharing this article with your friends!
