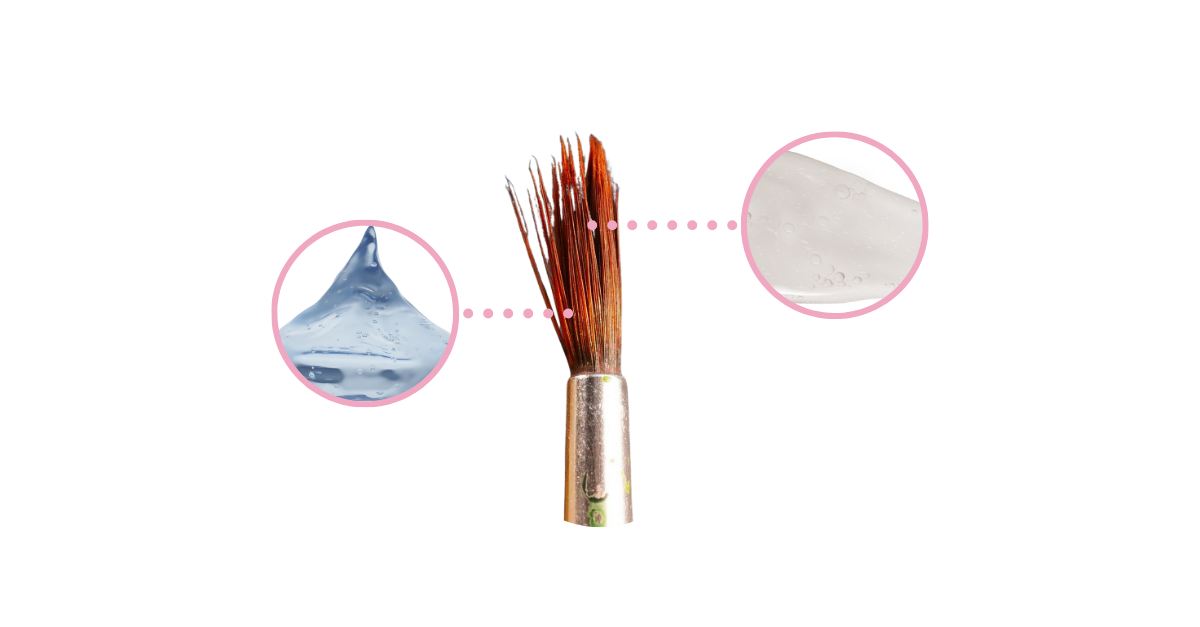
To bring your acrylic nail brush back to life, start by immersing it in monomer for a couple of minutes. This process helps to loosen and dissolve any dried acrylic that’s causing the bushiness.
As a nail technician, knowing how to repair and maintain your brushes is crucial to avoiding that dreaded “bushy” appearance and achieving flawless results.

We’re going to delve into the root causes of common brush problems, offer practical solutions, and provide preventive measures.
So, let’s gear up and dive in and learn how to fix an acrylic nail brush!
Understanding Acrylic Nail Brushes
An acrylic nail brush plays an essential role in creating intricate nail designs and ensuring a flawless application of acrylic products.
As a nail tech, using a high-quality brush makes a world of difference in your nail artistry.
There are various sizes and shapes of acrylic nail brushes available, and each type serves a specific purpose.
It’s important to find the right size and shape that works best for your needs, and luckily, there’s a helpful guide on finding your perfect fit with acrylic nail brush sizes.
Now, let’s address some common problems with acrylic nail brushes. You may notice bristles becoming dried out, clumping together, or losing their shape over time.
These can be caused by failing to clean the brush properly or using incorrect techniques in your acrylic application process.
Preventing these issues is crucial in maintaining your brush’s lifespan and the quality of your work.
With your newfound knowledge of acrylic nail brushes’ importance, types, and common issues, you’re better equipped to handle any challenges they present.
Why Do Acrylic Nail Brushes Become ‘Bushy’?
As a nail enthusiast and technician, you might have experienced your acrylic nail brushes becoming bushy, splayed, or frayed.
This can be incredibly frustrating, especially when trying to create that perfect set of nails.
So, why exactly does this happen?
Improper Care and Cleaning
One common cause of bushy brushes is improper care and cleaning.
Acrylic nail brushes are susceptible to clumping and spreading if not properly cleaned after each use.
When acrylic residue hardens on the bristles, it can force them apart, leading to a frazzled appearance.
Therefore, developing a good routine for cleaning your brushes is essential to maintain their shape and functionality.
Incompatibility With Nail Products
Another reason for bushiness in brushes is using them with incompatible nail products.
For example, using an acrylic brush with gel polish or nail glue can damage the bristles, decrease their lifespan, and make them splayed.
Always ensure you’re using the right brush for the right product.
Improper Storage
Additionally, incorrect storage can contribute to brushes becoming splayed.
Always store your brushes horizontally or with the bristles pointing downward.
This allows the excess liquid to flow away from the ferrule, minimizing the risk of damage to the bristles and glue holding them together.
Wear and Tear Overtime
Lastly, keep in mind that even with proper care, brushes have a natural wear and tear over time. Bristles may start to lose their shape after prolonged use.
In such cases, opting for a new, high-quality brush could be the best solution to maintain your precise acrylic nail work. Check out our review on the best acrylic nail brush.
Practical Tips On How To Fix An Acrylic Nail Brush
Fixing a bushy acrylic nail brush can be a bit challenging, but don’t worry, you’ve got this!

In this section, we’ll discuss some practical steps to help you restore your brush to its former glory, all while keeping our tone friendly, casual, and humorous.
Clean Your Acrylic Brush
First, let’s talk about cleaning the brush.
To clean your bushy acrylic nail brush, you’ll want to quickly dip it in monomer for a few minutes. This helps dissolve any dried acrylic that may have contributed to the business.
We have a detailed process on how to clean your acrylic brushes that you may want to check out.
Remember to clean your brush at the end of each work session to prevent acrylic buildup in the future.
Reshape Your Acrylic Brush
Now, let’s reshape the brush.
After cleaning, it’s time to mold those bristles back into their original form.
Start by gently squeezing out any excess liquid and wiping the brush on a clean paper towel. In a delicate motion, use your fingers to reshape the bristles into the desired shape.
You can also roll the brush on the paper towel to create a more precise point.
Drying and Storing
Moving on to drying and storing the brush.
It’s essential to store your brush in a way that preserves its shape and, naturally, avoids making it bushy again!
After reshaping, lay your brush flat to dry, ensuring the bristles are not bent or pressed against anything.
You can also hang your brush with the bristles facing downward, allowing gravity to help maintain its shape and keep moisture away from the handle.
When completely dry, store the brush in a protective case to keep it clean and safe.
As you continue to refine your skills and learn from real-life experiences, you’ll master the art of maintaining your acrylic nail brush.
Deep Cleaning: A Must for Acrylic Nail Brushes
Proper care and maintenance of this tool are crucial for those perfect, polished results we all strive for.
So, why is deep cleaning your brush so essential?
Well, it’s simple: a clean brush equals longer life and better performance.
Over time, your brush collects acrylic residue, leading to a stiff and uncooperative tool.
A deep-cleaned brush, on the other hand, gives you more precision and control, leading to more consistent results.
Moreover, a pristine brush helps to maintain a hygienic workspace, preventing the spread of bacteria or germs.
But How Do You Effectively Deep Clean Your Brush?
Monomer is your best friend here.
Dip the brush into the monomer to dissolve any residue. You can also use acetone for brushes made of synthetic fibers.
Always remember to follow the manufacturer’s guidelines to achieve optimal results. Want more detailed guidance?
Check out our guide, “How To Clean Acrylic Nail Brush Like A Pro In 4 Easy Ways” for more details.
Repairing: Give Your Acrylic Nail Brush a Second Chance
We’ve all been there: a damaged acrylic nail brush, throwing a wrench in your nail art plans.
But don’t worry, there are ways to fix it without having to replace your beloved brush.
Restore With Monomer
One popular method is using a monomer. Soaking the brush in monomer can restore it, especially if it has natural hair bristles, like Sable or Kolinsky.
Replace The Bristles
Another approach is replacing the bristles. If they’re damaged beyond repair, find replacement bristles compatible with your brush handle and materials.
Fix the Brush Handle
Sometimes, the issue isn’t the bristles but the handle. In this case, a little superglue or epoxy can go a long way in repairing a broken brush handle.
Just remember to let it dry thoroughly before using the brush again.
Essential Tools and Products for Brush Maintenance
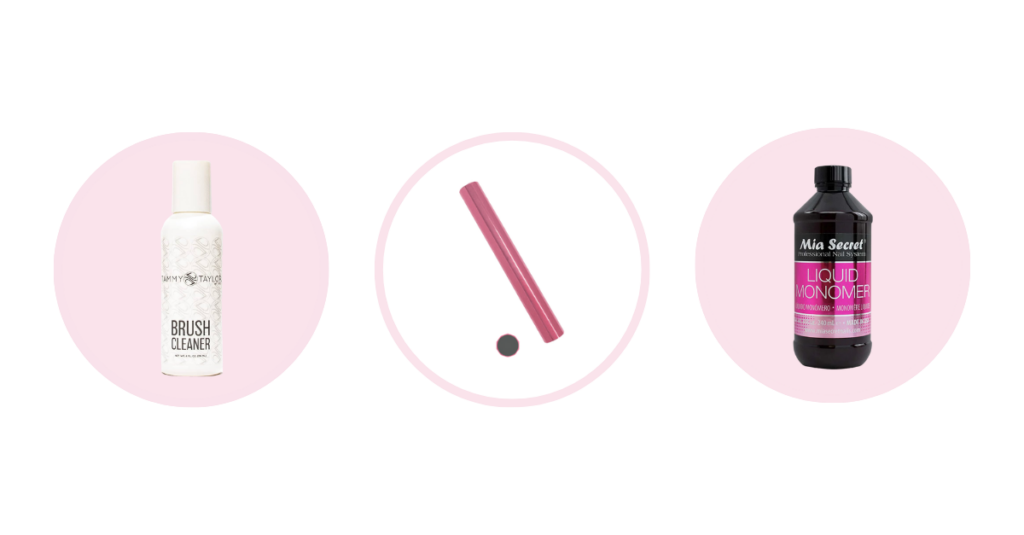
To keep your acrylic nail brush in top condition, you need the right tools and products.
- Brush Cleaners
Dedicated brush cleaners, like ASP Brush Cleaner, Tammy Taylor Brush Cleaner, or Mia Secret Acrylic Nail Brush Cleaner, are great investments.
- Monomers
Monomers also make excellent cleaners. Choose a high-quality monomer that won’t harm your brush bristles.
- Brush Protector and Holder
Brush protectors or caps are also essential for maintaining the brush’s original shape when not in use.
Additionally, consider investing in a brush holder. It prevents accidental bumps and allows your brush to dry properly.
Common Mistakes in Brush Maintenance

In the hustle and bustle of a busy salon day, it’s easy to mishandle your brush.
Common mistakes include soaking brushes in monomers for too long, storing them improperly, or not cleaning them properly after use.
How to avoid these pitfalls?
- Invest in quality brushes, and maintain them regularly.
- Clean your brushes after each client to prevent product build-up.
- Store them horizontally, away from UV light, dust, and other contaminants.
Tips For Regular Maintenance
Here are some surefire tips to keep your brush in tip-top shape:
1. Clean after every use: Use a professional brush cleaner to remove all traces of the product.
2. Never soak for too long: Soaking your brush for a long time or overnight can cause the glue that holds the bristles together to loosen, leading to a bushy brush.
3. Dry properly: After cleaning, gently reshape the bristles and let the brush dry naturally.
When To Replace Your Brush
Even with the best care and maintenance, there comes a time when you need to part ways with your brush.
So, what are the signs that it’s time to replace your acrylic nail brush?
If your brush has become too bushy, if the bristles are falling out, or if you’re unable to form a nice, sharp point – it’s time to say goodbye.
When choosing a new brush, consider factors such as the size, the shape of the bristles, and the type of handle.
After all, your brush is an extension of your hand, so it should be comfortable to hold and easy to control.
Final Thoughts
As a nail tech, a well-maintained acrylic nail brush is our secret weapon.
Embrace the knowledge, take care of your tools, and keep crafting flawless nails.
Your commitment to brush maintenance reflects your dedication to your craft.
Feel free to share your thoughts below and if you found this article helpful, spread the word on social media!
