Cleaning nail art brushes extends brush life, prevents cross-contamination, and enhances nail design quality. Start by wiping off excess polish on a paper towel. Next, dip your brush into the cleaning solvent. Gently swirl the brush around to help break down the polish residue.
I bet you’ve heard the saying, “A workman is only as good as his tools,” right?

Well, in the realm of nail artistry, that saying rings true!
But how exactly do you clean your brushes?
Read on how to clean nail art brushes to ensure your clients get the best nail designs.
Why Clean Nail Art Brushes?
Picture this: you’ve got a client booked for a nail art session.
You’re ready to create the latest trendy design they requested. You reach for your brush, only to find the bristles clumped together and stiff.
Now, instead of creating that precise, intricate design, you’re struggling just to get the brush to cooperate. Not the best scenario, right?
This is the reality for many nail technicians who overlook the importance of brush maintenance.
Neglecting to clean your nail art brushes can lead to lower quality results, frustrated clients, and inevitably, a hit to your reputation as a nail artist.
So, let’s avoid that pitfall, shall we?
Benefits Of Clean Nail Art Brushes
Maintaining your nail art brushes may not be the most exciting task, but it’s a vital part of your nail art routine.
When you clean nail art brushes regularly, you:
1. Extend the life of your brushes: Nail art brushes don’t come cheap, especially if you’re investing in high-quality ones.
Regular cleaning helps to maintain their condition, saving you from having to replace them frequently.
2. Prevent cross-contamination: Unclean brushes can harbor bacteria and fungi, which can easily be transferred onto your clients’ nails, causing infections.
3. Improve the quality of your nail designs: Clean nail art brushes allow for smoother applications and more precise designs.
Cleaning is Key: Your Brushes Will Thank You
Cleaning nail art brushes is not just a mundane chore, but an essential part of maintaining the quality of your work.
It’s about respecting your tools and ensuring they’re in the best condition to help you create the art you love.
I’ve seen firsthand the difference that routine brush cleaning can make. And trust me, it’s a game-changer.

So, next time you finish with a brush, give it a little love and attention. Your nail art – and your brushes – will thank you.
If you want to learn more about how to clean acrylic nail brush, here’s our article you can read.
Remember, your nail brushes are your loyal allies in creating beautiful designs. Treat them well, and they’ll continue to serve you brilliantly for a long time.
So, are you ready to give your brushes that much-needed spa day?
Types of Nail Art Brushes
Now, not all nail art brushes are created equal.
Some are designed for intricate detailing, others for broad strokes, and others for specific techniques like marbling or ombre.
Each type of brush may have its own cleaning needs.
A one-size-fits-all approach won’t do here!
In the realm of nail artistry, brushes are your magic wand. But what’s the cleaning spell for each of them? Let’s dive in!
1. Liner Brushes
Liner brushes, the long and thin type, are perfect for intricate designs.
You’d typically use them with acrylic paints, and the cleaning rule of thumb? Water and a mild soap should do the trick!
2. Fan Brushes
Fan brushes, with their wide-spread bristles, are phenomenal for creating gradient effects.
Since they often come into contact with glitter and loose powders, a good rinse with water is usually enough to keep them spick and span.
3. Flat Brushes
Flat brushes, the all-rounders of the nail art world, are great for applying gel polish.
A quick wipe with a lint-free wipe soaked in non-acetone polish remover will keep them in top shape.
If you want to learn more about the sizes and shapes of nail brush, here’s an article you need to see.
Materials Needed for Cleaning
Now that we’ve gotten acquainted with the brushes, let’s gear up for the cleaning process.
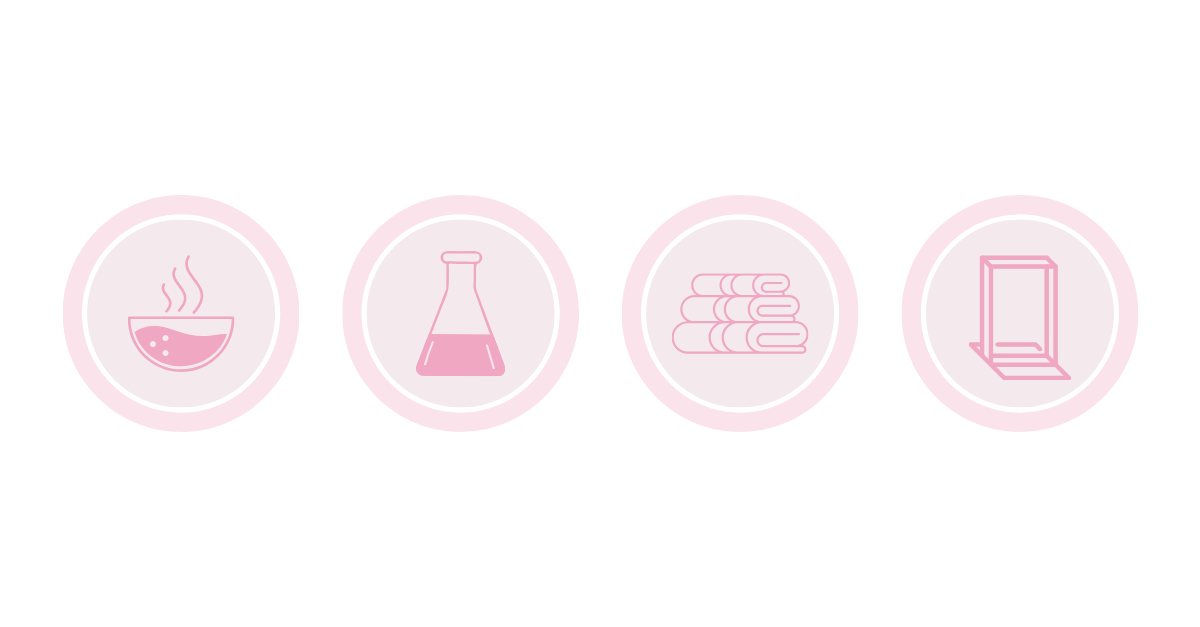
Here are your cleaning sidekicks:
- Bowl of lukewarm water
- Cleaning solution or brush cleansers
- Clean paper towel, lint-free cloth, or lint-free cotton pad
- Vertical brush holders (optional)
The Right Cleaning Solution for Your Brushes
Choosing the right cleaning solution is like choosing the right nail art for your client – it’s all about the specifics.
Let’s break it down:
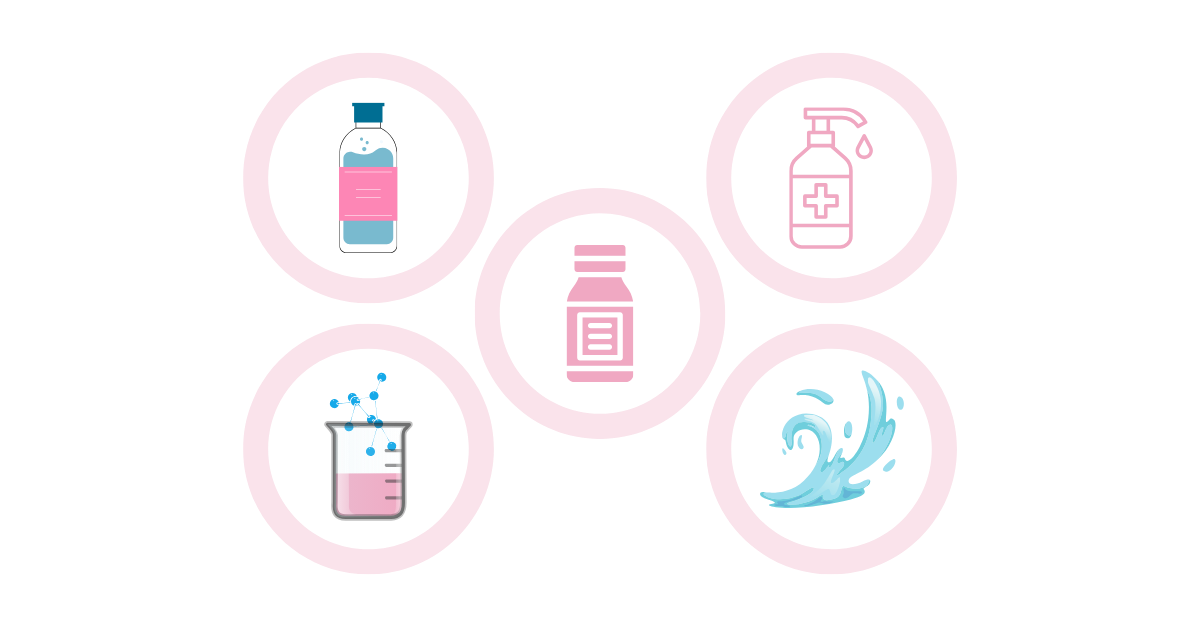
1. Non-Acetone Polish Remover: The Gentle Giant
When it comes to cleaning brushes used with gel polishes, non-acetone polish remover is your best bet.
Think of it as that mild, unassuming friend who always has your back. It’s gentle on your brush bristles, yet ruthlessly effective in removing gel residues.
So, how do you use it?
Simply soak your brushes in it for a few minutes and voila! You have a clean brush ready for your next masterpiece.
2. Isopropyl Alcohol: The Sterilizing Savior
Let’s talk about isopropyl alcohol.
It’s like the Swiss army knife of brush cleaners. This bad boy not only cleans but also sterilizes your brushes.
So, if you’ve been dabbling with gel products, Isopropyl rubbing alcohol is your go-to solution. Plus, it ensures your brushes stay hygienic for your next use.
Who said cleanliness couldn’t be next to gorgeousness, right?
3. Acetone: The Heavy-Duty Hero
Speaking of heavy-duty cleaners, acetone is a popular choice.
This is the equivalent of bringing in the big guns. It’s the perfect choice for brushes that have been in contact with regular nail polish.
But remember, as powerful as this hero is, it can be tough on your brushes.
So, use it sparingly and give your brushes a break once in a while.
4. Monomer: The Acrylic Ace
Then, we have the monomer. This is your secret weapon for maintaining the shape of your brushes.
It’s perfect for brushes that work with acrylic products and effectively remove any acrylic residue.
Think of it as a workout for your brushes – it helps them stay in shape while keeping them clean.
5. Water: The Universal Solvent
You might be wondering, “Why is water so vital for my brushes?”
Well, the answer is simple. Water is an excellent solvent.
It can be used to clean your brushes and remove stubborn nail polish or gel residue.
Just a simple dip and swish in a cup of water can get rid of most of the gunk on your brush.
Protip: Always clean your brushes immediately after use. Nail or gel polish that dries on the bristles can damage them, reducing their lifespan and effectiveness.
Remember, clean nail art brushes equals flawless nail art. So, let’s keep those brushes clean, shall we?
Step-by-Step Guide on How to Clean Your Nail Art Brushes
Let’s face it: Your brushes are the lifeblood of your nail design arsenal.
Without them, your creativity would be stuck in a rut. So, how do you ensure they stay in tip-top shape?
Well, that’s where this guide comes in.
Let’s dive into the art of maintaining your nail art brushes, step by step.
Step 1: Initial Cleaning
So you just used your brush for a stellar nail design?
Great! Now, let’s get to cleaning it right away. You see, the key to a long-lasting brush is immediate care.
Simply rinse your brush in a bowl of lukewarm water. Swirl it around to release any leftover polish.
Remember to be gentle. Your brush bristles are delicate, and harsh treatment can cause them to fray.
Why lukewarm water? It’s gentle on the fibers and helps to break down the nail polish effectively.
Got it? Good. Let’s move on.
Step 2: Deep Cleaning
I hear you asking, “When’s the right time for a deep clean?”.
Well, if your brush is looking a little worse for wear even after the initial rinse, it’s time to roll up your sleeves and get down to business.
First, you’ll need a good brush cleanser or cleaning solution. You can find these at any local nail supply store or online.
Dip your brush into the cleanser and gently massage the bristles. This will help to break down any stubborn polish that may be clinging on.
Rinse well and repeat if necessary.
Deep cleaning is essential for maintaining the longevity of your brushes. It helps to thoroughly remove any product build-up, ensuring your brushes are always ready for your next masterpiece.
Step 3: Drying and Storage
So you’ve cleaned your brushes. Now what? Now, we dry and store.
Pat your brushes dry with a clean paper towel. Make sure to reshape the bristles to their original form. Then, leave them to air dry.
When it comes to storage, always store your brushes flat or with the bristles facing upwards. This prevents the bristles from bending and keeps your brushes in prime condition for longer.
Alternative Cleaning Methods: The Clear Gel Topcoat Trick
You’ve probably been there: you’ve spent hours meticulously crafting a perfect set of nail art, only to realize your brushes are caked with dried, old polish.
You might think the solution is to douse them in acetone and scrub, but that can be tough on your brushes.
So what’s a nail tech to do? Enter the clear gel topcoat method.
The clear gel topcoat method is a nail tech’s secret weapon for keeping their brushes in top shape.

Here’s how it works: you simply dip your brush into a clear gel topcoat, gently wipe off the excess, and let it cure under a UV lamp.
The topcoat acts as a barrier, protecting the brush bristles from clogging with polish.
But remember, every coin has two sides.
Although this method can prolong the life of your brushes, it’s best used sparingly, as repeated exposure to UV light can potentially damage brush bristles over time.
So, use this method when you’re in a pinch, but don’t make it a daily routine.
Common Mistakes to Avoid

We’ve all been there – making rookie mistakes.
But as a seasoned nail tech, I’ve learned a thing or two about what not to do when it comes to cleaning art brushes.
Here are a few common mistakes to avoid when you clean nail art brushes:
1. Over-cleaning: Yes, there is such a thing as over-cleaning your brushes. Excessive cleaning can strip the bristles of their natural oils, causing them to become dry and brittle.
It’s a balancing act – clean enough to keep your brushes functional, but not so much that you damage them.
2. Using harsh chemicals: Acetone might be a quick fix, but it’s a no-no for regular use. It can cause the bristles to become dry and brittle – not ideal for creating world-class nail designs.
3. Neglecting regular maintenance: Regular cleaning and conditioning of your brushes can significantly extend their lifespan.
Don’t wait until your brushes are on their last legs to start taking care of them.
Maintaining Your Art Brushes
Regular maintenance of your nail brushes isn’t just good practice – it’s crucial.
By taking care of your brushes, you’re not only prolonging their life but also ensuring that they perform at their best. Here are a few maintenance tips to keep your brushes in tip-top shape:
1. Regular cleaning: Clean your brushes after each use to prevent polish buildup. A mild soap and warm water should do the trick.
2. Conditioning: Just like your hair, your brushes need regular conditioning. Use a brush conditioner or a few drops of olive oil to keep the bristles soft and flexible.
3. Proper storage: Store your brushes horizontally or with the bristles facing upward to avoid warping or damaging them.
Final Thoughts
Taking care of your nail art brushes may not be the most thrilling task, but it’s an essential part of your nail art routine.
Now that you know how to clean nail art brushes, make it a regular practice with care and purpose in mind.
A well-maintained brush is the key to perfect nail artistry.
Share your nail care wisdom on with friends on social media!
Let’s keep the creativity flowing – comment and share your thoughts below!
