It all started with a gorgeous bottle of red nail polish. It sat there, looking all enticing and promising. But let me tell you, folks, the struggle was real!
Painting nails at home can save money, but it’s tricky if you’re new. After messing up a lot, I learned some tricks and watched a pro do it.

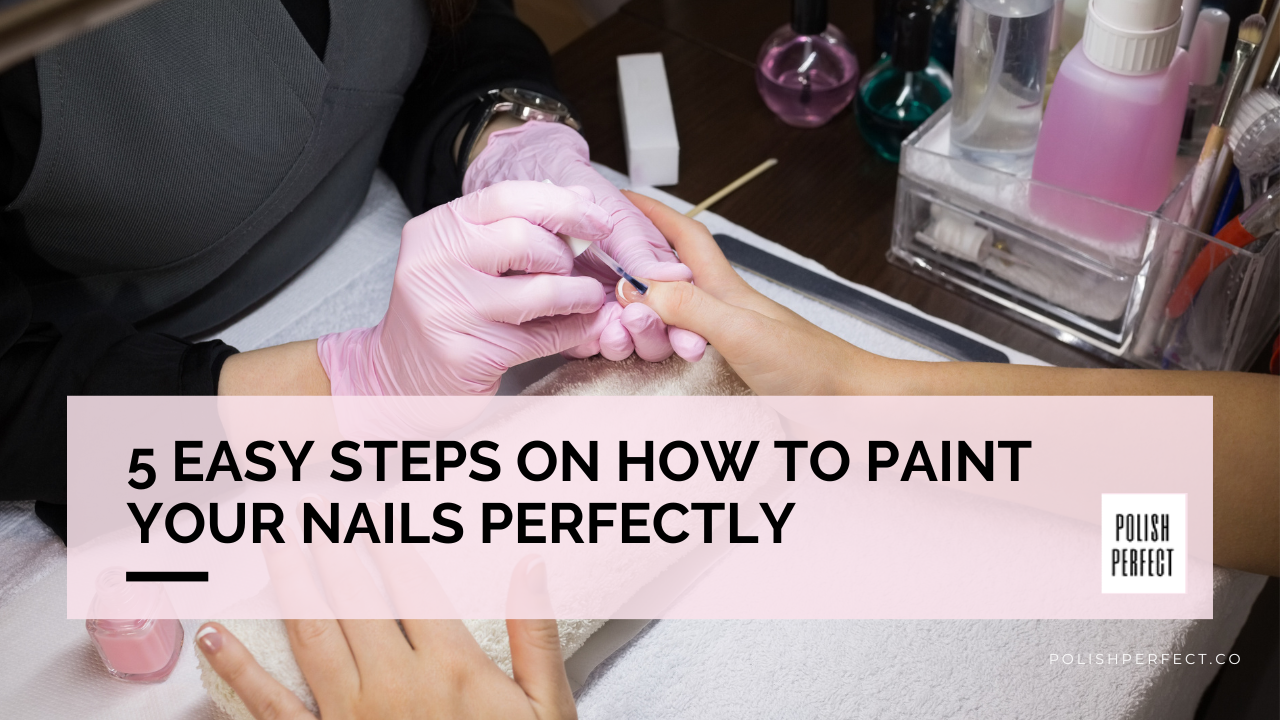
Here’s a guide to help you on how to paint your nails perfectly.
Step By Step Guide on How to Paint Your Nails
As a nail tech, preparedness and a lot of practice is important to master the craft. So grab your favorite polish and let’s get started!
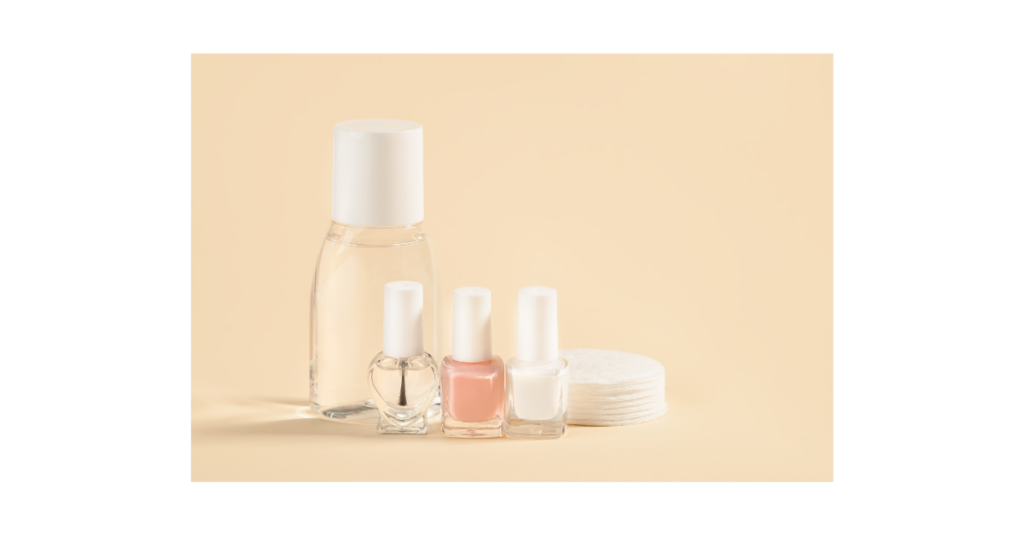
Step 1. Gather Your Supplies

The first step to beautiful nails is to get your supplies in one place. To make it easier for future use, I suggest getting a pretty basket and keeping all your supplies together.
Here’s a list of the supplies you need to paint your nails perfectly:
- Nail polish
- Base coat
- Clear top coat
- Nail clippers
- Cuticle stick
- Nail file
- Cotton swabs (if you can find the ones for make up with the pointy tip that would be ideal)
- Nail polish remover (acetone free if you can)
Try to get the best quality nail polishes you can afford to paint your nails perfectly– the finish will be smoother and it will last longer.
Get everything together on a desk or table, and make sure you are sitting comfortably.
Step 2. Preparation
At this point, you might be ready to get that brush and start painting. Not so fast! Getting to paint your nails perfectly requires preparation.
It will be worth it when you have beautifully neat painted nails that don’t chip after the first day!
So, before you dive into the world of vibrant polish colors and intricate nail designs, take a moment to prepare your nails properly.
Trust me, the key to paint your nails perfectly is all about the prep.
Getting Started
First things first, before you paint your nails, set yourself up for success by gathering all the necessary tools and supplies mentioned above.
The nail polish remover, cuticle oil, a nail buffer, and a pair of nippers. Oh, and don’t forget your favorite nail polish shade!
Clean Your Nails With Polish Remover
Before you start shaping and buffing, it’s important to remove any traces of old polish.
Grab your trusty polish remover and gently swipe it over your nails until they’re clean and bare. This step ensures that your new manicure will adhere properly and look flawless.
Now, let’s give your nails a little pick-me-up with some cuticle oil. Apply a drop to each nail and massage it gently.
This will moisturize and nourish your cuticles and give your natural nails a healthy, lustrous shine. Hello, natural beauty!
Cuticle Oil Can Liven Up Unpainted Nails
Cuticle oil is a game changer when it comes to livening up unpainted nails. It not only moisturizes and nourishes the cuticles, but it also adds a healthy sheen that can make even the dullest nails look radiant.
Don’t Skimp On Buffing
Okay, here’s a little secret: buffing is the unsung hero of a perfect manicure.
It smooths out any imperfections on the nail surface, making it the ideal canvas for your polish. So, don’t skimp on this step!
Grab your nail buffer and start gently buffing your nails in a back-and-forth motion. Pay extra attention to any ridges or bumps, as the buffer will help to even them out.
Just be careful not to over-buff, as this can weaken your nails. Aim for a smooth and shiny finish.
Doing this will make it easier for you to paint your nails perfectly!
Prep The Nail Beds
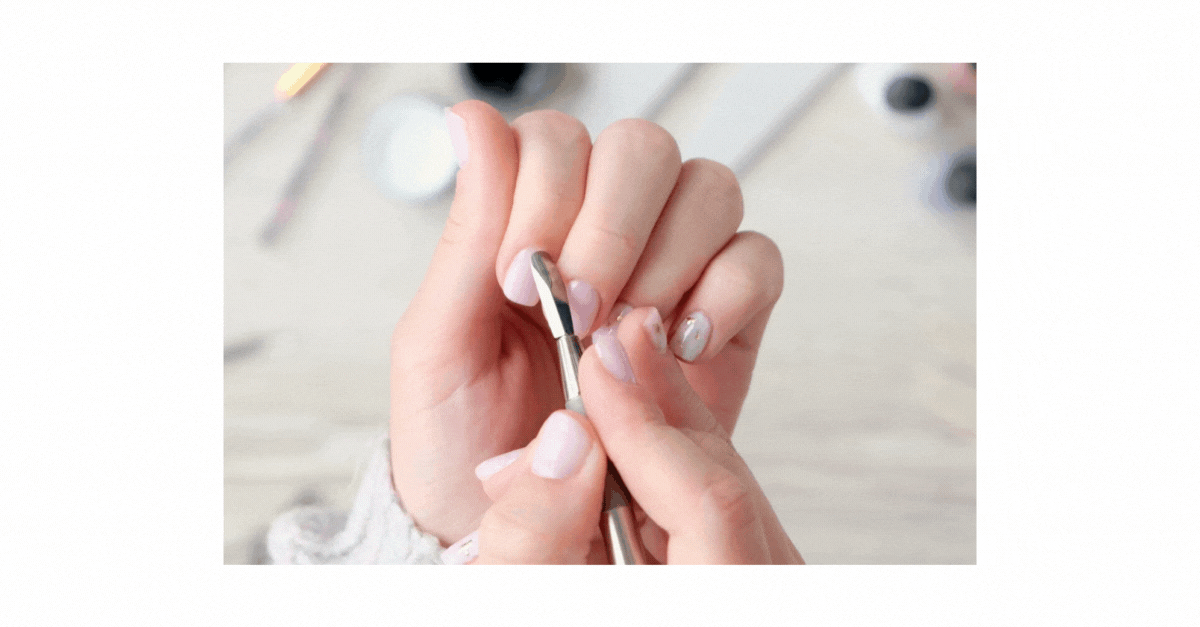
Now that your nails are clean and smooth, it’s time to prep the nail bed. Start by gently pushing back your cuticles using a pusher.
This helps to create a clean and neat look, making your manicure appear more polished (pun intended).
If you notice any excess cuticles hanging around, grab your trusty nippers and carefully trim them away.
Remember, precision is key here, so take your time and be gentle. You don’t want any accidental nicks or cuts.
Shape It Up
Last but not least, it’s time to shape those nails! Whether you prefer a classic square, a trendy almond, or a sassy stiletto, finding the perfect nail shape is essential for a flawless manicure.
Use a nail file to shape your nails to your desired length and shape. Remember to file in one direction to avoid nail damage and breakage.
Take your time and check your progress frequently to ensure symmetry and balance.
Cut Cuticles—Carefully
Cuticles protect nails and prevent bacteria and other nasties from getting in. But sometimes, they can become overgrown, dry, or ragged-looking, which is where cutting comes in.
By carefully removing excess cuticles, you can create a clean and polished look for your client’s nails.
This process, especially if you want to paint your nails perfectly, can be a bit tricky, so here are some dos and don’ts to keep in mind:
Do’s
#1 – Be gentle and take your time. Rushing through the process can lead to mistakes and accidents
#2 – Use professional-quality tools. A sharp, high-quality nipper is essential for precision cutting
#3 – Regularly sanitize your tools to prevent the spread of bacteria
Don’ts
#1 – Cut too much. Remember, the goal is to remove excess cuticles, not the entire cuticle itself
#2 – Apply too much pressure when pushing back the cuticles. Be gentle and listen to your client’s feedback
#3 – Forget to moisturize. Keeping the cuticles hydrated is key to preventing dryness and ragged cuticles
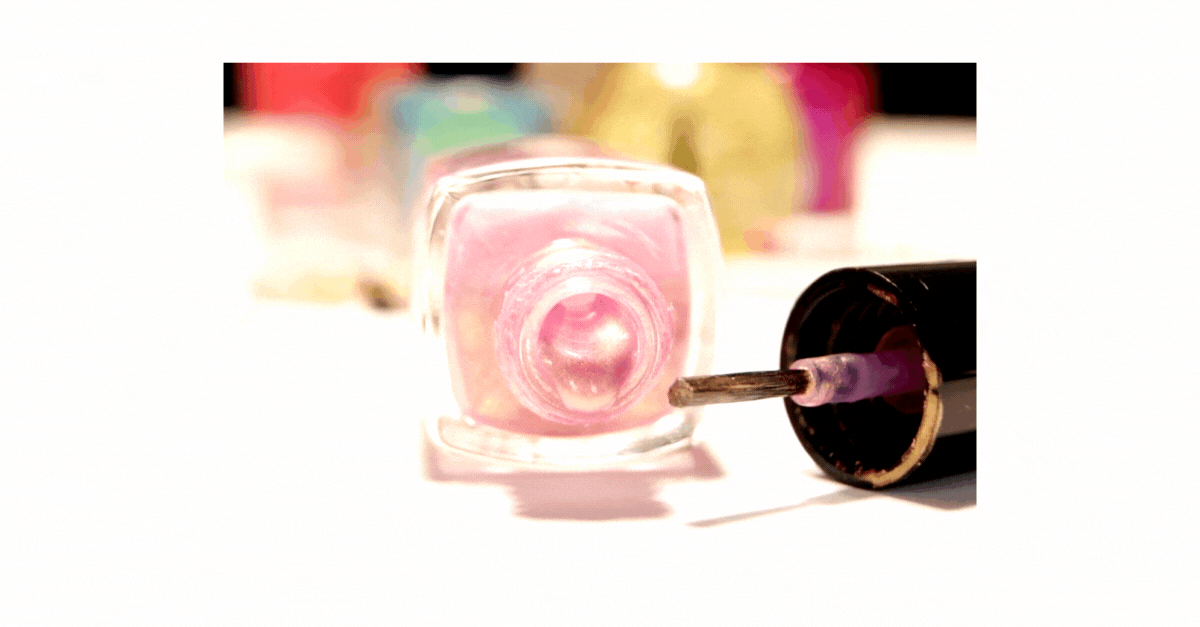
Step 3. The Base Coat
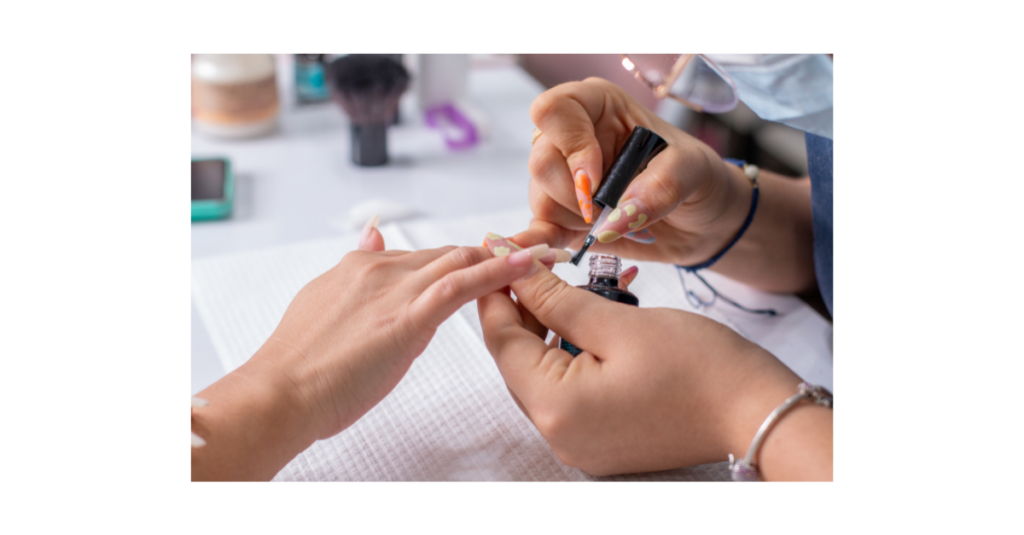
Skipping the base coat might seem like a timesaver in the short run, but it will cost you time when you have to repaint your own nails after a day or two because of chipping.
Base coats stick better to your nails than the actual nail polish. It then provides a base for your nail polish to stick onto.
According to the International Journal of Women’s Dermatology, the base coat ensures good adhesion to the nail plate and prevents the polish from chipping.
But wait, there’s more! It also has another superpower: it prevents your nails from becoming discolored from colored polishes. Do you know that dreaded yellowish tinge that happens when you wear bold, vibrant colors for too long?
Yeah, base coats have got your back. It serves as a barrier between your nails and the nail polish. It protects the nails from staining and discoloration.
So, not only will your nail polish last longer, but your natural nails will stay healthy and stain-free. Talk about a win-win!
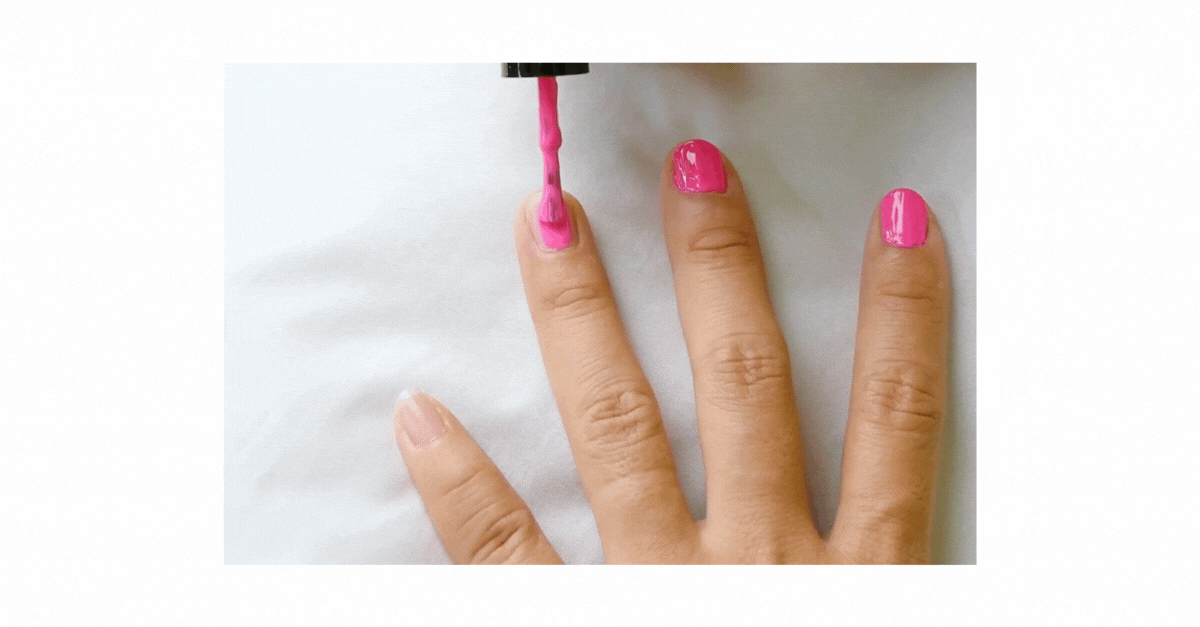
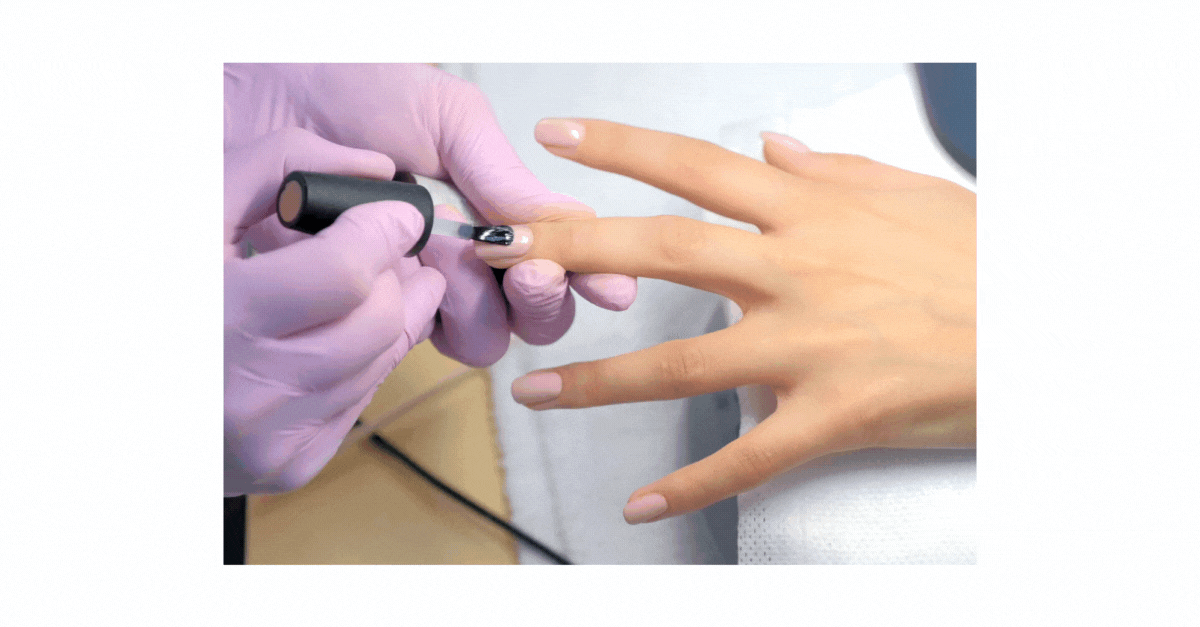
Step 4. Adding Color
Now for the fun part! Add the color in thin layers. This allows the nail polish to go on and dry smoothly, without any bumps and lumps.
You will need approximately 2 – 3 coats. Allow each coat to dry fully before adding the next one. If you paint on another coat too soon it will affect the layer underneath and you will end up with smudges and dents.
Paint the color in three strokes – one down the center of your nail, then one each on the sides.
Do you want to know a simple tip to paint your nails perfectly? Leave a little gap. Don’t paint all the way to the skin at the side of your nails and to your cuticles.
Make it a very little gap and you will end up with neater nails, less clean-up to do, and a lot less frustration!
Here are some nail painting and design tips you can try to elevate your nail painting game.
Choosing Color
When it comes to nail design, the first step is choosing the right colors. Remember, less is more!
Opt for a harmonious color palette that compliments your client’s skin tone and outfit. If you’re unsure, go for classic shades like nude, red, or burgundy, which are universally flattering.
Paint Your Nails Perfectly
- Use white polish as a primer: If you’re working with a sheer or light-colored polish, applying a thin layer of white polish as a base will make the color pop and prevent it from looking streaky.
- If you’re in a rush, pick a sheer shade: When you’re short on time but still want to add a touch of color, opt for a sheer polish. It dries quickly and provides a subtle hint of color that looks effortlessly chic.
- Simple nails often make the biggest impact: Don’t underestimate the power of simplicity. A well-executed solid color manicure can be just as striking as an intricate design. Plus, it’s a great option for clients who prefer a more low-maintenance look.
Adding Designs
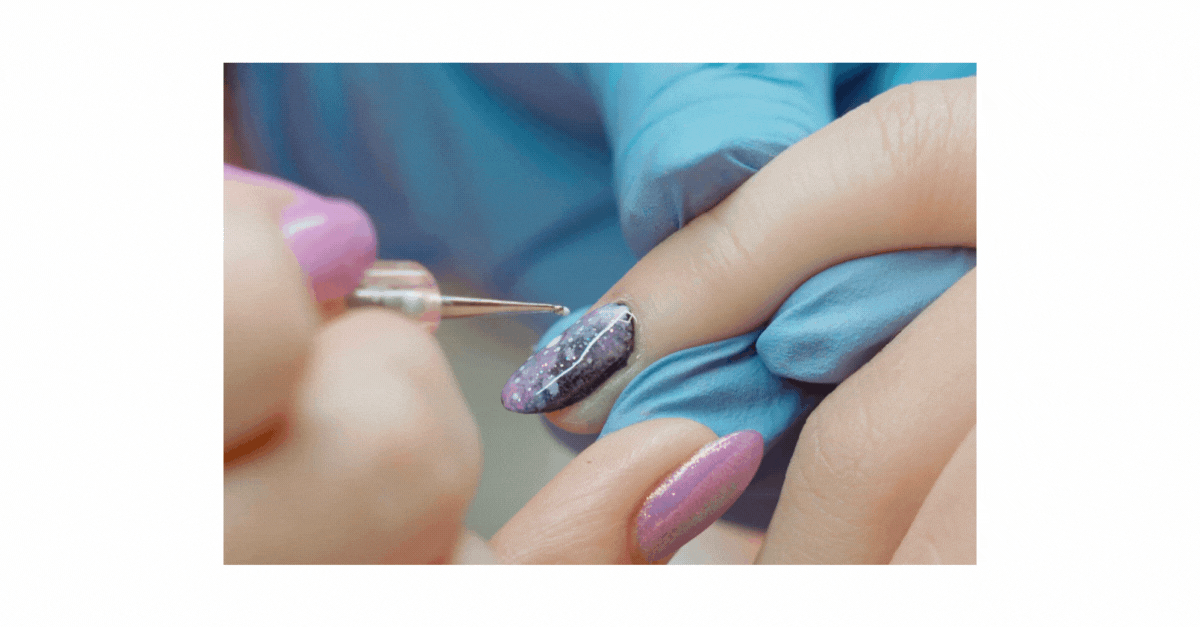
Want to paint your nails perfectly with some added flair? Elevate your nail art skills with these design tips:
1. Apply glitter the right way.
Glitter can be a showstopper, but it can also be messy if not applied correctly. To avoid a glitter explosion, apply a thin layer of clear polish, dip your brush in glitter, and gently pat it onto the nail. Seal it with a topcoat to keep the glitter in place.
2. An edgier look is as easy as applying a topcoat.
If your client desires a bold statement without diving into complex nail designs, a simple way to paint your nails perfectly with an edge is by using a matte or glossy topcoat over a uniform color. This not only changes the finish but adds a modern touch.
3. Add special effects during your dry time.
Don’t let your client’s nails dry without adding a little extra pizzazz. While the polish is still tacky, you can sprinkle on some holographic powder, apply nail foil, or even create a marbled effect using a water marbling technique.
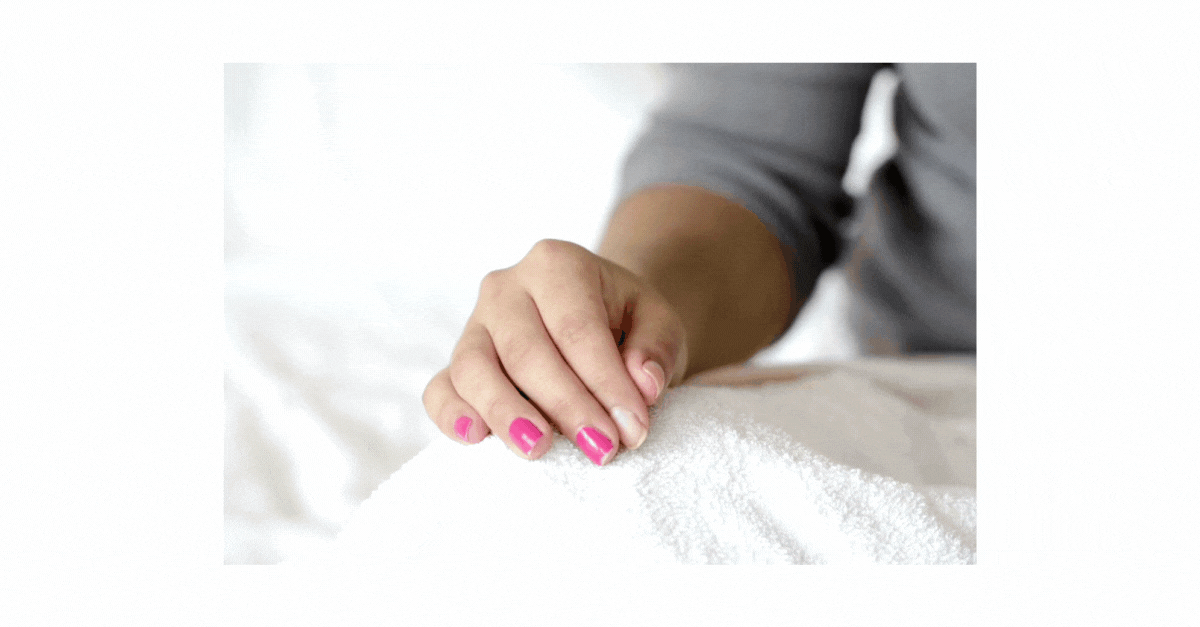
Step 5 . The Top Coat
After all your careful work to paint your nails perfectly, the final step will ensure your handiwork looks great for up to a week!
When adding your top coat make sure to cover all the polish, and take the brush all the way to over the edge of your nail. This will provide a seal and help prevent chipping. You will only need one layer of the top coat.
Maintenance And Tips

Being a nail technician means understanding that to paint your nails perfectly, it’s not just about the techniques you master. Equally important are the maintenance steps and handy tips that ensure each nail art stays immaculate.
Use A Specialized Base Coat
Using a specialized base coat can make a world of difference. Look for options that address specific nail concerns, such as strengthening, nourishing, or promoting growth.
Treat Your Nail Care Like Skin Care
Have you ever thought about treating nail care like skincare? Just as we moisturize and protect our skin, we should also be giving our nails the same attention and care.
After applying your polish, be sure to seal off the edges of your nails. This helps prevent chipping and extends the life of your manicure. A quick swipe of the top coat along the free edge does the trick!
Take Your Time
If you want to paint your nails perfectly, don’t rush. Taking your time on each manicure step ensures attention to detail. It’s precision and patience that lead to that sought-after salon finish.
Don’t Sleep On Gems Or Crystals
If your clients are looking for some extra bling, don’t be afraid to experiment with gems and crystals. They can add a touch of glamor to any design. Just make sure to securely adhere them to the nails and seal them off with a top coat.
When In Doubt, There Are Always Press-Ons
Sometimes, your clients may want a quick and temporary nail fix. That’s where press-on nails come in handy. They’re easy to apply, come in a variety of designs, and can be a fun alternative to traditional polish.
Bonus Tip

If you end up with any nail polish on the skin around your nails, take a cotton swab and dip it into the nail polish remover. Gently clean up any spots.
And there you have it – the 5 easy steps to paint your nails perfectly! If you want to learn more tutorials on how to apply nail polish like a pro, you can read more here.
Practice Makes Perfect
Using that red nail polish for the first time taught me that painting nails take time to master.
If your first try isn’t great, don’t give up! Keep practicing and trying new ways. You might become a nail pro!
If it’s still hard, you can always visit a nail expert. But with these tips, I bet you’ll get good fast. So, pick up that nail polish and paint your nails perfectly!
Got your own secrets to paint your nails perfectly? Share your experiences and tricks in the comments. Let’s unite, learn, and flaunt our fabulous nails!
