Buying your first nail drill kit is an exciting venture because it’s an investment in your passion.
You’ll give your customers the best results when you buy the best equipment for producing professional-looking nails.

(Check out our ‘Ultimate Buying Guide: 10 Best Electric Nail Drills for Beginners‘ to decide your first drill!)
Prioritize features like safety, hygiene, reliability, and ease of maintenance to get the best value from your new nail drill.
Shop the Best Nail Drills for Professional Nail Technicians
Are you a nail technician looking to up your game? Well, you’re in luck! Today, we’re diving into the world of nail drills and helping you find the perfect one for your needs. Whether you’re a beginner or a seasoned pro, we’ve got you covered. Let’s get drilling!
What Are Nail Drills Used For?
Before we jump into the best nail drills on the market, let’s quickly go over what nail drills are used for. Nail drills are powerful tools that help nail technicians shape, buff, and smooth out nails. They’re like the superhero sidekick to your trusty nail file.
With different attachments and adjustable speeds, drills give you ultimate control and precision.
What Kind of Drill Do You Use for Nails?
There are two main types of nail drills: electric and manual. Electric nail drills are the most common choice for professional nail technicians. They have adjustable speeds, and various attachments, and can handle heavy-duty tasks with ease.
On the other hand (pun intended), manual drills are hand-powered and are better suited for light filing and shaping.
Does Power Matter With Professional Nail Drills?
The first feature that you should look for in an electric nail drill is the speed, which you will identify by looking for the RPMs (revolutions per minute).
You’ll want to pass over nail drill machines with less than 25,000 RPMs. Lower-powered drills won’t take off products like acrylic nails very well, and they’ll lock up and stop working during use.
In an article by Leaf, a leading lifestyle resource for women, the author describes how to use speeds effectively for different parts of the manicure process.
Use a high speed for shortening tips, a medium speed for smoothing acrylic applications, and the slowest speed for work on natural nails. Nail experts recommend keeping speeds at 15,000 RPMs on the natural nail and cuticle area.
Take the nail drill machine out of the box and test it out with one of the drill bits in it. The nail bits should rotate evenly without wobbling.
Check out the manufacturer’s warranty and learn how you can get your drill fixed if you have a problem with it.
Nail techs that use their professional nail drills for business should consider buying more than one machine in case they have to send one out for repairs.
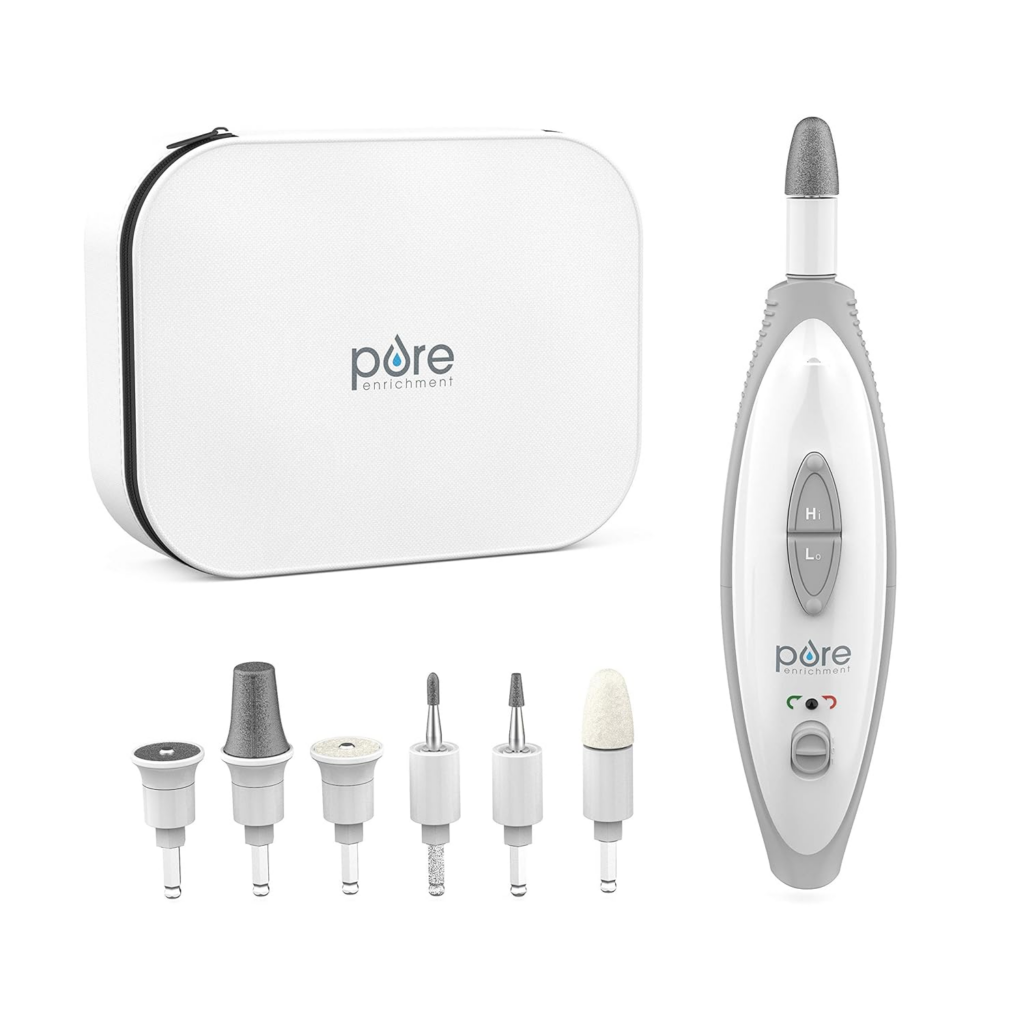
A Quality Nail Drill Is All In The Features

Nail technicians hold a professional nail drill for many hours of the day, so comfort is a priority. Nail experts at NailSourced.com offer some excellent tips on buying your first professional drill.
NailSourced.com recommends testing out the feel of the nail drill in your hand to make sure it feels comfortable. It should be lightweight and not too bulky or too narrow in your hand.
Some nail drills have a knob that lets you adjust speeds, but it interrupts your workflow because you have to keep putting the drill down to adjust it.
Most nail technicians prefer a foot pedal for adjusting speeds because it’s faster and easier.
Pay attention to the type of cord. Coiled cords can get tangled up with other tools on your manicure table. Straight cords are less obtrusive and less likely to be in your way. You won’t want a coiled cord pushing items onto the floor causing a hygiene concern.
You’ll need to replace your nail drill bits about every four months, so make sure that your acrylic drill accepts standard-sized drill bits.
Here’s How To Choose An Initial Set Of Nail Drill Bits
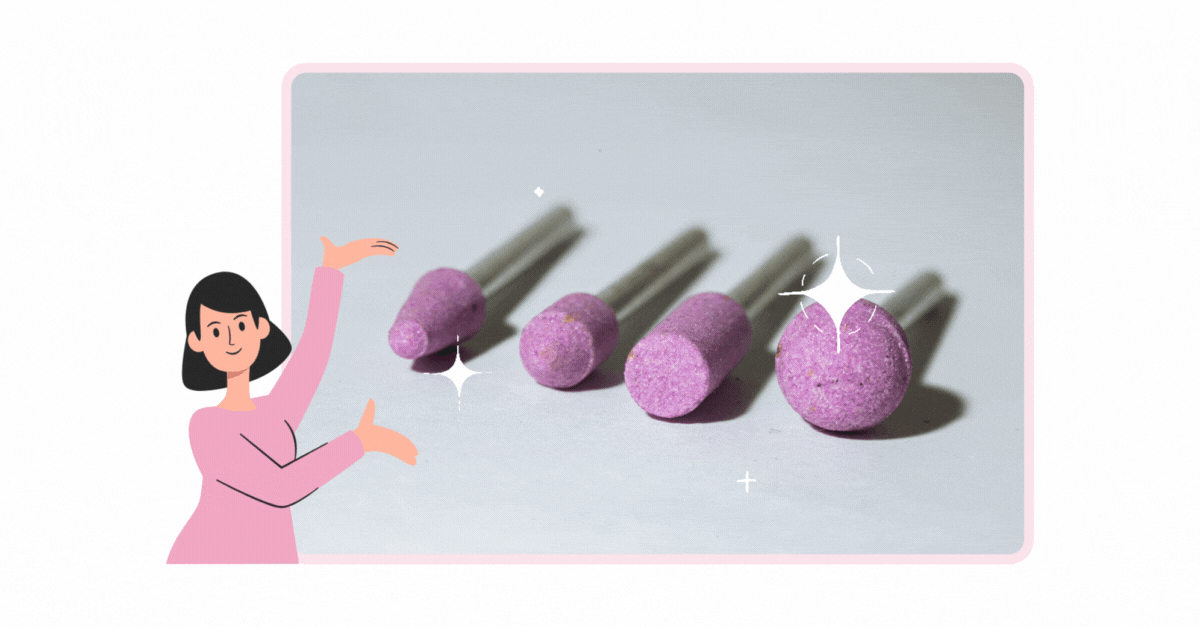
Nail drill bits come in various sizes, shapes, and materials. Choosing the right bit for the application, combined with the right speed gives you professional results without risking injury to clients.
In an article on the best starting nail bits, Nails Magazine sorts out the confusion by recommending starting with three bits. Purchase a mandrel with 10 medium-grit sanding bands, a medium silver carbide barrel, and a silver Under the Nail Cleaner (UNC) bit.
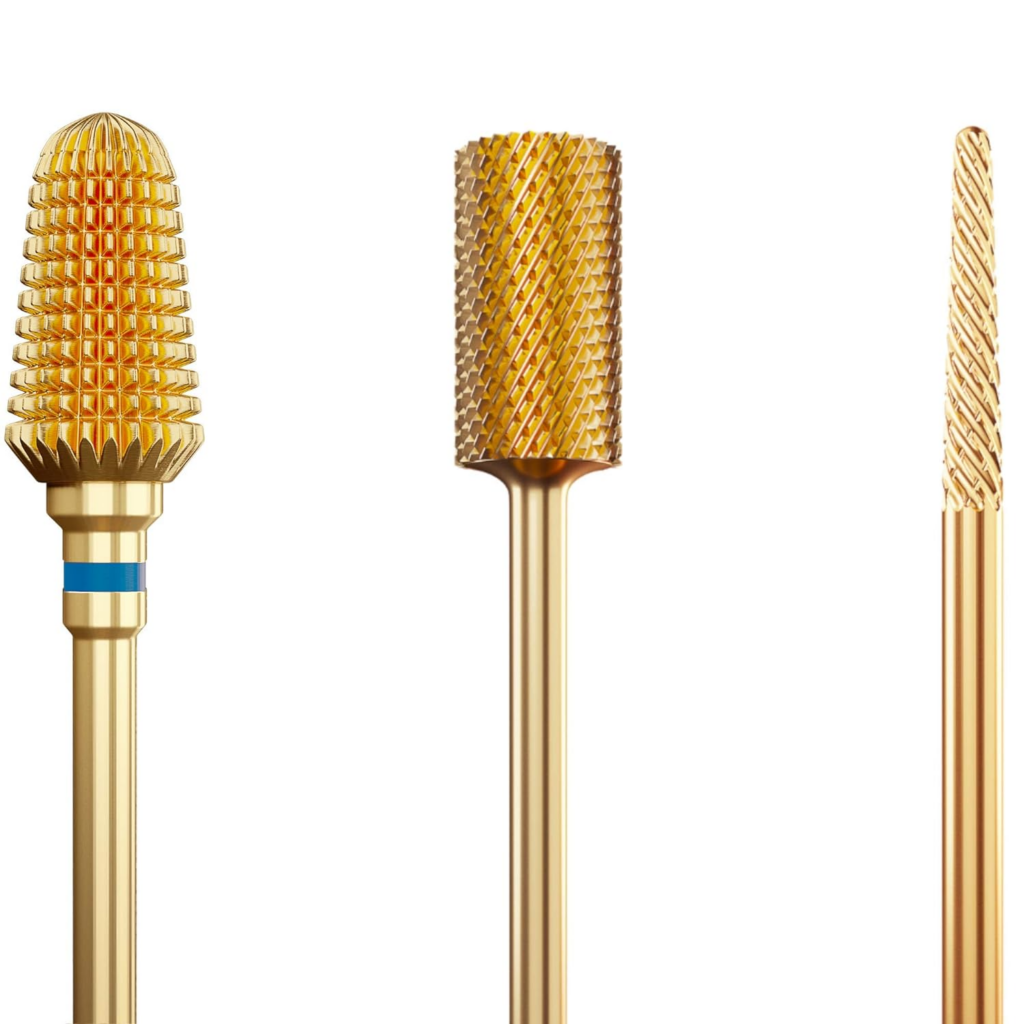
As you get more advanced, add the VP safety bit and a backfill bit to your nail bit tools. Natural nail bits are cylindrical in shape. The soft, rubberized black material is perfect for use on natural nails, so they don’t get damaged during filing.
The cone-shaped bit is versatile enough to use on the top of the nails, cuticles, and sidewalls. The slim size also makes it a good tool for working on toenails.
The tapered barrel bit looks like a cone with a flat end. The Nails Magazine Guide to Electric Filing recommends the tapered barrel bit for acrylic work and cutting backfill.
Tapered barrel bits work well to take off a lot of product for thick or textured designs because of the hard, carbide material. The tapered barrel is not suitable for cuticle work.
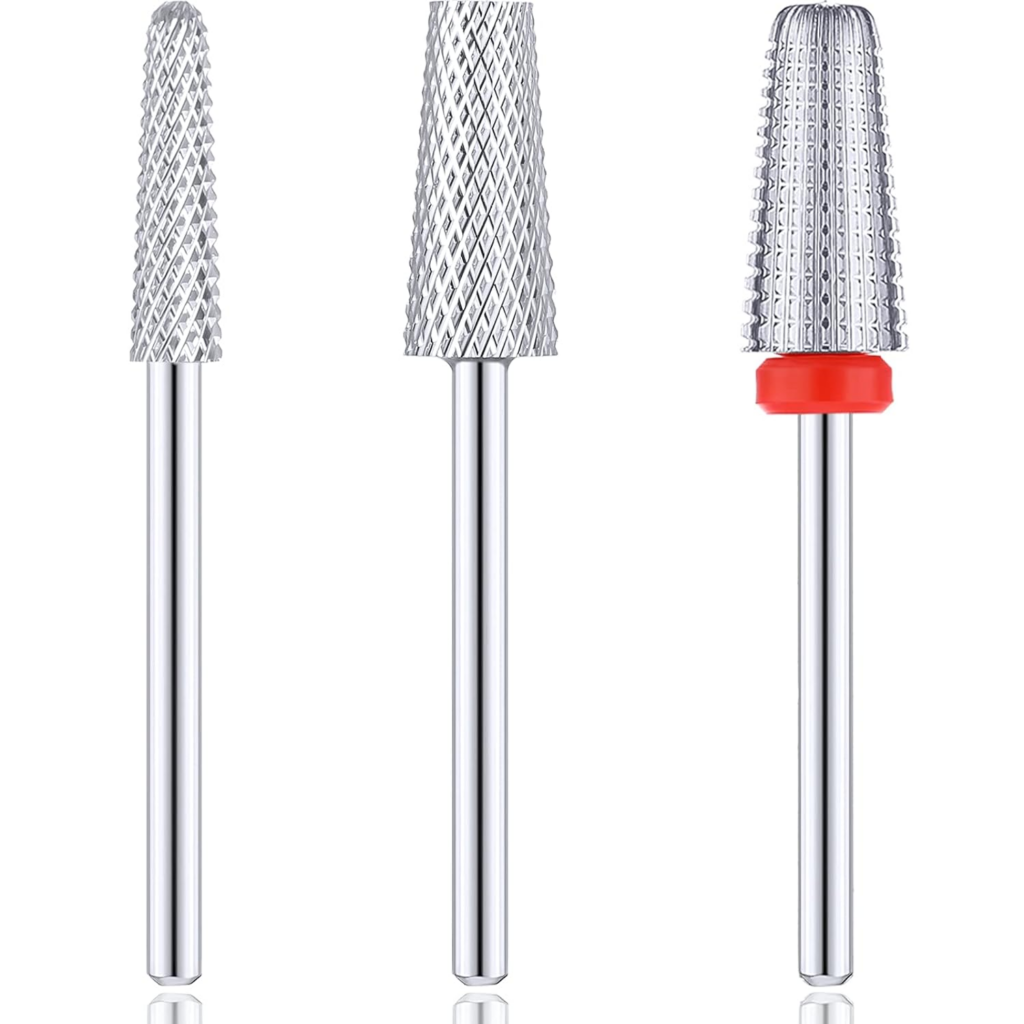
The VP safety bit looks like the tapered barrel bit, but it has a rounded tip. This is the best nail bit for use in the cuticle area. The small size also works perfectly for smaller-sized nails.
Use the small and large barrel bits for surface work, cutting backfill, and shortening length. It’s good to have several sizes on hand because these tips are a matter of personal preference.
Purchase plenty of sanding bands, which you will slip over the mandrel bit for sanding and surface work. The paper construction of the sanding bands doesn’t allow them to be disinfected, so just discard them after every use.
The pedicure bit is a precision diamond bit that helps take rough calluses off feet. You’ll recognize it by the slightly narrower tip with diamond stripes. The stripes aid in cooling.
In the video by Nail Career Education, nail expert Suzi demonstrates what to look for in an acrylic drill and how to use various drill bits to get preferred results.
Do Nail Drills Damage Nails?
Now, let’s address the elephant in the room: Do nail drills damage nails? The short answer is no if used correctly. Nail drills can be a game-changer when it comes to efficiency and precision, but it’s important to use them with care.
Always start with a low speed and gentle pressure, and avoid applying too much heat or friction to the nail. Remember, slow and steady wins the race!
Make A Habit Of Practicing Good Hygiene With Nail Bits
Nail techs should never be in too much of a hurry to neglect proper hygiene. Robert Spalding, a Tennessee podiatrist and author of “Death by Pedicure,” says that about 75% of U.S. nail salons fail to sterilize their tools properly to prevent infection.
Clean and sterilize drill bits after every procedure, even when the shop is busy. Scrub nail drill bits with a brush and rinse with soapy water, regardless of the drill bit material. Acetone works well for dissolving dead particles of dust in the bit.
Follow the manufacturer’s instructions and be sure to soak bits for at least 20 minutes. Wipe them dry with a clean cloth or let them dry naturally.
Nail bits may rust after repeatedly soaking them. Diamond bits won’t rust, so they may be worth the investment if you plan to use them daily.
Practicing good hygiene also means cleaning your nail drill. Use a soft cloth to brush away dust from your drill or use an aerosol cleansing duster to remove particles from cracks and crevices.
In Conclusion

I hope you enjoyed this comprehensive guide on choosing the perfect nail drill kit for your needs. This list was incredibly important to me because it’s not just about tools—it’s about elevating your craft and providing the best possible service to your clients.
The same reasons should make it essential for you as well. If you’ve found this tutorial useful, we’d love to hear your thoughts in the comments below. Don’t forget to share the article with other aspiring or professional nail technicians!
More Related Resources:
