Have you been seeing wild nail art ideas?
No, it’s not your imagination. Acrylic nail painting is in like never before. Nail art has become an important part of complementing any outfit or style.

Much like decorating a cake, the world of acrylic nail painting involves an endless array of creative designs and colors. No design or color is too outrageous, too wild, or too bold or vibrant, including acrylic nail art.
We mean it. The sky’s the limit.

So how do you get beautiful and bold nail art designs? Read on for some of our favorite acrylic nail painting ideas, and for a super quick and easy acrylic nails tutorial.
What Are 3D Acrylic Nails?
Let’s start with the basics. 3D nails are a type of nail art where designs and embellishments are added to the nails to create a three-dimensional effect.
Instead of just painting the nails or applying flat decals, 3D nails allow you to add texture, depth, and dimension to your nail designs. Think of it as creating little pieces of art on your fingertips!
How Are 3D Nails Made?
Now that you know what 3D nails are, let’s take a look at how they’re made. It all starts with a solid foundation.
To create 3D nails, nail technicians typically begin by applying a base coat to the nails to ensure a smooth and even surface. Once the base coat is dry, they can start adding the 3D elements.
There are several techniques and materials that can be used to create 3D nails. Some popular options include:
1. Nail Sculpting: Nail sculpting involves using acrylic or gel to create three-dimensional shapes directly on the nail.
The technician will use a brush and the chosen medium to shape and mold the design, creating raised elements on the nail.
2. Nail Decals: Nail decals are pre-made designs that can be applied to the nails to create a 3D effect.

These decals come in a variety of shapes, sizes, and designs, allowing for endless creative possibilities. All you need to do is adhere them to the nail and seal them in with a topcoat.
3. Embellishments: Another way to create 3D nails is by adding embellishments such as rhinestones, beads, charms, or even small trinkets.
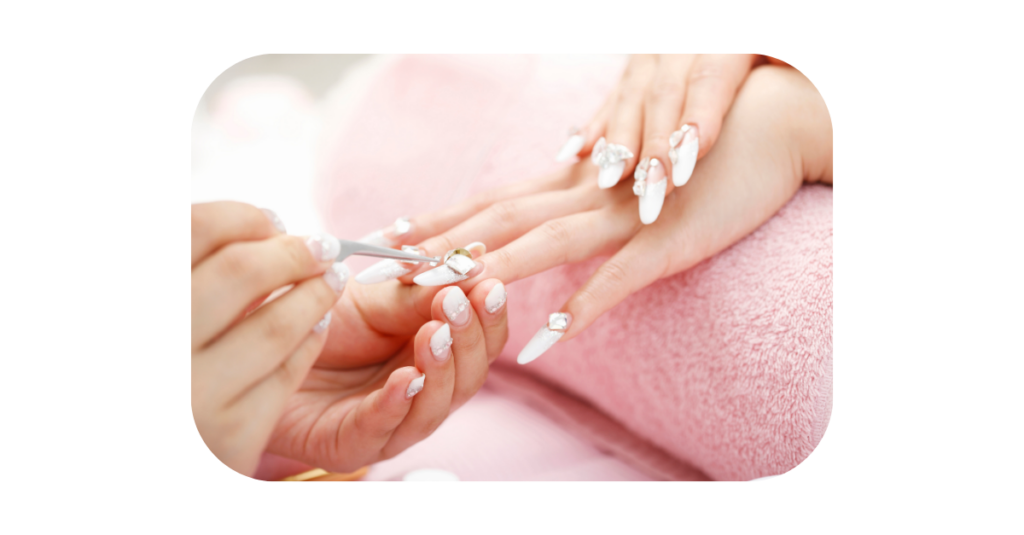
These can be glued onto the nail to create a textured and eye-catching design.
The Difference Between 3D and 4D Nail Art
You may have heard the term 4D nail art thrown around and wondered how it differs from 3D nails. Well, let me break it down for you.
While both 3D and 4D nail art involve creating three-dimensional designs, the main difference lies in the movement.

With 3D nail art, the design is created on the nail itself, adding texture and dimension. However, with 4D nail art, the design extends beyond the surface of the nail, creating a dynamic and interactive element.
For example, a 4D design might include moving parts or elements that change shape when touched.
Think of it like this: 3D nails are like a beautifully painted sculpture, while 4D nails are like a mini kinetic art installation on your fingertips!
3D Acrylic Nail Styles Ideas
There are different designs 3D acrylic nails, and they could be just what your style is missing for that special day or a night on the town 3D acrylic nails incorporate various artistic designs onto the nails, thumbnails, and toenails.
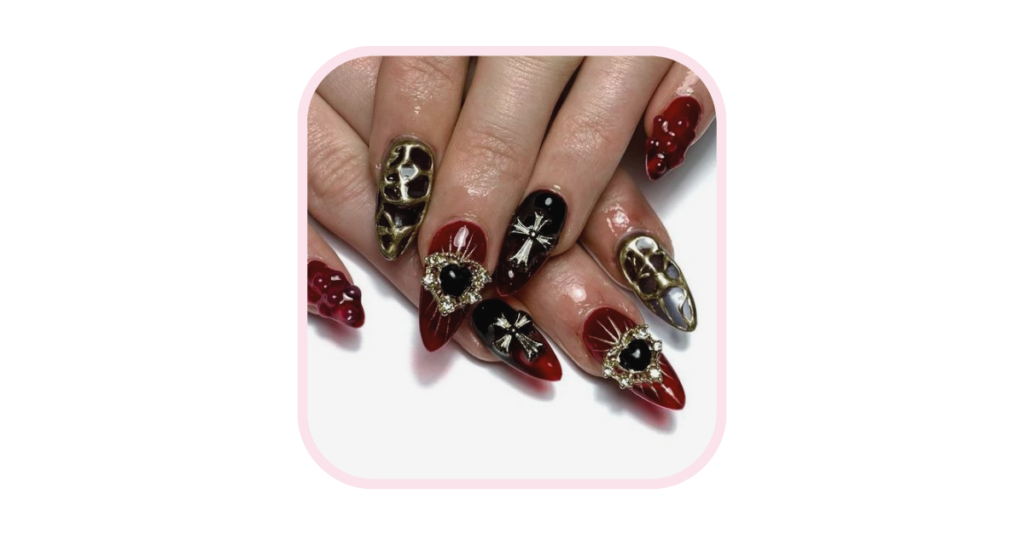
1. Going Gothic
These incredible 3D acrylic nails below are a great example. Daring to be bold, the black and red colors topped with gold metal studs, complete with a gothic nail art design really give these 3D acrylic nails a badass, rock and roll feel.
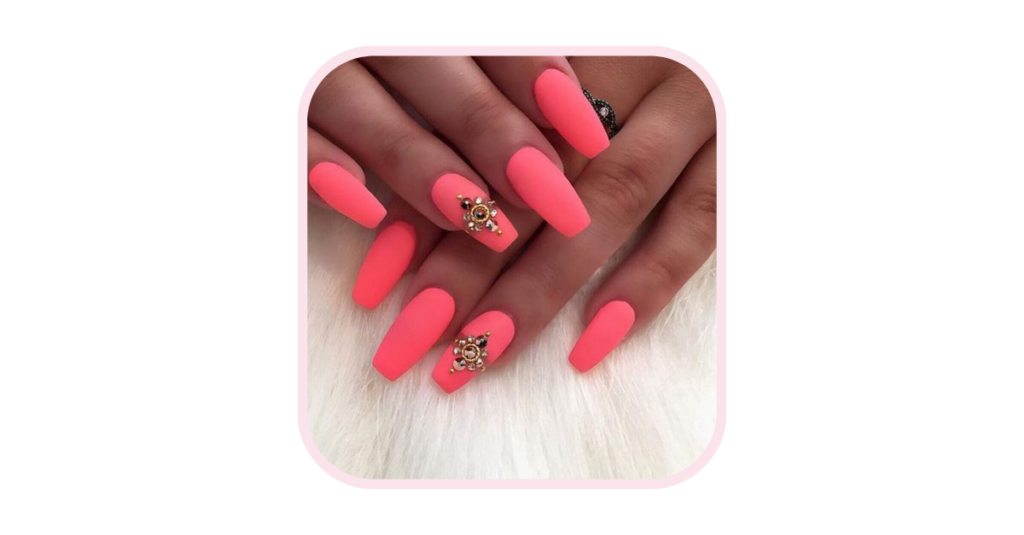
2. Pretty in Pink
Can you ever really get enough of pink acrylic nails? We didn’t think so either. Although there are more shades of pink nail polish than we can list in a lifetime, we HAD to show you this design.
This nail artist took a bright and bold pink nail polish and gave it even more of an oomph with gold jewels on the “ring” finger to get this WOW factor.
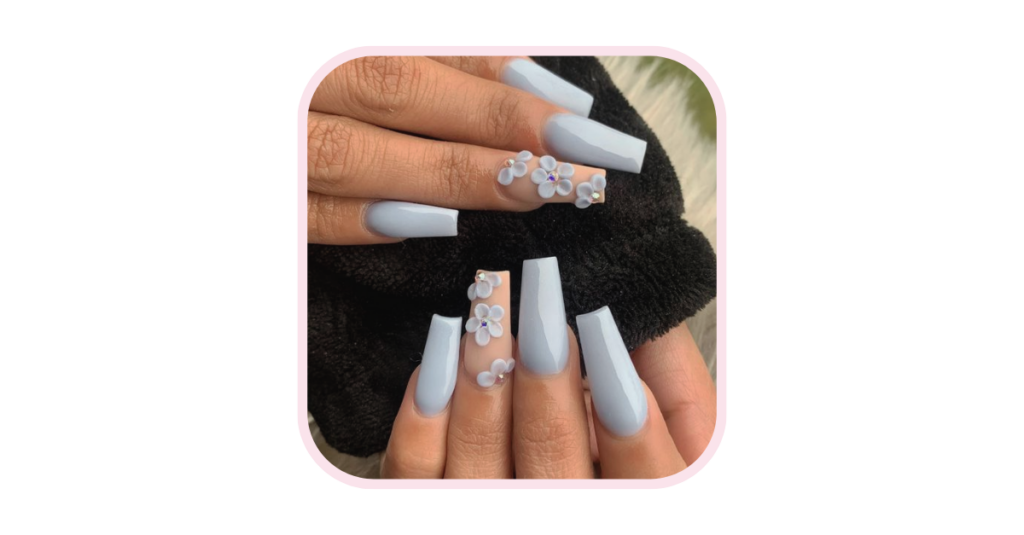
3. Simple and Sweet
If you aren’t into bright or bold, don’t worry, we have something for you, too. The best part about acrylic nail painting is that there is something for everyone.
You can get as calm or as crazy as you’d like. But let’s slow things down a bit with this example.
Keeping it airy with this light, sky blue is nice and all, but this simple and sweet design still gives these acrylic nails that hint of elegance. Perfect for a wedding in the spring!
4. Lace 3D Nails
Lace is always a timeless and elegant choice. Create a romantic look with delicate lace patterns that add a touch of sophistication to your manicure.

5. 3D Unicorn Nail Art
Embrace your inner unicorn with colorful and whimsical designs. Think pastel colors, glitter, and of course, a cute unicorn horn.

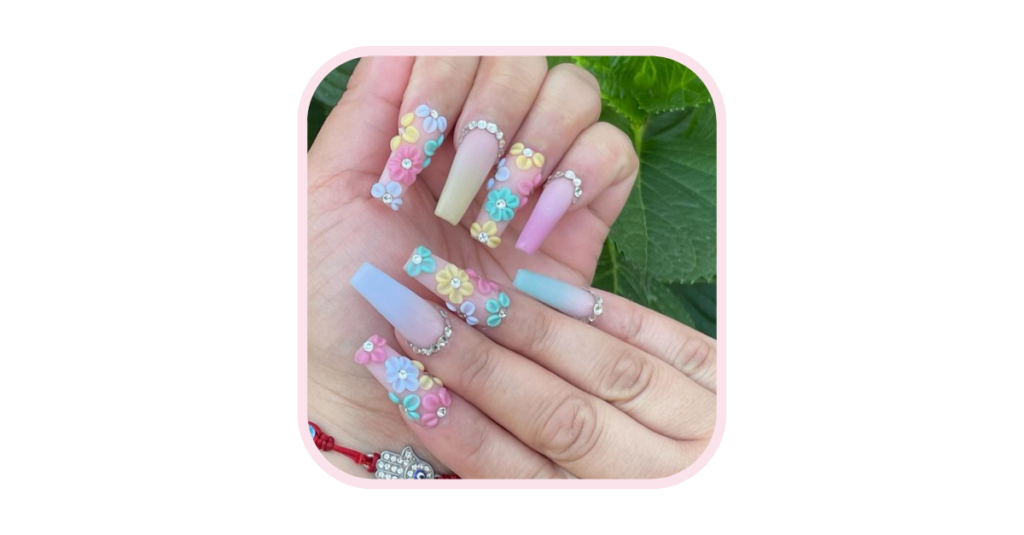
6. Flower 3D Nail Art
These flowers can be as simple or as intricate as you want, adding a touch of elegance and uniqueness to your clients’ manicures.
And the best part? You can create anything you want from dainty daisies, bright sunflowers, to sophisticated roses. Flower nail art is a fantastic way to add a touch of nature and elegance to your craft.
With a little practice and a lot of creativity, you’ll be able to create stunning floral designs
How 3D Acrylic Nail Painting is Done

Now that you have some ideas in mind, let’s talk about the process of creating 3D acrylic nails. While it may seem daunting, with a little practice and patience, you’ll be able to master this art form.
Materials Needed
Before you dive into creating your 3D acrylic nail masterpieces, it’s important to know the materials you’ll need.
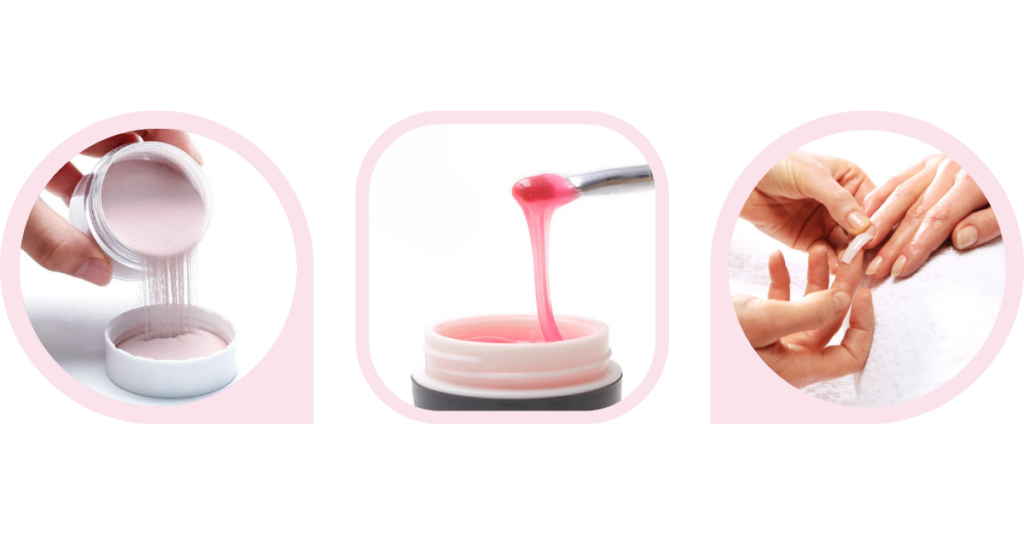
Acrylic powders, gel polishes, and gel extensions are just a few of the tools of the trade.
Make sure you have the right products and tools on hand to ensure a flawless finish. Remember, quality materials make all the difference in achieving stunning nail art.
Step- by-Step Process

1. Prep your nails:
Start by removing any old polish and shaping your nails to your desired length and shape. Push back your cuticles and lightly buff the surface of your nails to create a smooth canvas.

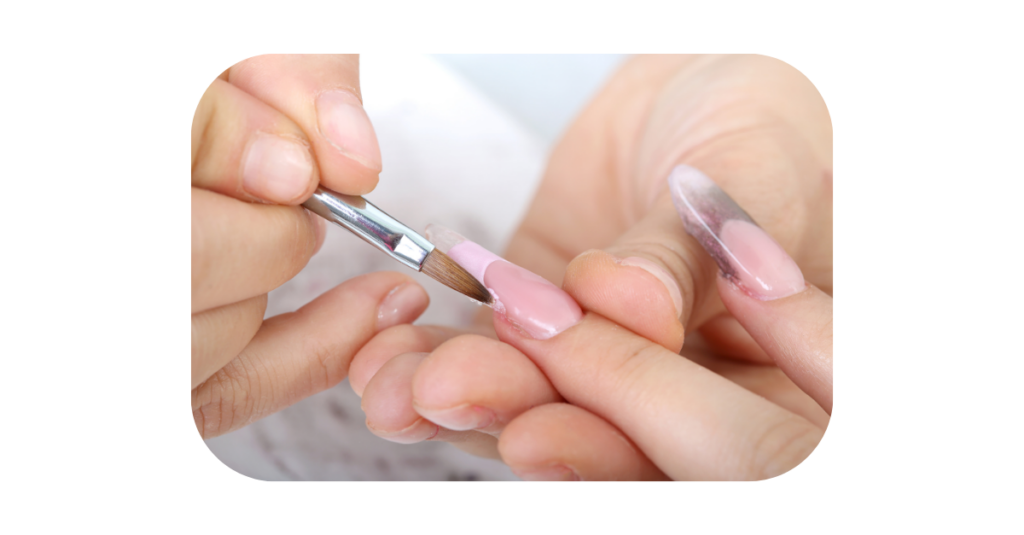
2. Apply a base coat: A good base coat is essential for any manicure. Apply a thin layer of base coat to protect your natural nails and help the acrylic adhere better.

3. Mix your acrylic: In a dappen dish, mix the acrylic powder and liquid according to the instructions on the packaging. Use a brush to create a small bead of acrylic.
4. Sculpt your design: Dip your brush into the acrylic bead and start sculpting your desired design on your nails. Don’t worry about making it perfect right away; you can always refine and add details later.
5. Cure and shape: Once you’re satisfied with your design, cure the acrylic under a UV or LED lamp for the recommended time. After curing, you can file and shape your nails to your desired length and shape.

6. Seal the deal: Apply a top coat to seal and protect your 3D acrylic nails. This will also give your nails a shiny and professional finish.
Tips and Tricks for Perfect 3D Acrylic Nails
Creating 3D acrylic nails is an art form that requires practice and patience. To help you on your journey to nail art greatness, here are some tips and tricks to keep in mind:
1. Start with simple designs: If you’re new to 3D acrylic nails, start with simpler designs before diving into more intricate patterns. This will help you build your skills and confidence.

2. Invest in quality products: The quality of your acrylic powder, liquid, and brushes can make a big difference in the outcome of your nail art. Invest in high-quality products to ensure the best results.

3. Practice, practice, practice: Like any skill, practice makes perfect. Set aside some time each week to practice different designs and techniques. With time and dedication, you’ll become a 3D acrylic nail pro.

4. Don’t be afraid to experiment: One of the joys of 3D acrylic nails is the freedom to experiment and try new things.

Don’t be afraid to mix and match colors, textures, and designs to create your own unique masterpiece.
Maintenance and Care
Once you’ve got your 3D acrylic nails looking fabulous, it’s important to know how to maintain and care for them. Treat them like the works of art they are.
Avoid using your nails as tools, as tempting as it may be. Be gentle with your hands and nails, and they’ll stay looking flawless for longer.
When it’s time to remove them, be sure to use the right tools and give yourself plenty of time and patience.
Nail Shapes
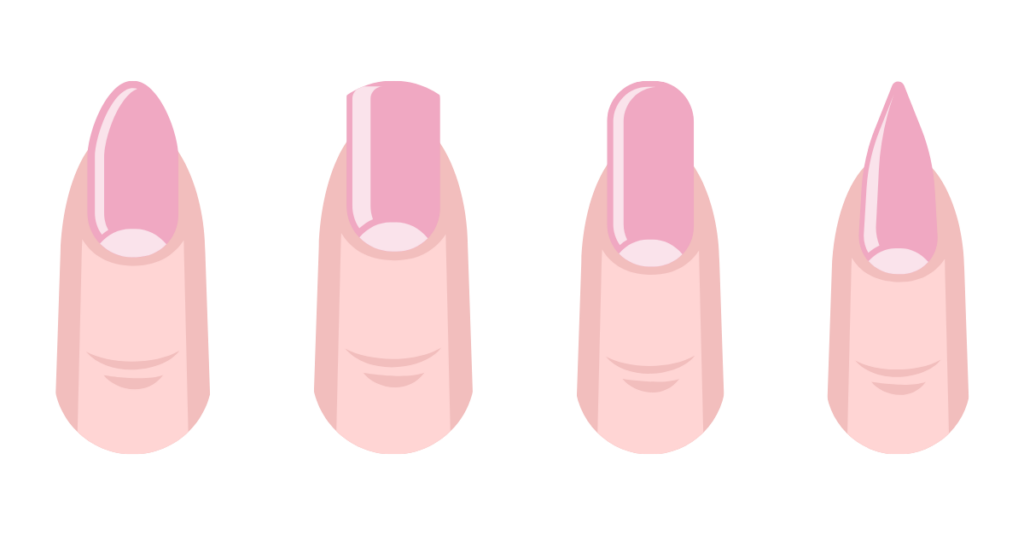
The shape of your nails can also make a big difference in the overall look of your 3D acrylic nails.
Oval and almond-shaped nails are great for plump fingers, while stiletto or coffin-shaped nails can elongate slender fingers.
Experiment with different shapes to find the one that flatters your hands the most. After all, the right shape can take your nail art to the next level.
Love ‘em, and Have to Have ‘em?

If you completely fell in love with these acrylic nail painting and 3D acrylic nail ideas as much as we did, then check out this quick acrylic nails tutorial.
We promise it’s easy to follow, and only requires a few tools to get the job done, and to get the 3D acrylic nails of your dreams.
A Little Something for Everyone
3D acrylic nails are a game-changer in the world of nail art. With their depth, dimension, and endless design possibilities, they allow you to unleash your inner artist and create stunning masterpieces.
So, dive in, experiment, and let your creativity run wild. Your clients will thank you for it!
We want to see your amazing 3D acrylic nail creations! Share your favorite designs in the comment box below and let’s inspire each other.
Whether it’s a stunning floral arrangement, a whimsical animal, or a jaw-dropping pattern, we can’t wait to see what you come up with.
More Related Resources:
